











Black Temple
Ainda não há dados do Diário para esta instância.
- Chefes
- 9 chefes
- Cronômetro da Mítica+
- Sem cronômetro
- Entrada
- Vale da Lua Negra · 71.1, 46.3

Chefes
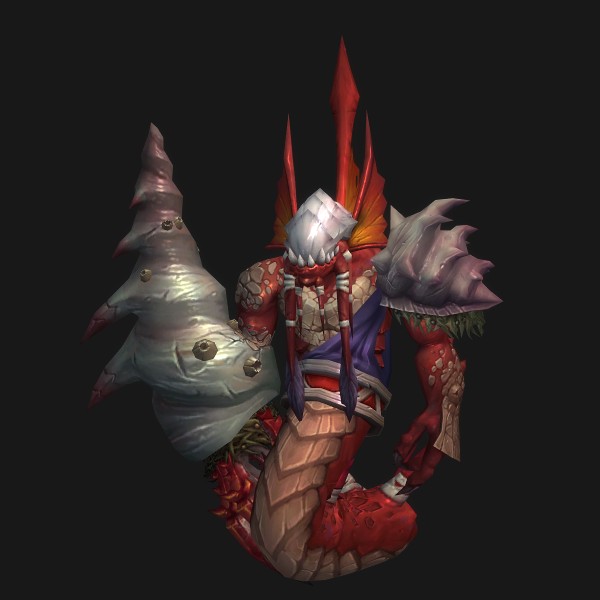
High Warlord Naj'entus
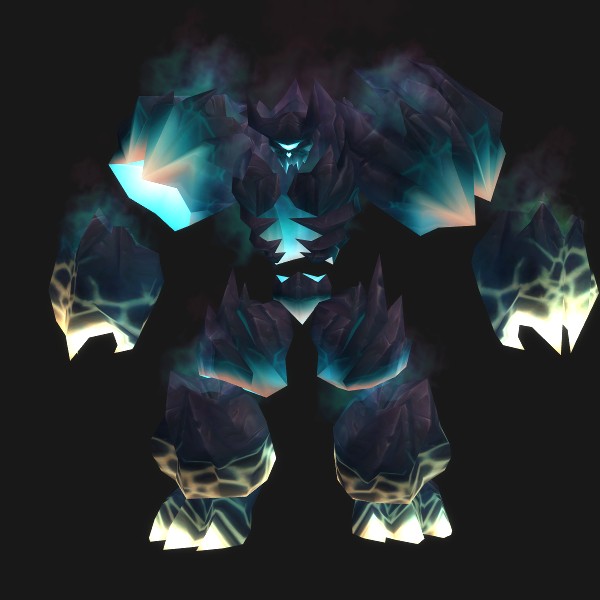
Supremus
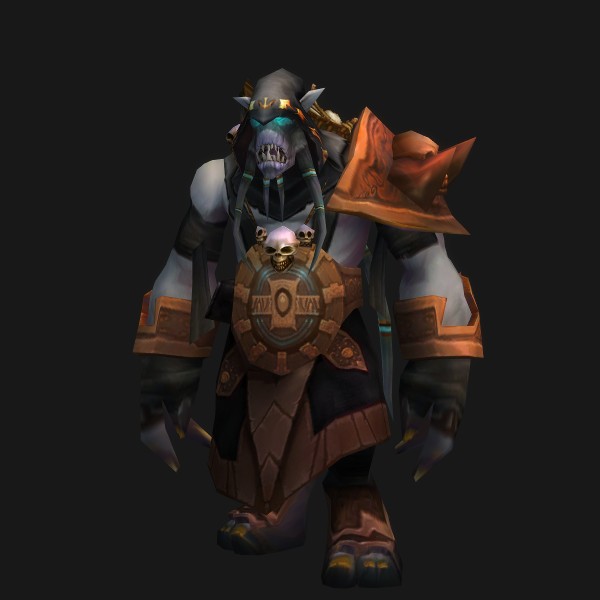
Shade of Akama
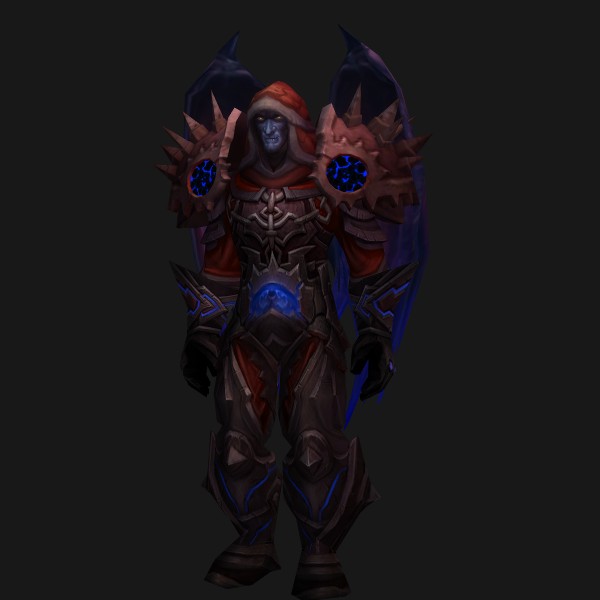
Teron Gorefiend
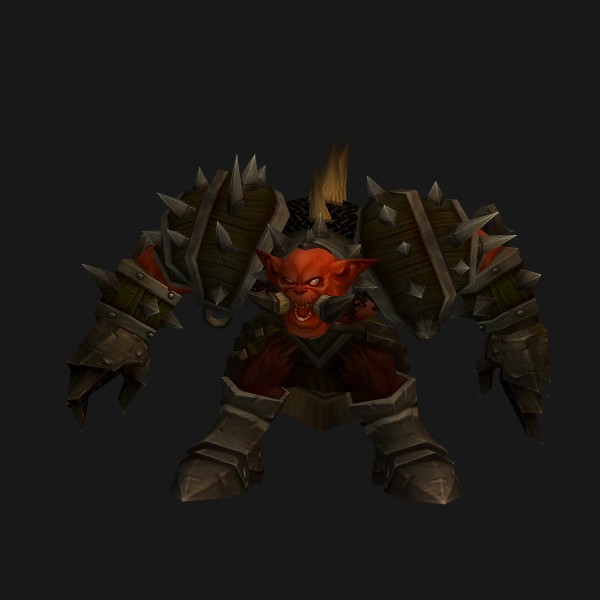
Gurtogg Bloodboil
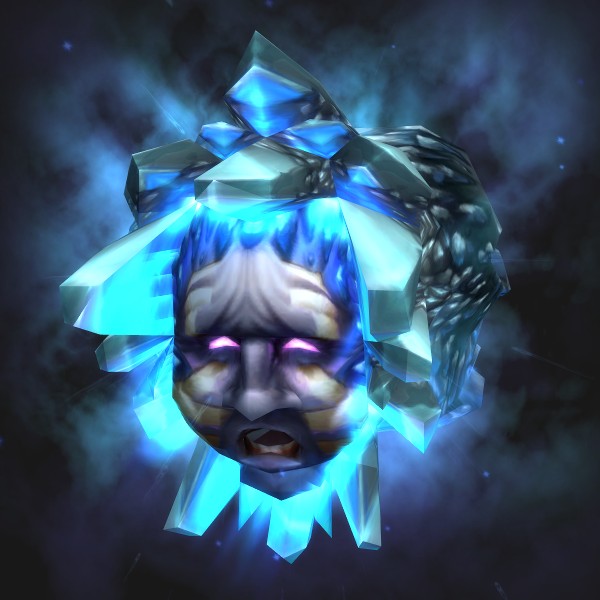
Reliquary of Souls

Mother Shahraz
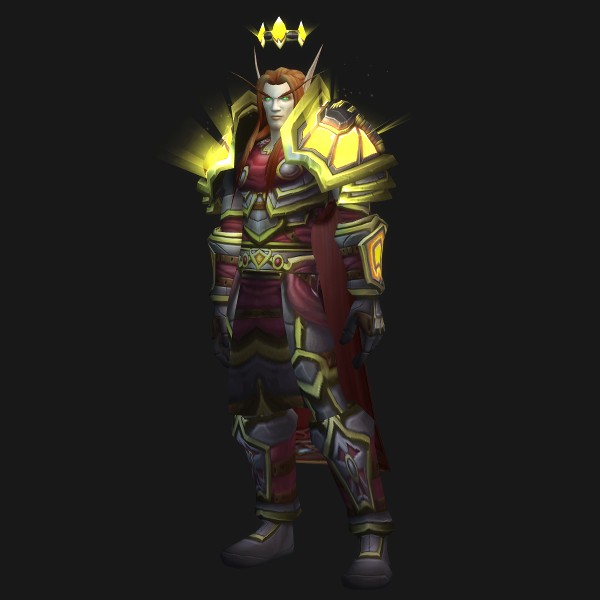
The Illidari Council
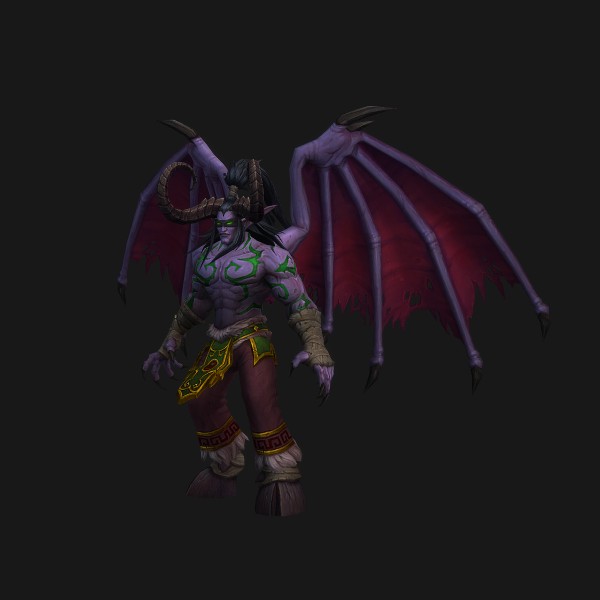
Illidan Stormrage
Chefe a chefe
High Warlord Naj'entus
High Warlord Naj'entus periodically skewers players with his Impaling Spines, stunning them until freed by allies. Over the course of the encounter, Naj'entus casts Tidal Shield, becoming immune to damage and restoring health over time until a player hurls a Spine back at him to pierce the bubble.
- Damage Dealers: Spread out to reduce damage taken from [Needle Spine].
- Damage Dealers: Interact with Naj'entus' Spine to free a player stunned by [Impaling Spine].
- Damage Dealers: Throw Naj'entus' Spine at High Warlord Naj'entus to cancel [Tidal Shield].
- Healers: Spread out to reduce damage taken from [Needle Spine].
- Healers: Interact with Naj'entus' Spine to free a player stunned by [Impaling Spine].
- Healers: Throw Naj'entus' Spine at High Warlord Naj'entus to cancel [Tidal Shield].
- Tanks: Avoid facing High Warlord Naj'entus at allies to avoid damage from [Horseshoe Swipe].
- Tanks: Interact with Naj'entus' Spine to free a player stunned by [Impaling Spine].
- Tanks: Throw Naj'entus' Spine at High Warlord Naj'entus to cancel [Tidal Shield].
Habilidades
- Impaling Spine
- Tidal Shield
- Tidal Burst
- Needle Spine
- Horseshoe Swipe
- Double Attack
Supremus
The gatekeeper Supremus cycles between striking a primary target while creating rivers of fel flame, and fixating on random players while littering the area with volcanic geysers.
- Damage Dealers: Avoid [Molten Flame] caused by [Molten Punch].
- Damage Dealers: Run from Supremus when you are [Fixated].
- Healers: Avoid [Molten Flame] caused by [Molten Punch].
- Healers: Run from Supremus when you are [Fixated].
- Tanks: Avoid [Molten Flame] caused by [Molten Punch].
- Tanks: Use Active Mitigation to reduce damage from [Hateful Strike].
Habilidades
- Molten Punch
- Molten Flame
- Hateful Strike
- Volcanic Geyser
- Fixate
Shade of Akama
- Shade of Akama
- Shade of Akama
 Ashtongue Channeler
- Ashtongue Sorcerer
 Ashtongue Spiritbinder
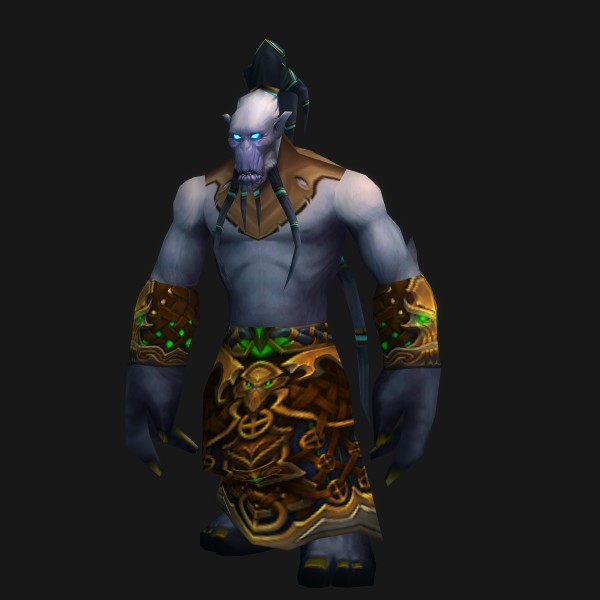
The objective of the encounter is to assist Akama in defeating the Shade of Akama. Defeat Ashtongue Channelers and Sorcerers to allow the Shade of Akama to reach Akama, starting Stage Two. Once Stage Two begins, defeat the Shade of Akama to win the encounter before Akama is slain.
- Damage Dealers: In Stage One, defeat the Ashtongue Channelers as fast as possible.
- Damage Dealers: Defeat the Shade of Akama once he is freed.
- Healers: In Stage One, defeat the Ashtongue Channelers as fast as possible.
- Healers: Defeat the Shade of Akama once he is freed.
- Tanks: Be quick to grab the attention of Ashtongue Forces as they spawn.
- Tanks: Defeat the Shade of Akama once he is freed.
Habilidades
- Chain Soul
- Spirit Mend
- Chain Heal
- Spirit Heal
- Eviscerate
- Debilitating Poison
- Debilitating Strike
- Shield Bash
- Heroic Strike
- Rain of Fire
Teron Gorefiend
- Teron Gorefiend
 Shadowy Construct
 Vengeful Spirit
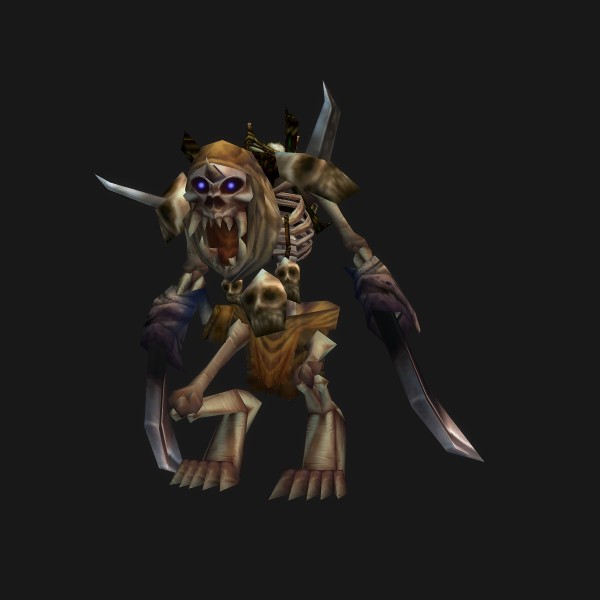
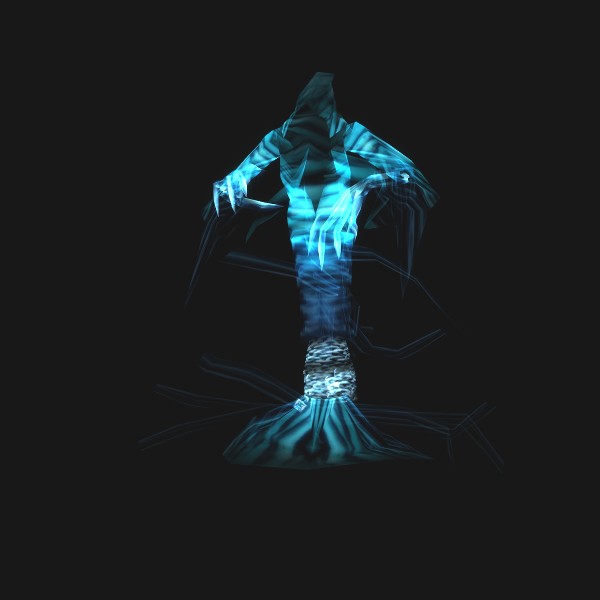
Teron Gorefiend periodically marks a player with [Shadow of Death], killing them instantly. The slain player then returns as a Vengeful Spirit, with the unique ability to hinder and destroy Shadowy Constructs that will otherwise decimate other players.
- Damage Dealers: Be prepared to become a [Shadow of Death].
- Healers: Be prepared to become a [Shadow of Death].
- Healers: Be quick to dispel [Incinerate] to avoid damage.
- Healers: Targets afflicted by [Crushing Shadows] are especially susceptible to Shadow damage.
- Tanks: Hold the attention of Teron Gorefiend.
Habilidades
- Shadow of Death
- Atrophy
- Shadow Strikes
- Spirit Strike
- Spirit Lance
- Spirit Chains
- Spirit Volley
- Summon Doom Blossom
- Shadow Bolt
- Incinerate
Gurtogg Bloodboil
As the fight progresses, the Gurtogg swaps between two modes that determine which abilities he uses. In one mode, he afflicts distant targets with deadly maladies, while in the other he fixates on a random player with his full might.
- Damage Dealers: Coordinate your positioning with group members to avoid getting too many stacks of [Blood Boil].
- Healers: Coordinate your positioning with group members to avoid getting too many stacks of [Blood Boil].
- Healers: Heal the ally that is targeted with [Fel Rage].
- Tanks: Take turns tanking Gurtogg to keep the application of [Acidic Wound] in check.
Habilidades
- Bloodboil
- Acidic Wound
- Bewildering Strike
- Arcing Smash
- Fel Rage
- Fel-Acid Breath
- Fel Arcing Smash
- Fel Geyser
- Insignificance
Reliquary of Souls
- Essence of Suffering
 Essence of Desire
 Essence of Anger
 Enslaved Soul
- Enslaved Soul
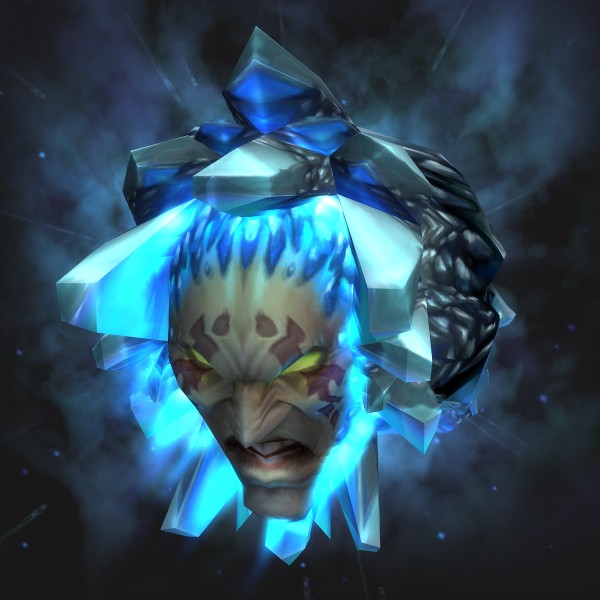
The Reliquary of Souls manifests three different Essences over the course of the encounter, each of which applies unique effects that must be handled differently. First, the Essence of Suffering always strikes the nearest player and afflicts the raid with [Aura of Suffering]. Second, the Essence of Desire afflicts the raid with [Aura of Desire]. Finally, players must defeat the Essence of Anger which afflicts the raid with [Aura of Anger].
- Damage Dealers: Avoid heavily damaging yourself during [Aura of Desire].
- Damage Dealers: Be aware of your threat while[Seethe] is active.
- Healers: Watch your mana during [Aura of Suffering].
- Healers: Quickly dispel [Soul Drain].
- Healers: Regenerate Mana from the Enslaved Souls during the Intermission stage.
- Tanks: While the Essence of Desire is active, be careful of [Deaden].
- Tanks: Using a Taunt effect while the Essence of Anger is active will cause [Seethe].
- Tanks: Face the Essence of Anger away from allies to avoid damage from [Soul Scream].
Habilidades
- Aura of Suffering
- Fixate
- Frenzy
- Soul Drain
- Soul Release
- Aura of Desire
- Deaden
- Spirit Shock
- Rune Shield
- Aura of Anger
Mother Shahraz
Mother Shahraz will link allies together with [Fatal Attraction] while also dealing heavy damage to the raid with her Beams.
- Damage Dealers: Break the demonic link of [Fatal Attraction] by running away from allies.
- Damage Dealers: Avoid [Interrupting Shriek] by staying away from Mother Shahraz.
- Healers: Tanks will take heavy damage from [Saber Lash].
- Healers: Break the demonic link of [Fatal Attraction] by running away from allies.
- Healers: Avoid [Interrupting Shriek] by staying away from Mother Shahraz.
- Tanks: Tanks take heavy damage from [Saber Lash].
Habilidades
- Fatal Attraction
- Saber Lash
- Interrupting Shriek
- Sinful Beam
- Sinister Beam
- Vile Beam
- Wicked Beam
The Illidari Council
- Gathios the Shatterer
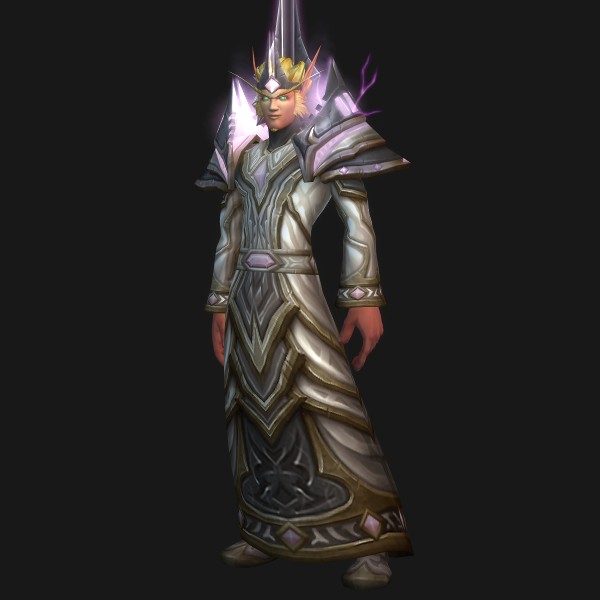 High Nethermancer Zerevor
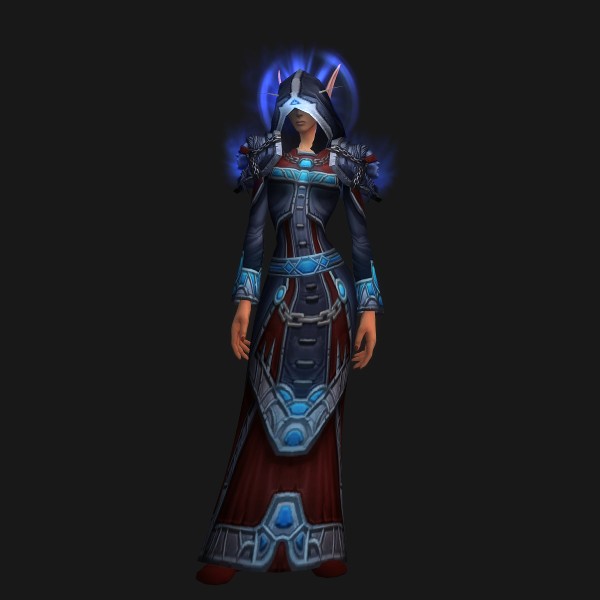 Lady Malande
- Gathios the Shatterer
 Veras Darkshadow
- High Nethermancer Zerevor
- Lady Malande
The Illidari Council consists of a powerful paladin, rogue, mage, and priest. They share health and bring their iconic abilities to bear against their foes.
- Damage Dealers: Melee damage dealers should avoid striking High Nethermancer Zerevor due to his [Arcane Explosion].
- Damage Dealers: Interrupt Lady Malande's [Circle of Healing].
- Healers: Allies afflicted with Veras's [Envenom] require urgent healing attention.
- Tanks: Hold the attention of Gathios the Shatterer and Veras Darkshadow.
- Tanks: Keep Gathios the Shatterer away from the other members of the council to avoid buffing them with [Devotion Aura].
Habilidades
- Blessing of Protection
- Blessing of Spell Warding
- Judgment of Blood
- Judgment of Command
- Devotion Aura
- Consecration
- Hammer of Justice
- Vanish
- Envenom
- Deadly Poison
Illidan Stormrage
- Illidan Stormrage
- Illidan Stormrage
 Flame of Azzinoth
- Illidan Stormrage
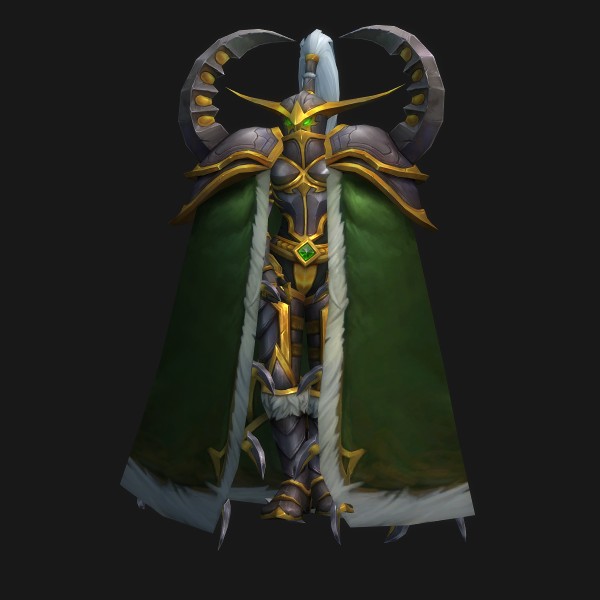 Maiev Shadowsong
Illidan wields his Warglaives at the start of the encounter, infecting foes with [Parasitic Shadowfiend]. Upon reaching 65% health, Illidan takes flight and throws the Warglaives of Azzinoth to the ground, each of which unleashes a Flame. The two Flames of Azzinoth must be defeated to bring Illidan to the ground. For the remainder of the encounter, Illidan periodically unleashes the power of the demonic force within him, using those dark powers to assault his foes, before returning to his natural form. At 30% health, Maiev arrives to assist in handling the Betrayer's final efforts to overpower his foes.
- Damage Dealers: Move away from allies when afflicted with [Parasitic Shadowfiend].
- Damage Dealers: Quickly defeat the Flames of Azzinoth in Stage Two of the encounter.
- Healers: Move away from allies when afflicted with [Parasitic Shadowfiend].
- Healers: Quickly defeat the Flames of Azzinoth in Stage Two of the encounter.
- Tanks: Use Active Mitigation defensive abilities to survive [Shear].
- Tanks: Move Illidan Stormrage to avoid damage taken from [Flame Crash].
- Tanks: In Stage Two, be quick to grab the attention of the Flames of Azzinoth.
Habilidades
- Shear
- Draw Soul
- Flame Crash
- Parasitic Shadowfiend
- Fireball
- Dark Barrage
- Blaze
- Flame Blast
- Uncaged Wrath
- Agonizing Flames
Dados da instância
- 1Modes: Normal.