











Siege of Orgrimmar
The tensions stoked by Garrosh Hellscream's arrogance have reached a boiling point with the destruction unleashed upon the Vale of Eternal Blossoms. Leaders of the Alliance and Horde lay siege to Hellscream's capital in order to topple the ruthless Warchief once and for all!
- Bosses
- 15 bosses
- Mythic+ timer
- No timer
- Entrance
- Vale of Eternal Blossoms · 74.1, 40.1

Bosses
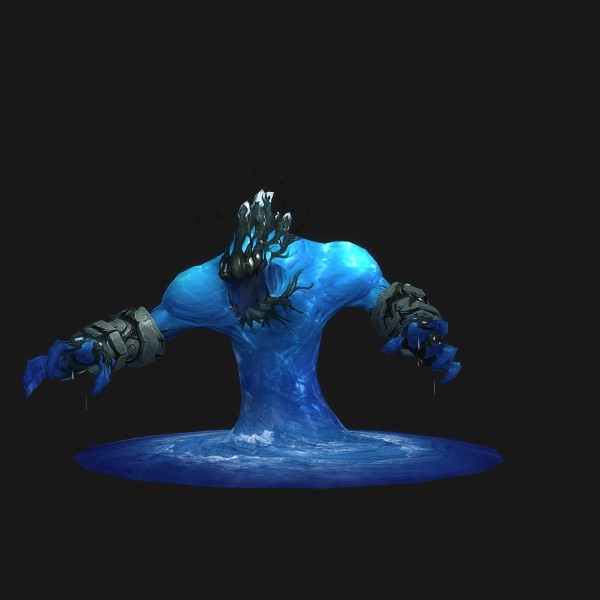
Immerseus
The ancient inhabitants of Pandaria recognized the vital importance of the lifegiving Pools of Power, building an underground system of aqueducts to safeguard the waters and nurture life in the Vale of Eternal Blossoms. The touch of corruption has animated and twisted these waters, and Immerseus stands as an unnatural embodiment of the Vale's sorrow.
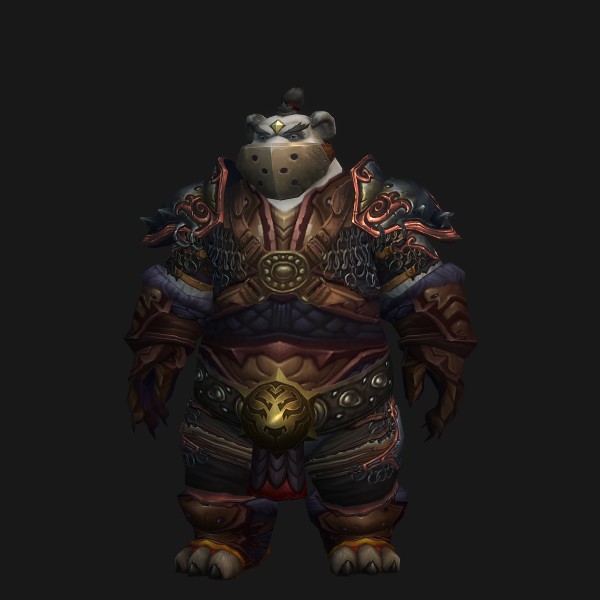
The Fallen Protectors
The Golden Lotus and Shado-Pan guardians of the Vale of Eternal Blossoms were caught in the epicenter of the devastating blast that scarred the Vale, and torn apart by the dark energies. Their spirits linger in the place they once protected, confused and tormented by their failure.
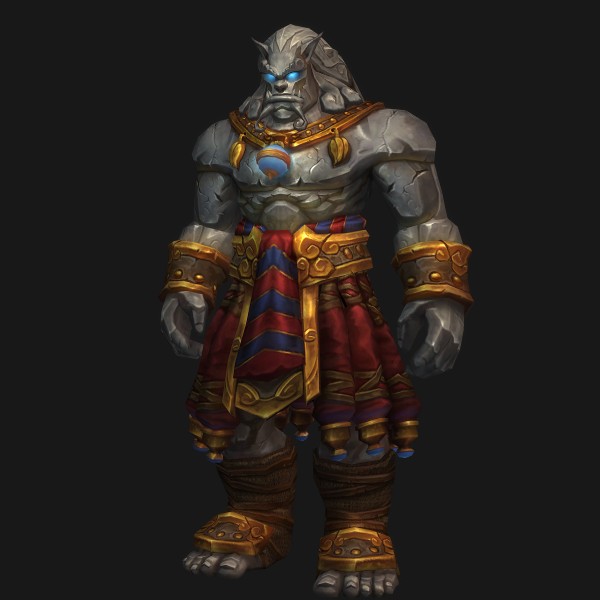
Norushen
Some say that the mogu race was created in the image of this titanic construct, left deep beneath Pandaria to watch over and guard the continent's darkest and most dangerous secret.
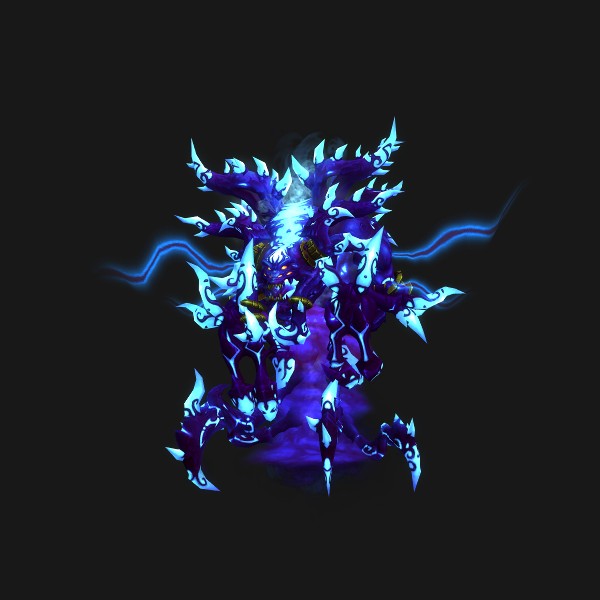
Sha of Pride
The seventh sha, the Sha of Pride, was the final burden to which Emperor Shaohao clung, shrouding the land in mist and biding its time for millennia. When Garrosh awakened the Heart of Y'Shaarj, the force of his arrogance caused this dark energy to coalesce in the chamber where the Heart was unearthed.
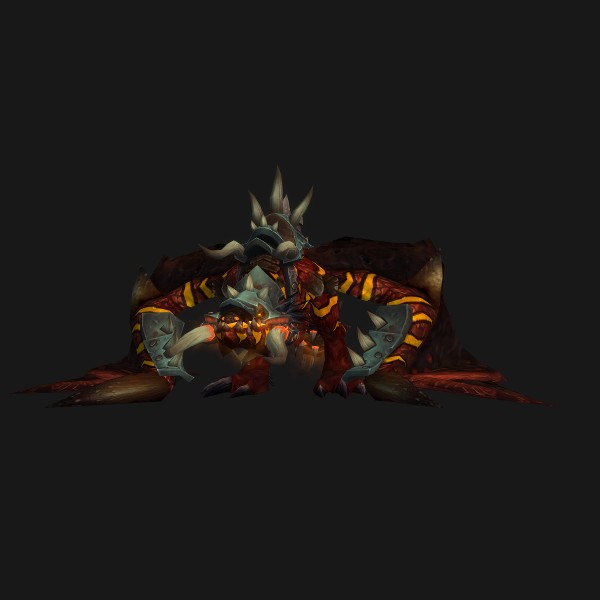
Galakras
Warlord Zaela formed a close bond with Garrosh during events in the Twilight Highlands, and she and her Dragonmaw orcs have pledged loyalty to Garrosh's cause. Riding atop the fearsome Galakras, a direct descendant of the cataclysmic progenitor of all dragonkind, Zaela oversees the naval defense of Orgrimmar.
Galakras
Warlord Zaela formed a close bond with Garrosh during events in the Twilight Highlands, and she and her Dragonmaw orcs have pledged loyalty to Garrosh's cause. Riding atop the fearsome Galakras, a direct descendant of the cataclysmic progenitor of all dragonkind, Zaela oversees the naval defense of Orgrimmar.
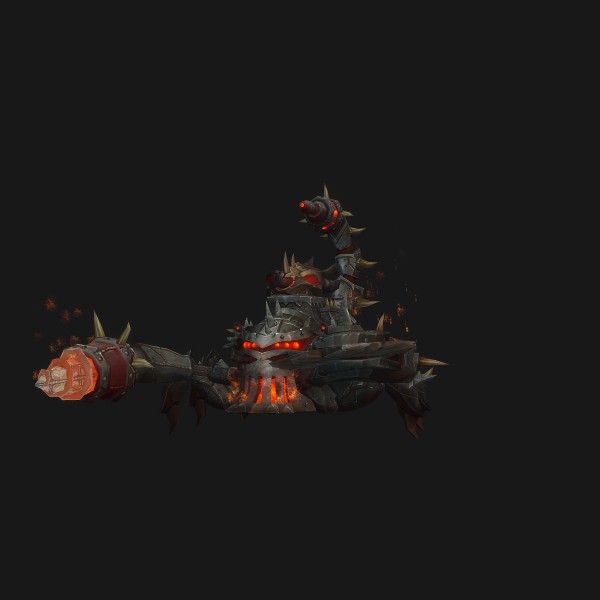
Iron Juggernaut
This mechanical terror, designed nearly as much for intimidation as destruction, is the centerpiece of Garrosh's siege weaponry. Crafted in the image of the mighty Kor'kron war scorpion, the Iron Juggernaut guards the gates of Orgrimmar, crushing any who would rise up to challenge Garrosh's True Horde.
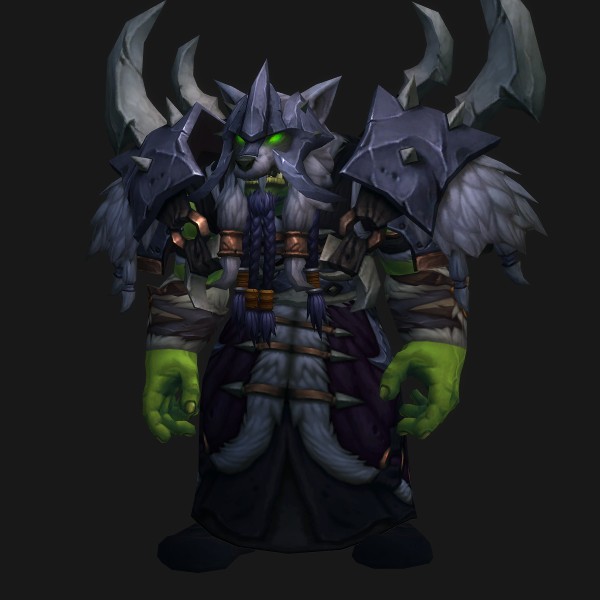
Kor'kron Dark Shaman
Haromm and Kardris trained thousands of shaman to whisper reverently to the elements to requisition their aid. The army of Garrosh, however, does not ask - they take what they desire in the name of the True Horde. Dark Shamanism forces the elements into servitude, twisting them into burned-out ash, corrupted waters, and toxic air.
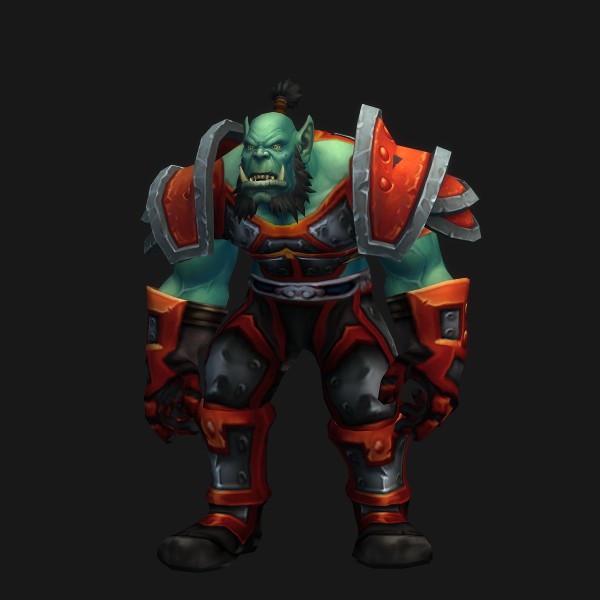
General Nazgrim
Once a grunt in service of the former warchief, Thrall, General Nazgrim rose quickly through the ranks after overwhelming victories in Grizzly Hills and the sunken city of Vashj'ir. Fiercely loyal to the Horde and bound by a rigorous code of honor and duty, Nazgrim will hold the line for his warchief until his dying breath.
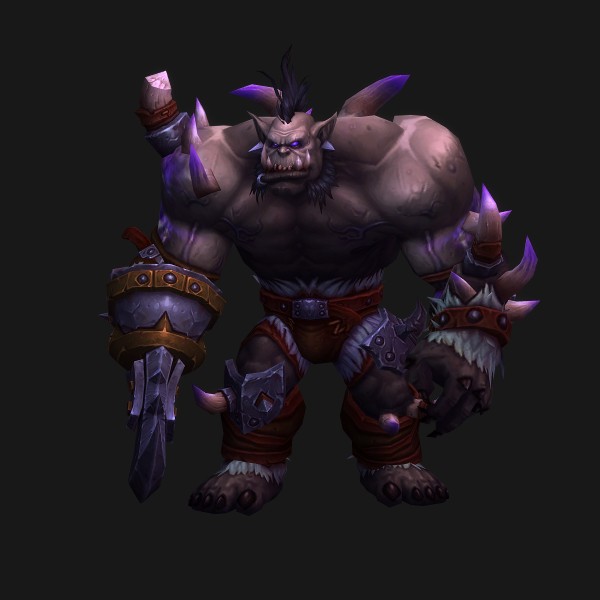
Malkorok
Malkorok has been Garrosh's most loyal and trusted lieutenant throughout the Pandaria campaign. When the Warchief needed a volunteer to infuse with the power of Y'Shaarj, it was only natural that Malkorok would offer without hesitation.
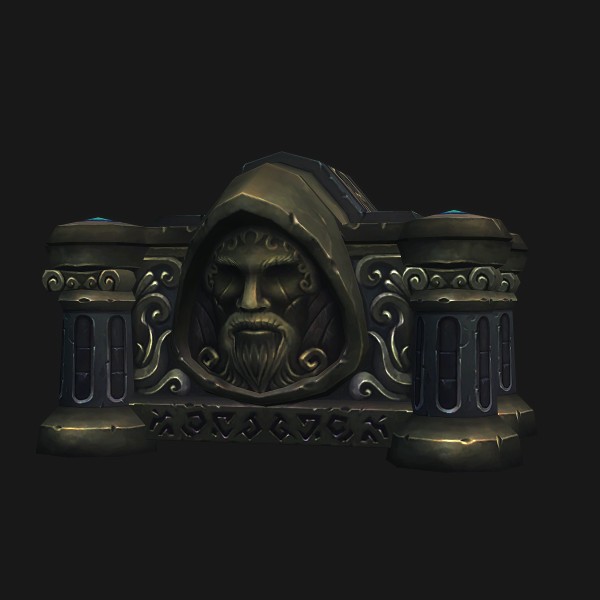
Spoils of Pandaria
When Garrosh gazed across Pandaria, he saw untapped power. During the course of his campaign, Garrosh has plundered weapons, treasures, and artifacts of the pandaren, the mogu, and the mantid. They are kept in a warehouse deep within his underground base, guarded by a mysterious security system that appears to be of Titan origins.
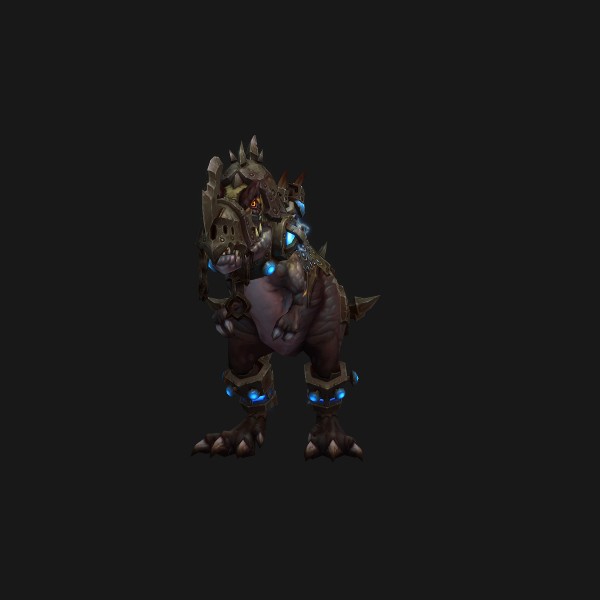
Thok the Bloodthirsty
When the Isle of Giants was discovered off the coast of Pandaria, teeming with primal devilsaurs, Garrosh sent troops to capture some of the most fearsome specimens, hoping to subjugate them and use them as beasts of war. Countless orcish beastmasters have fallen to Thok's jaws as they struggle to tame him, yet the creature's thirst for blood remains unslaked.
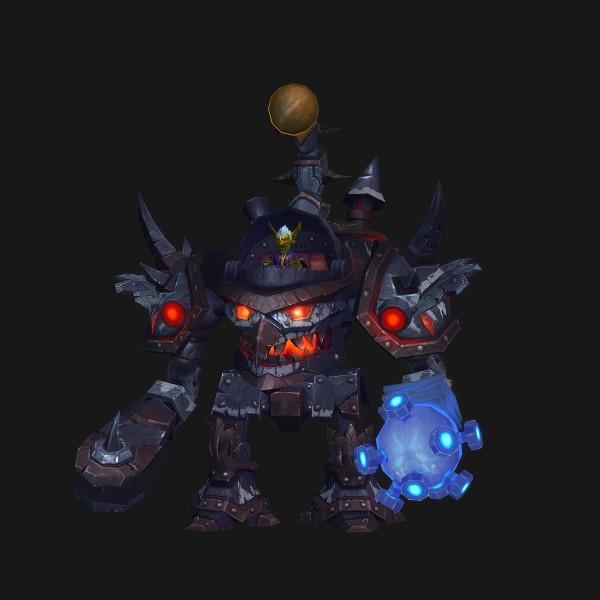
Siegecrafter Blackfuse
Helix Blackfuse was the only goblin with the combination of engineering prowess, professionalism, and ruthlessness to satisfy Garrosh in his search for the engineer of the True Horde. A mercenary at heart, Blackfuse's love for his creations (and the gold they fetch) has forever linked his fate with that of his patron and Warchief.
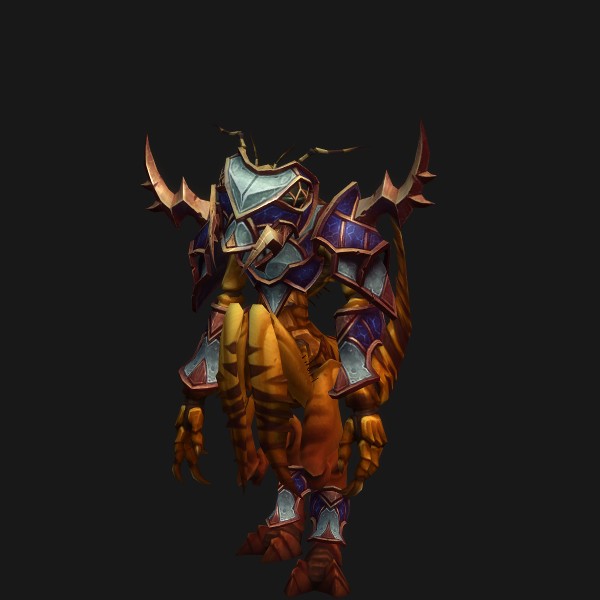
Paragons of the Klaxxi
The nine surviving Klaxxi'va Paragons are ancient champions of the mantid who fought alongside the Wakener against the madness of Empress Shek'zeer. But the paragons, as do all mantid, hold a far deeper loyalty. When Garrosh unearthed the heart of Y'Shaarj, the paragons followed the whispers of their ancient master to the iron halls beneath Orgrimmar.
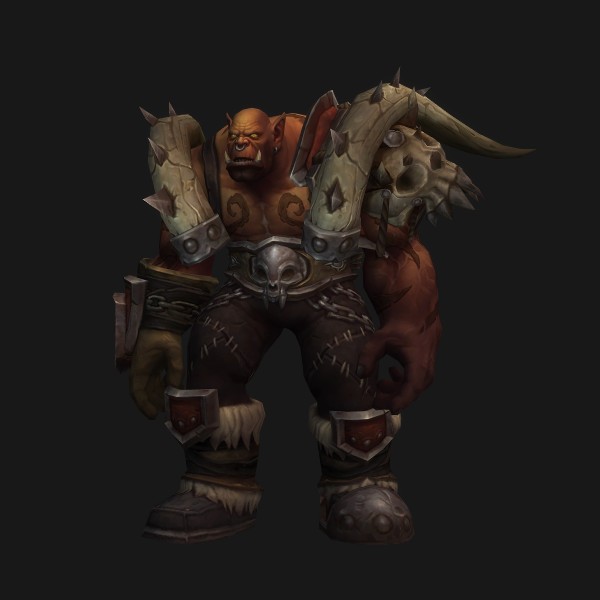
Garrosh Hellscream
Garrosh, son of Grommash Hellscream, first learned of his father's heroism when Thrall encountered the young orc in Outland. The seeds of pride were planted. Garrosh spearheaded Horde victories in Northrend and, as Warchief, consolidated Horde power amidst the chaos of the Cataclysm. But his visions of orc supremacy by any means have brought the armies of the world crashing down upon Orgrimmar... a final reckoning that Garrosh himself awaits with brutal relish.
Boss by boss
Immerseus
- Immerseus
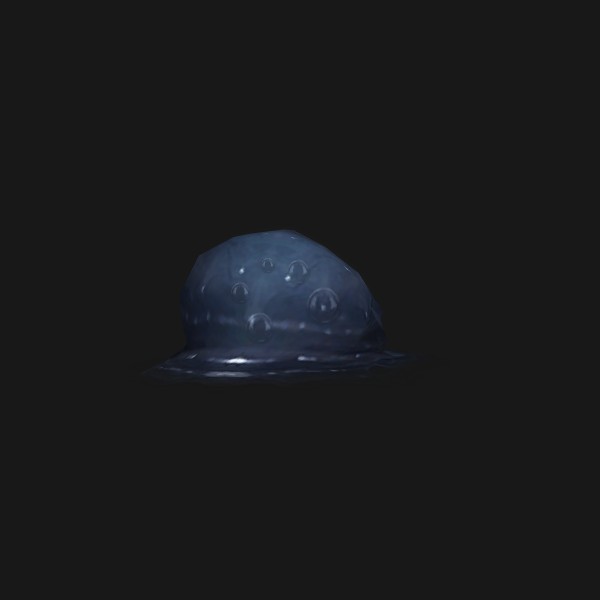 Sha Puddle
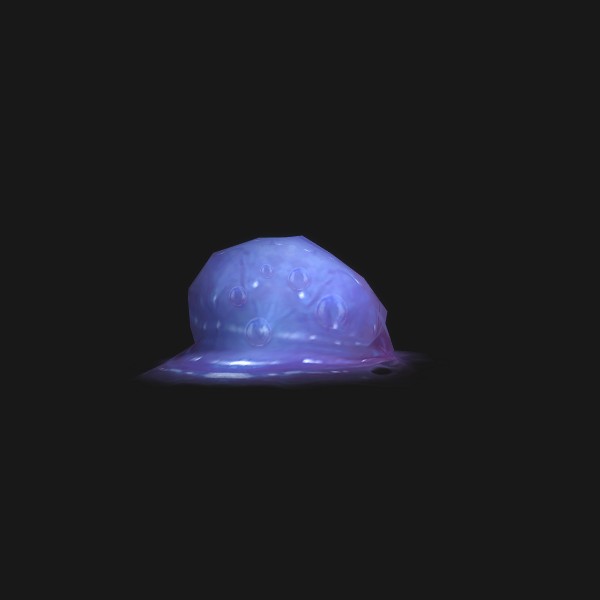 Contaminated Puddle
Immerseus begins with 100 Corruption, displayed as a visible power bar, and the objective of the encounter is to cleanse him by reducing his Corruption level to 0. Each time Immerseus is reduced to zero health, he Splits into a mix of dark Sha Puddles and watery Contaminated Puddles. Following each Split, Immerseus reforms with reduced health and Corruption depending on how successful the raid was in dealing with the two types of Puddles. This cycle repeats until Immerseus's Corruption reaches 10 or lower, at which point he is cleansed.
- Damage Dealers: Rotate away from Immerseus's [Swirl] ability.
- Damage Dealers: When Immerseus splits, destroy the dark Sha Puddles before they reach the center and merge into Immerseus.
- Healers: Rotate away from Immerseus's [Swirl] ability.
- Healers: When Immerseus splits, heal Contaminated Puddles to purify them before they reach the center and merge with Immerseus.
- Healers: When Sha or Contaminated Puddles reach the central pool, each one triggers [Erupting Sha], damaging the entire raid.
- Tanks: Point Immerseus away from the raid, and take turns tanking to mitigate the effects of [Corrosive Blast].
- Tanks: When Immerseus splits, destroy the dark Sha Puddles before they reach the center and merge into Immerseus.
Abilities
- Tears of the Vale
- Sha Bolt
- Swirl
- Corrosive Blast
- Seeping Sha
- Swelling Corruption
- Split
- Sha Residue
- Congealing
- Purified Residue
- Erupting Sha
- Sha Pool
The Fallen Protectors
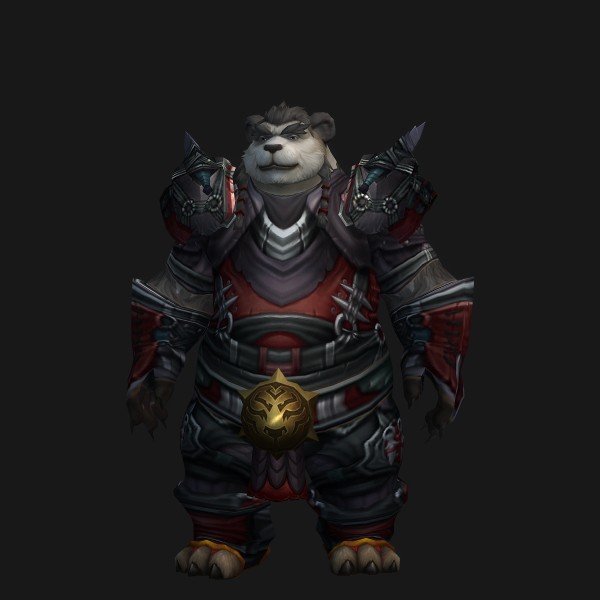
- Rook Stonetoe
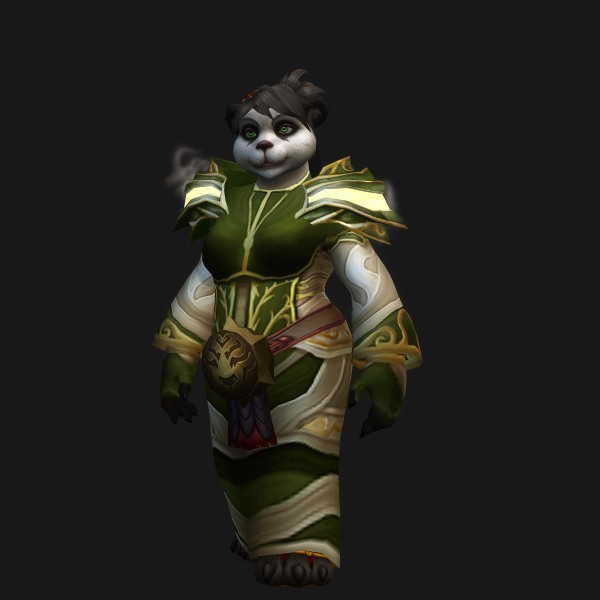
 He Softfoot
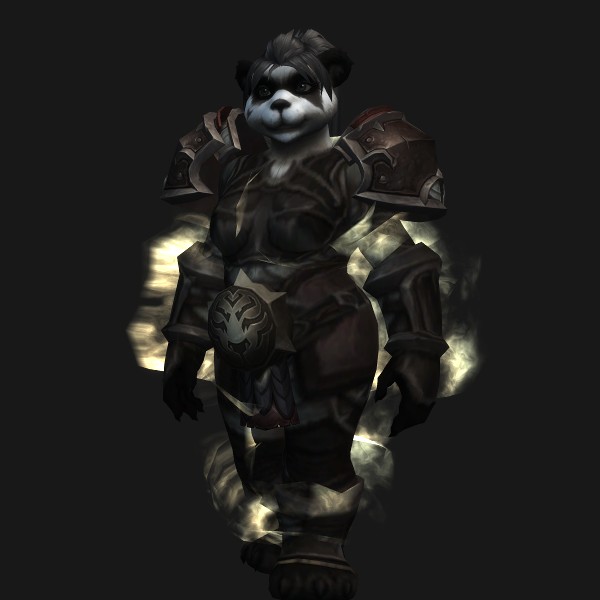
 Sun Tenderheart
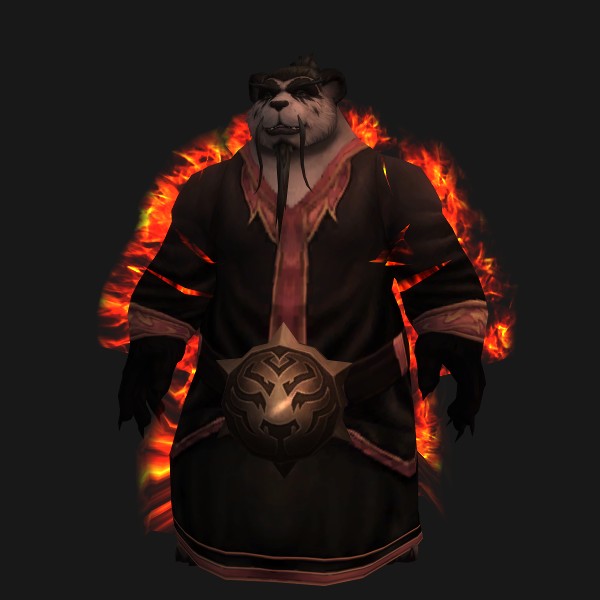
 Embodied Misery
 Embodied Sorrow
 Embodied Gloom
Players battle the brewmaster Rook Stonetoe, the rogue He Softfoot, and the priest Sun Tenderheart, as the three Fallen Protectors assault the raid simultaneously. At 66% and 33% health remaining, each Protector performs Desperate Measures, manifesting spirits of fallen allies to bring new and powerful attacks to bear against the raid until those spirits are defeated.
- Damage Dealers: Each Protector channels [Bond of the Golden Lotus] at 1% health remaining, and will recover unless all three are defeated at once.
- Damage Dealers: Defeat the dark manifestations summoned by each Protector's Desperate Measures to end that phase.
- Damage Dealers: During Rook's Desperate Measures, interrupt Embodied Gloom's [Corruption Shock].
- Healers: Dispel Sun Tenderheart's [Shadow Word: Bane] quickly before it spreads.
- Healers: During Sun Tenderheart's Desperate Measures, her [Dark Meditation] inflicts sustained damage to the entire raid.
- Tanks: If tanking Rook Stonetoe, position him carefully so that his [Vengeful Strikes] do not damage the raid.
- Tanks: If tanking He Softfoot, turn your back when he performs [Gouge] to avoid being incapacitated.
Abilities
- Bond of the Golden Lotus
- Desperate Measures
- Defiled Ground
- Inferno Strike
- Corruption Shock
- Corruption Chain
- Shared Torment
- Vengeful Strikes
- Corrupted Brew
- Clash
- Corruption Kick
- Mark of Anguish
- Shadow Weakness
- Debilitation
- Garrote
- Gouge
Norushen
- Norushen
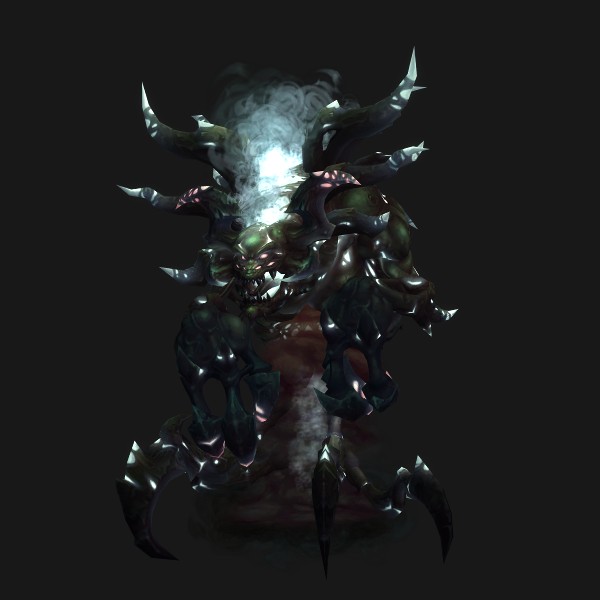 Amalgam of Corruption
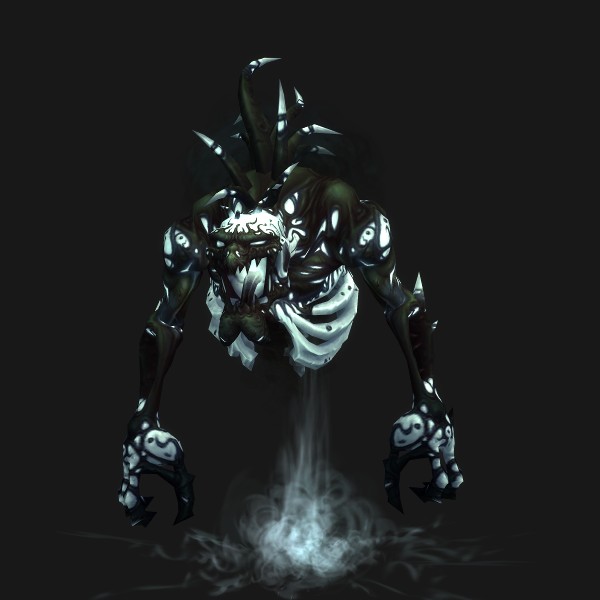 Manifestation of Corruption
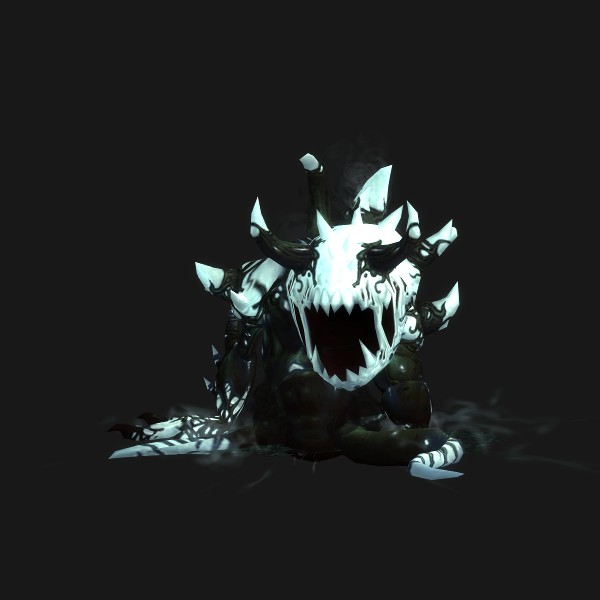 Essence of Corruption
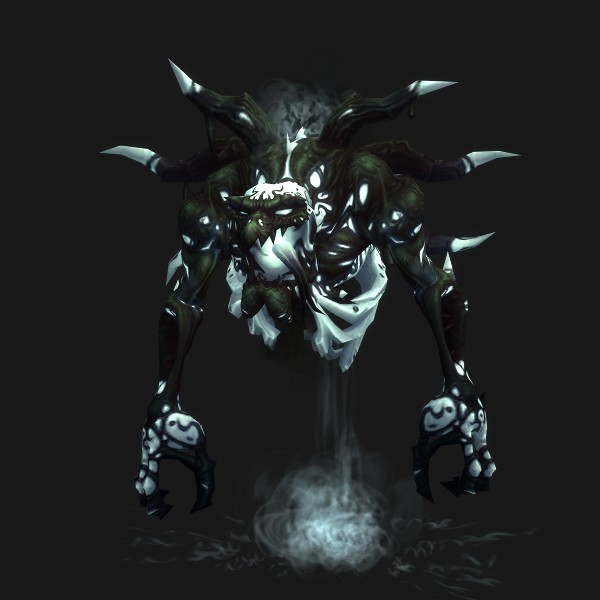 Greater Corruption
Norushen seals all players inside a Quarantine Zone and extracts a portion of each player's corruption to form an Amalgam of Corruption. The object of the encounter is to destroy this creature. Players must reduce their personal level of Corruption in order to inflict full damage to the Amalgam. Players can accomplish this by interacting with the nodes of Purifying Light that active around the room, which will pull them into another phase where they must face a role-specific challenge. Overcoming this challenge will Purify the player and allow them to inflict full damage to the Amalgam.
- Damage Dealers: Interact with a Purifying Light orb to enter the Test of Serenity and defeat the enemies inside to rid yourself of Corruption.
- Damage Dealers: All damage dealt to Manifestations of Corruption and Essences of Corruption in the normal realm is copied to the boss Amalgam.
- Damage Dealers: Rotate around the Amalgam to avoid [Blind Hatred].
- Healers: Interact with a Purifying Light orb to enter the Test of Reliance; inside, keep your allies at full health to maximize their damage to the Greater Corruption and complete the trial.
- Healers: Rotate around the Amalgam to avoid [Blind Hatred].
- Tanks: Interact with a Purifying Light orb to enter the Test of Confidence; avoid and weather the Titanic Corruption's attacks to rid yourself of Corruption.
- Tanks: Rotate around the Amalgam to avoid [Blind Hatred].
- Tanks: Take turns tanking the Amalgam to allow [Self Doubt] to fade.
Abilities
- Norushen's Trial
- Corruption
- Purified
- Quarantine Measures
- Unleashed Anger
- Self Doubt
- Blind Hatred
- Fusion
- Icy Fear
- Frayed
- Look Within
- Test of Serenity
- Test of Reliance
- Disheartening Laugh
- Pit of Despair
- Lingering Corruption
Sha of Pride
- Sha of Pride
- Manifestation of Pride
 Reflection
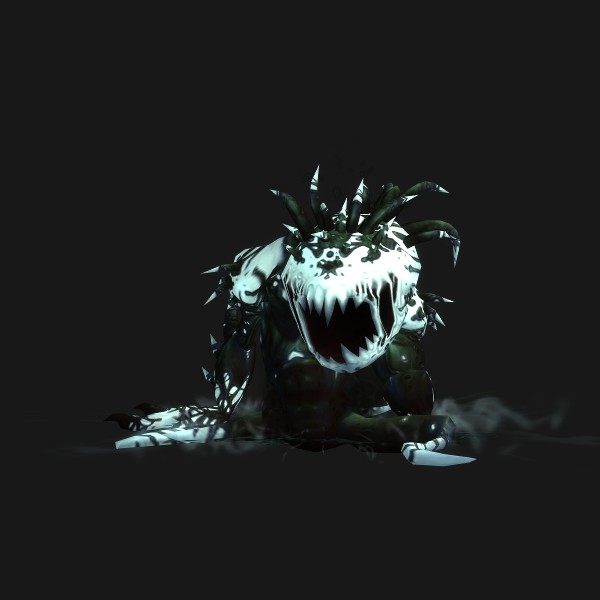
Players gain 5 Pride when hit by any ability from the Sha of Pride or its minions, though Norushen periodically protects several players at a time from this effect. The Sha of Pride's abilities trigger increasingly dangerous effects on players the more Pride they have. When the Sha of Pride reaches 30% health remaining, it destroys Norushen, who purifies the raid of their Pride with his final action. From that point, players must defeat the Sha before their Pride overwhelms them.
- Damage Dealers: Quickly defeat Manifestations of Pride and interrupt their [Mocking Blast] to avoid gaining Pride.
- Damage Dealers: When allies are trapped by [Corrupted Prison], stand on the locks beside the prison to free them.
- Damage Dealers: If your Pride is between 50 and 74 when the Sha casts [Swelling Pride], stand in your nearby [Projection] to prevent a raidwide explosion.
- Healers: Dispel allies' [Mark of Arrogance] when you have [Gift of the Titans] to avoid gaining Pride.
- Healers: When allies are trapped by [Corrupted Prison], stand on the locks beside the prison to free them.
- Healers: The Sha casts [Swelling Pride] upon reaching 100 Energy, dealing heavy raidwide damage.
- Healers: If your Pride is between 50 and 74 when the Sha casts [Swelling Pride], stand in your nearby [Projection] to prevent a raidwide explosion.
- Tanks: Immediately taunt the Sha whenever your fellow tank if afflicted by [Wounded Pride].
- Tanks: When allies are trapped by [Corrupted Prison], stand on the locks beside the prison to free them.
- Tanks: If your Pride is between 50 and 74 when the Sha casts [Swelling Pride], stand in your nearby [Projection] to prevent a raidwide explosion.
Abilities
- Pride
- Gift of the Titans
- Power of the Titans
- Swelling Pride
- Bursting Pride
- Projection
- Aura of Pride
- Overcome
- Mark of Arrogance
- Wounded Pride
- Mocking Blast
- Last Word
- Self-Reflection
- Corrupted Prison
- Banishment
- Orb of Light
Galakras
- Galakras
 Master Cannoneer Dagryn
 Lieutenant General Krugruk
 High Enforcer Thranok
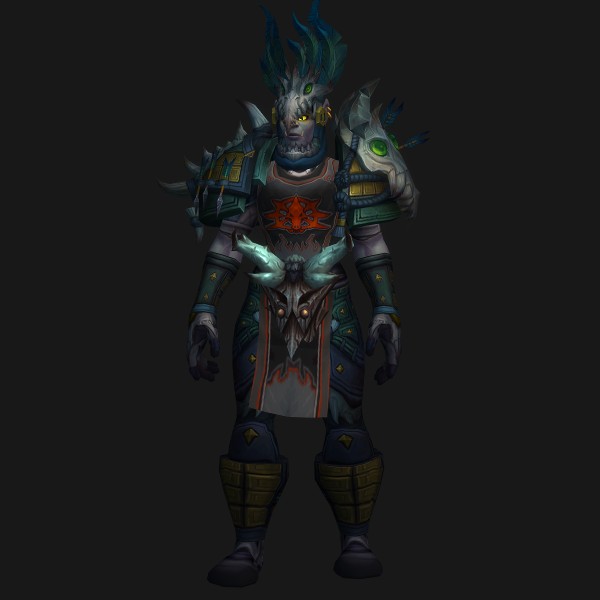 Korgra the Snake
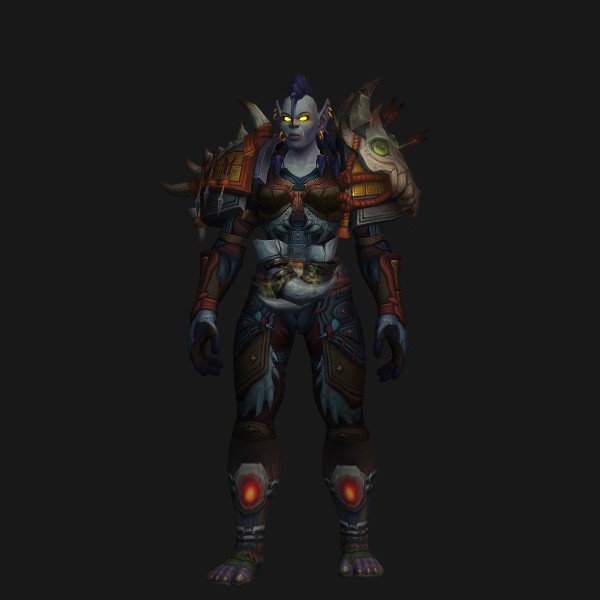
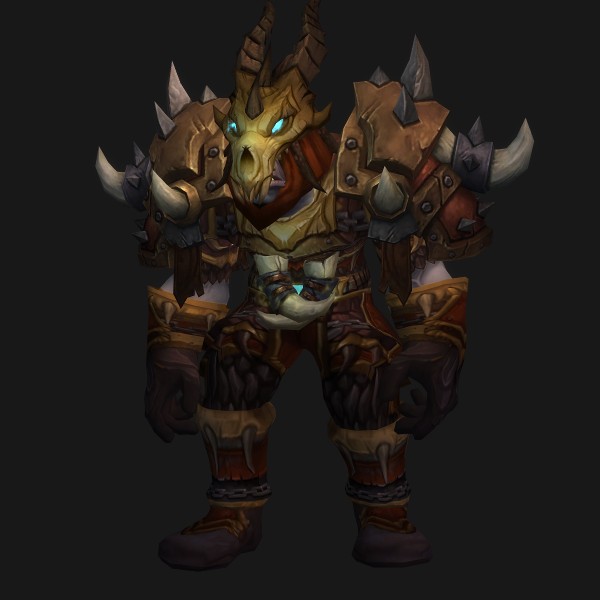
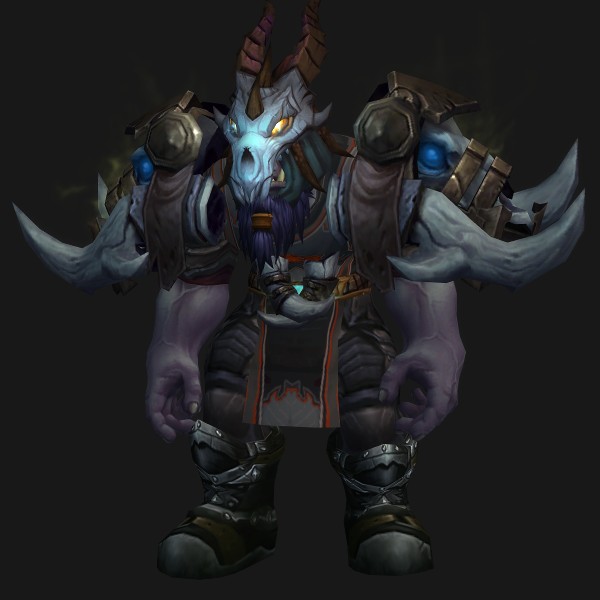
Players assault fortified towers as waves of Kor'kron troops rush forth to repel them, and Warlord Zaela circles overhead on her fearsome proto-drake, Galakras. Meanwhile, allied demolitionists work to breach the doors to the nearby guard towers, allowing a strike team to enter the tower and capture it. Once both towers have been captured, the anti-air guns atop each may be used to bring Galakras down to the ground for a final battle.
- Damage Dealers: Quickly destroy Healing Tide Totems and War Banners.
- Damage Dealers: Interrupt Tidal Shamans' [Chain Heal].
- Damage Dealers: If targeted by Galakras's [Flames of Galakrond], lead it through your allies to diminish its potency.
- Healers: When Korgra the Snake reaches 50% health remaining, her [Venom Bolt Volley] will deal heavy raidwide damage.
- Healers: If targeted by Galakras's [Flames of Galakrond], lead it through your allies to diminish its potency.
- Tanks: Interrupt Tidal Shamans' [Chain Heal].
- Tanks: When a tower is breached, one tank must lead a small group of players to clear out remaining Kor'kron.
Abilities
- Stage One: Bring Her Down!
- Shoot
- Muzzle Spray
- Thunder Clap
- Arcing Smash
- Shattering Cleave
- Crusher's Call
- Poison-Tipped Blades
- Poison Cloud
- Curse of Venom
- Fracture
- Healing Tide Totem
- Flamestrike
- Flames of Galakrond
- Pulsing Flames
Galakras
- Galakras
- Master Cannoneer Dagryn
- Lieutenant General Krugruk
- High Enforcer Thranok
- Korgra the Snake
Players assault fortified towers as waves of Kor'kron troops rush forth to repel them, and Warlord Zaela circles overhead on her fearsome proto-drake, Galakras. Meanwhile, allied demolitionists work to breach the doors to the nearby guard towers, allowing a strike team to enter the tower and capture it. Once both towers have been captured, the anti-air guns atop each may be used to bring Galakras down to the ground for a final battle.
- Damage Dealers: Quickly destroy Healing Tide Totems and War Banners.
- Damage Dealers: Interrupt Tidal Shamans' [Chain Heal].
- Damage Dealers: If targeted by Galakras's [Flames of Galakrond], lead it through your allies to diminish its potency.
- Healers: When Korgra the Snake reaches 50% health remaining, her [Venom Bolt Volley] will deal heavy raidwide damage.
- Healers: If targeted by Galakras's [Flames of Galakrond], lead it through your allies to diminish its potency.
- Tanks: Interrupt Tidal Shamans' [Chain Heal].
- Tanks: When a tower is breached, one tank must lead a small group of players to clear out remaining Kor'kron.
Abilities
- Stage One: Bring Her Down!
- Shoot
- Muzzle Spray
- Thunder Clap
- Arcing Smash
- Shattering Cleave
- Crusher's Call
- Poison-Tipped Blades
- Poison Cloud
- Curse of Venom
- Fracture
- Healing Tide Totem
- Blizzard
- Flames of Galakrond
- Pulsing Flames
Iron Juggernaut
The Iron Juggernaut gathers energy as it assaults players with an array of cannons, lasers, and explosive attacks. Upon reaching full energy, the Juggernaut engages its Siege Mode, digging its claws into the ground and becoming sessile while employing new countermeasures. The Juggernaut cycles between these two phases until defeated.
- Damage Dealers: Position yourself carefully to control where [Shock Pulse] launches you.
- Damage Dealers: If targeted with [Cutter Laser], avoid leading it across patches of [Explosive Tar].
- Healers: Position yourself carefully to control where [Shock Pulse] launches you.
- Healers: During Siege Mode, the Juggernaut deals sustained raidwide damage with [Seismic Activity].
- Tanks: Take turns tanking the Juggernaut to allow the effects of [Flame Vents] to dissipate.
- Tanks: While not tanking, jump on burrowed Crawler Mines to prevent them from damaging the raid.
- Tanks: Position yourself carefully to control where [Shock Pulse] launches you.
Abilities
- Pressing the Attack: Assault Mode
- Borer Drill
- Laser Burn
- Mortar Cannon
- Crawler Mines
- Ricochet
- Flame Vents
- Breaking the Defense: Siege Mode
- Seismic Activity
- Shock Pulse
- Demolisher Cannons
- Cutter Laser
- Explosive Tar
- Mortar Barrage
Kor'kron Dark Shaman
- Earthbreaker Haromm
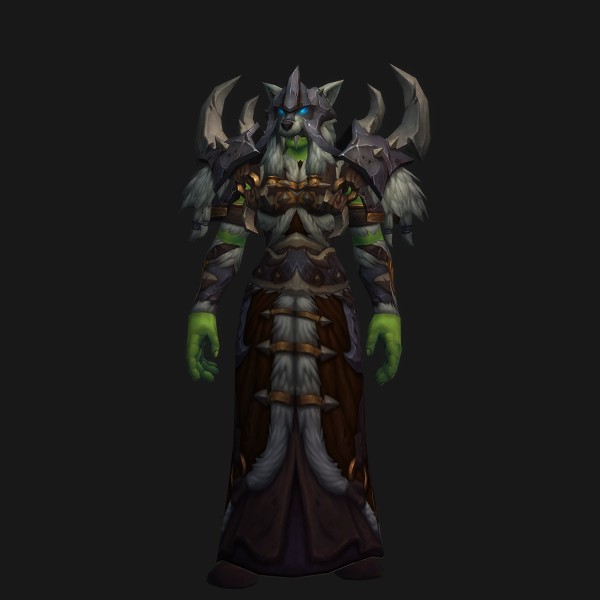 Wavebinder Kardris
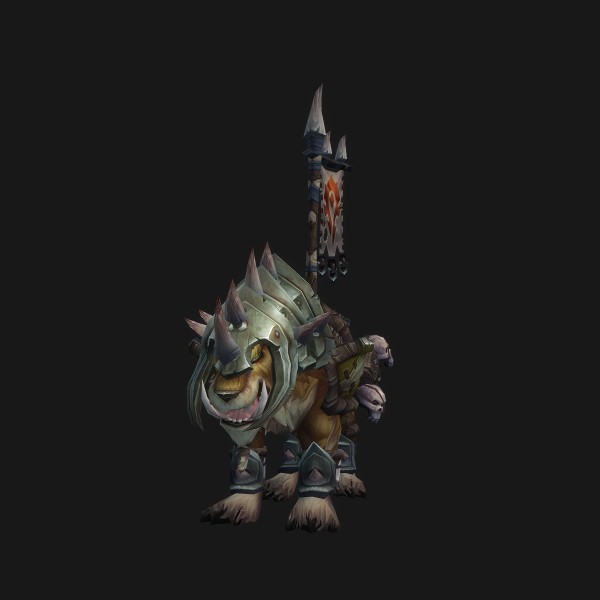 Darkfang and Bloodclaw
 Poisonmist Totem
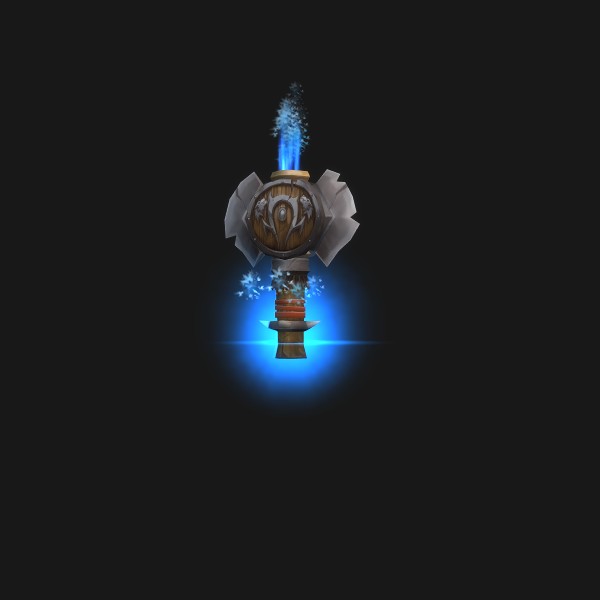 Foulstream Totem
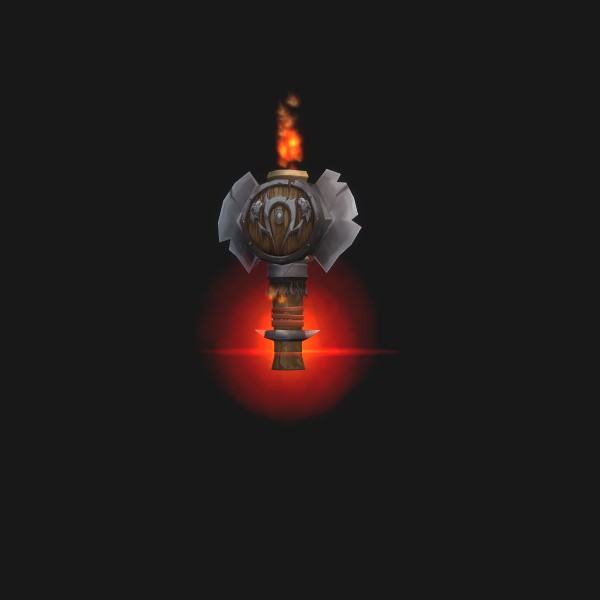 Ashflare Totem
Haromm and Kardris begin the encounter fighting alongside their vicious war wolves. The two powerful Dark Shaman share health, and they drop corrupted totems that grant them each different abilities as they sustain damage.
- Damage Dealers: If targeted by Haromm's [Foul Stream], aim the blast away from other raid members.
- Damage Dealers: Keep away from [Ashen Walls] and Foul Slimes, which damage anyone near them.
- Healers: If targeted by Haromm's [Foul Stream], aim the blast away from your allies.
- Healers: Keep away from [Ashen Walls] and Foul Slimes, which damage anyone near them.
- Healers: When [Falling Ash] strikes the ground, the blast deals heavy damage to the entire raid.
- Tanks: Take turns tanking Haromm in order to allow the effects of his [Froststorm Strike] to dissipate.
- Tanks: Position Haromm's [Ashen Walls] carefully to avoid limiting your allies' movement.
- Tanks: Keep the Foul Slimes spawned by [Foul Geyser] away from your allies.
Abilities
- Spirit Link
- Bloodlust
- Swipe
- Rend
- Totems
- Froststorm Strike
- Toxic Mist
- Toxicity
- Foul Stream
- Ashen Wall
- Iron Tomb
- Froststorm Bolt
- Toxic Storm
- Toxic Tornado
- Foul Geyser
- Foulness
General Nazgrim
- General Nazgrim
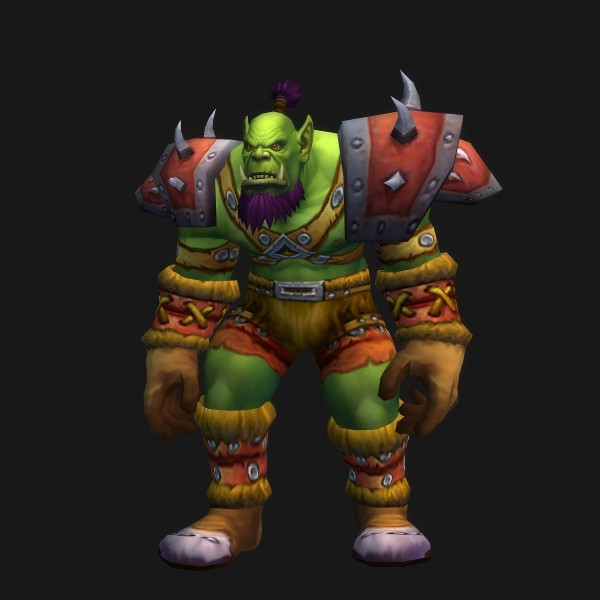 Orgrimmar Faithful
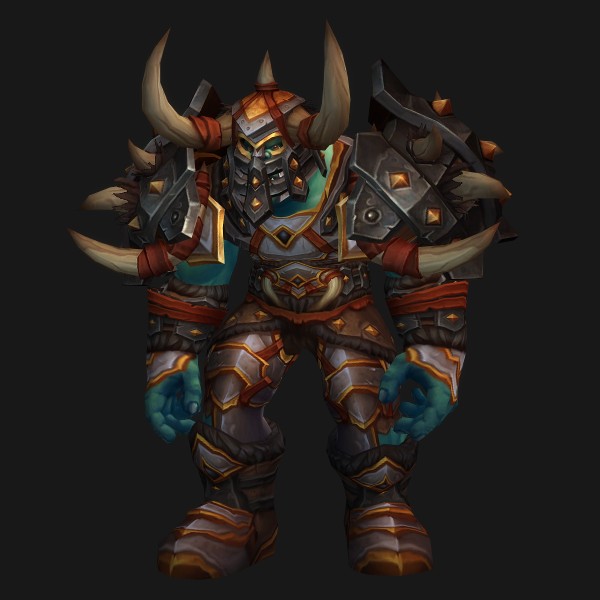 Kor'kron Ironblade
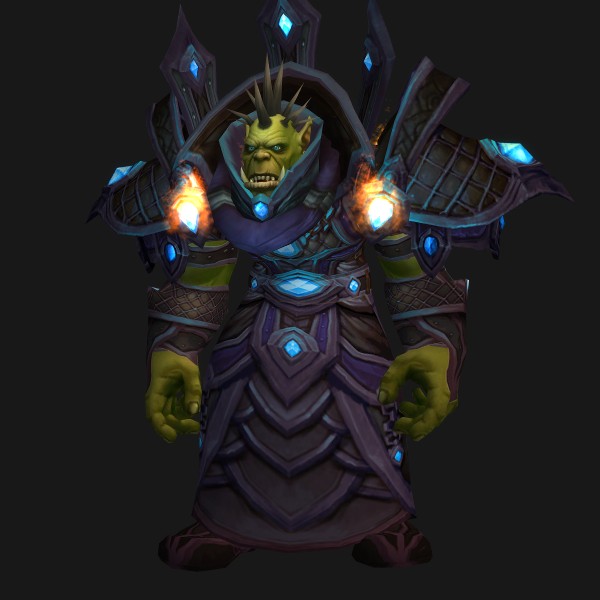 Kor'kron Arcweaver
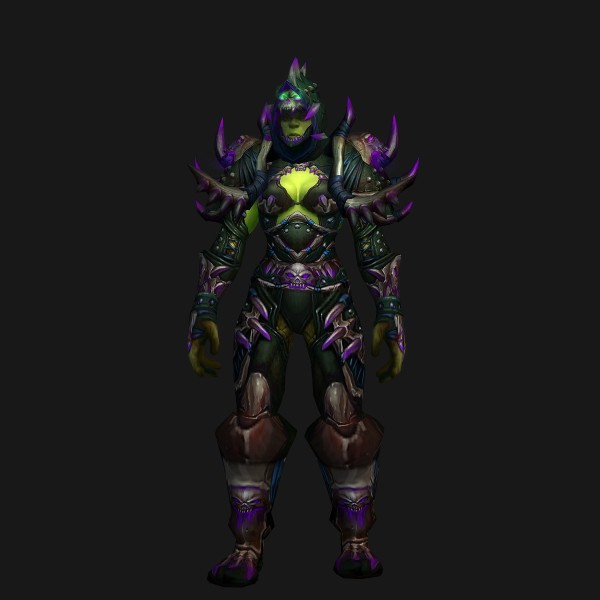 Kor'kron Assassin
General Nazgrim is a powerful warrior who builds Rage by damaging players with various abilities, and periodically spends that Rage to unleash powerful attacks. Throughout the encounter, mixed groups of three Kor'kron troops at a time stream in to assist their General.
- Damage Dealers: Defeat Kor'kron Forces quickly so as not to get overwhelmed.
- Damage Dealers: Interrupt Kor'kron Arcweavers' and Warshaman's spellcasts.
- Damage Dealers: Quickly destroy Nazgrim's [Kor'kron Banner] and Warshaman's Healing Tide Totem when they are placed.
- Damage Dealers: Directly attacking Nazgrim when he is in [Defensive Stance] will cause him to generate Rage rapidly.
- Healers: If General Nazgrim has between 75 and 99 Rage when Cooling Off ends, his [War Song] will deal heavy damage to the entire raid.
- Healers: Kor'kron Assassins fixate on a non-tank target and deal heavy damage to their prey.
- Tanks: Trade off tanking Nazgrim to allow [Sundering Blow] to fade, or Nazgrim will gain large amounts of Rage.
- Tanks: Keep Kor'kron Warshaman far away from Nazgrim, or they may heal him significantly.
Abilities
- Sundering Blow
- Bonecracker
- Execute
- Stances
- Battle Stance
- Berserker Stance
- Defensive Stance
- Rage
- Heroic Shockwave
- Aftershock
- Kor'kron Banner
- War Song
- Ravager
- Cooling Off
- Kor'kron Forces
- Ironstorm
Malkorok
- Malkorok
 Living Corruption
Malkorok's platform begins covered with a dark miasma that absorbs all healing done to players, converting it into an absorption shield instead. Malkorok strikes the ground with a large cone smash three times in sequence, and then causes the same three areas struck to erupt simultaneously with dark energy. Malkorok draws in the miasma, entering a Blood Rage and empowering his melee attacks but allowing players to heal normally for a time. Malkorok then exhales the dark energy, and the cycle repeats until he is defeated.
- Damage Dealers: Be mindful of the locations of Malkorok's [Arcing Smashes] and avoid those locations when he casts [Breath of Y'Shaarj].
- Damage Dealers: If you have a strong absorption shield, stand in [Imploding Energy] to prevent raidwide damage.
- Damage Dealers: Move away from allies if afflicted with [Displaced Energy].
- Damage Dealers: Clump to split the damage from Malkorok's attacks during his [Blood Rage].
- Healers: Heal aggressively to keep allies' Ancient Barrier maximized while [Ancient Miasma] is active.
- Healers: Be mindful of the locations of Malkorok's [Arcing Smashes] and avoid those locations when he casts [Breath of Y'Shaarj].
- Healers: If you have a strong absorption shield, stand in [Imploding Energy] to prevent heavy raidwide damage.
- Healers: Dispel [Displaced Energy] once allies are clear of the raid.
- Tanks: Take turns tanking Malkorok to allow [Fatal Strikes] to reset.
- Tanks: Clump to split the damage from Malkorok's attacks during his [Blood Rage].
Abilities
- Ancient Miasma
- Ancient Barrier
- Essence of Y'Shaarj
- Endless Rage
- Blood Rage
- Displaced Energy
- Relentless Assault
- Arcing Smash
- Seismic Slam
- Languish
- Breath of Y'Shaarj
- Imploding Energy
- Fatal Strike
- Eradicate
Spoils of Pandaria
- Secured Stockpile of Pandaren Spoils
 Mogu Crate
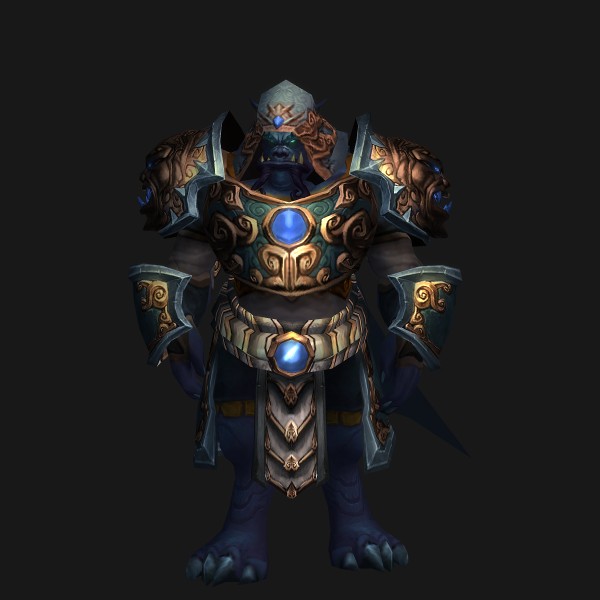 Jun-Wei
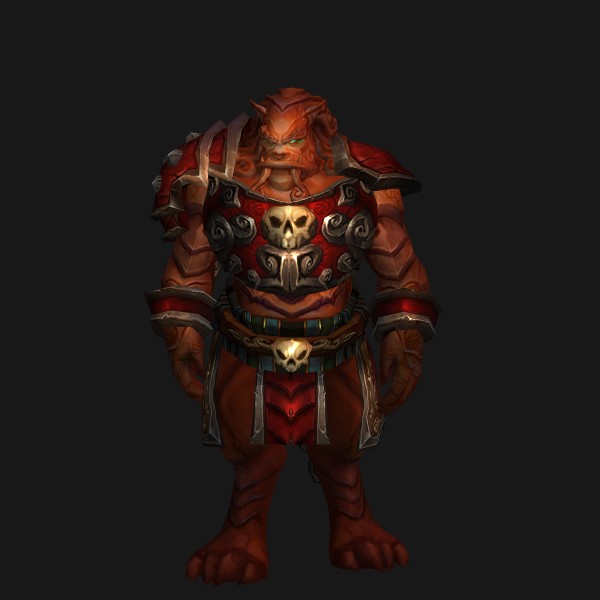 Zu Yin
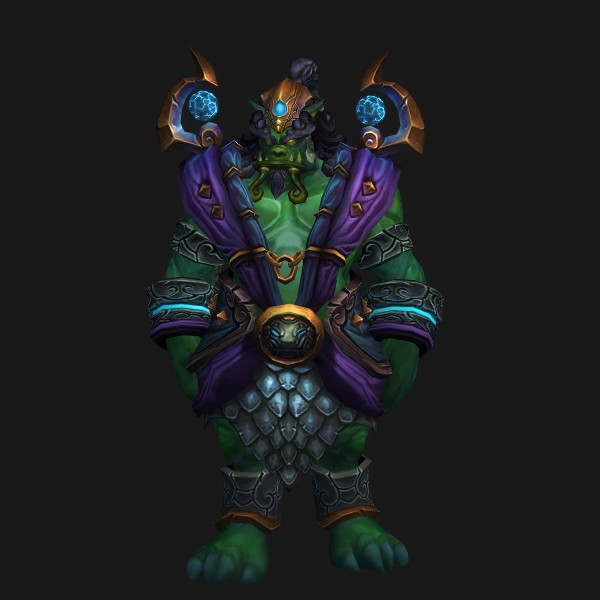 Xiang-Lin
Players trigger the self-destruct mechanism in a Kor'kron treasure storage. Breaking open crates and defeating the enemies contained inside releases Titan Energy that charges manual override levers that are used to shut down the defense system before it destroys the storeroom and everyone trapped inside. Two of the four quadrants of the room are accessible initially, and the other half is unlocked once the first two override levers are pulled. Activating and pulling all four levers completes the encounter.
- Damage Dealers: Destroy Stone Statues summoned by mogu elders to minimize the effects of [Strength of the Stone].
- Damage Dealers: If a mantid commander afflicts you with [Set to Blow], drop the explosive charges away from your allies.
- Damage Dealers: Stand in Anima Golems' [Matter Scramble] rings to prevent an explosion.
- Healers: The mogu and mantid champions that emerge from Large Crates deal raidwide damage while active.
- Healers: Stand in Anima Golems' [Matter Scramble] rings to prevent an explosion.
- Tanks: Be ready to tank the enemies that emerge from each crate as they are opened.
- Tanks: Modified Anima Golems' [Crimson Reconstitution] pools will heal any enemies that remain within them.
Abilities
- Massive Crate of Goods
- Return to Stone
- Strength of the Stone
- Shadow Volley
- Molten Fist
- Jade Tempest
- Fracture
- Set to Blow
- Pheromone Cloud
- Stout Crate of Goods
- Matter Scramble
- Crimson Reconstitution
- Crimson Acid
- Torment
- Mogu Rune of Power
- Forbidden Magic
Thok the Bloodthirsty
- Thok the Bloodthirsty
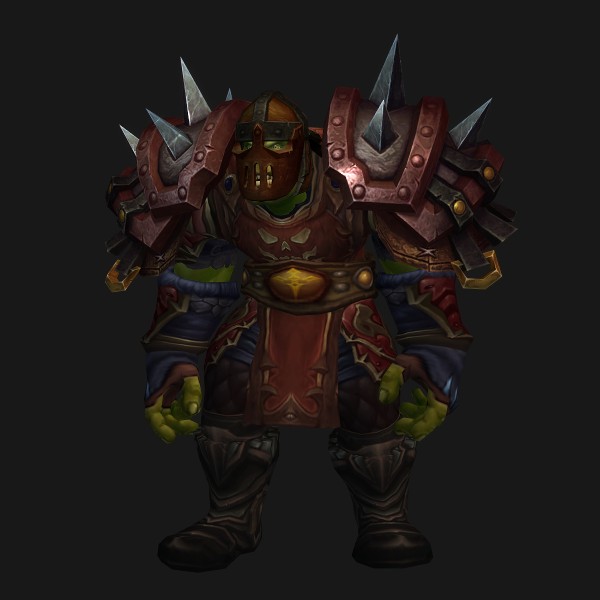 Kor'kron Jailer
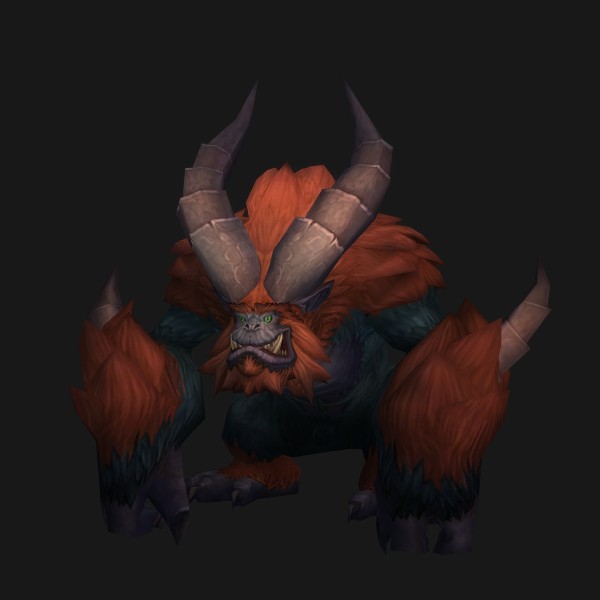 Starved Yeti
 Captive Cave Bat
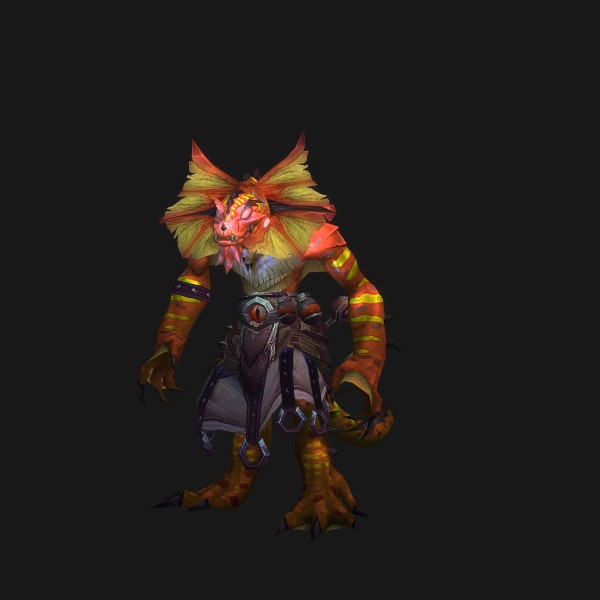 Akolik
Thok alternates between two modes. When initially engaged, he performs Deafening Screech with increasing frequency, dealing heavy raidwide damage. When he detects a clump of seriously injured players, Thok enters a Blood Frenzy, during which he pursues random targets, instantly devouring any players that cross his path. During Blood Frenzy, he moves faster and faster; defeating a Kor'kron Jailer and freeing a prisoner for Thok to devour will empower him but end his Blood Frenzy.
- Damage Dealers: Avoid Thok's hungering jaws during his [Blood Frenzy], or perish instantly.
- Damage Dealers: Defeat the Kor'kron Jailer that emerges during Thok's [Blood Frenzy].
- Damage Dealers: If an ally is frozen by Thok's [Icy Blood], destroy the ice block to free them.
- Healers: Time your spellcasts carefully to avoid being interrupted by Thok's [Deafening Screech].
- Healers: Avoid Thok's hungering jaws during his [Blood Frenzy], or perish instantly.
- Healers: Dispel [Corrosive Blood] from allies.
- Tanks: Take turns tanking Thok to allow the effects of his breath attacks to fade.
- Tanks: Orient Thok carefully to avoid hitting your allies with either his breath attacks or his [Tail Lash].
- Tanks: Avoid Thok's hungering jaws during his [Blood Frenzy], or perish instantly.
Abilities
- Fearsome Roar
- Deafening Screech
- Tail Lash
- Shock Blast
- Bloodied
- Stage 2: Frenzy for Blood!
- Blood Frenzy
- Fixate
- Wrecking Ball
- Vampiric Frenzy
- Prisoners of War
- An Infusion of Acid
- Acid Breath
- Corrosive Blood
- An Infusion of Frost
- Freezing Breath
Siegecrafter Blackfuse
- Siegecrafter Blackfuse
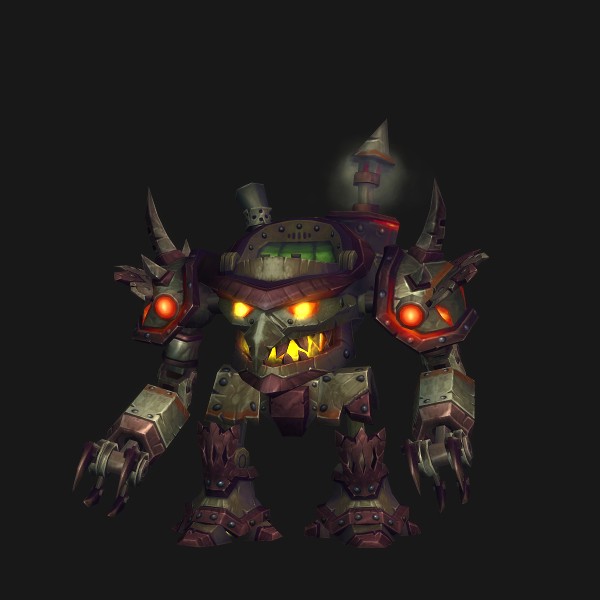 Automated Shredders
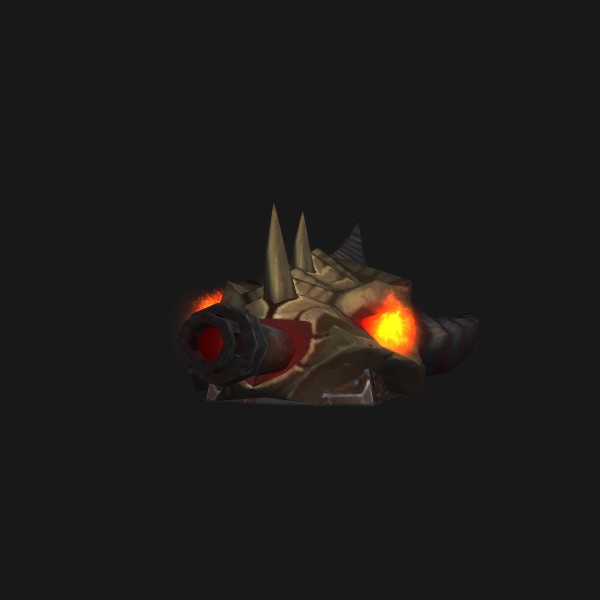 Shockwave Missile Turret
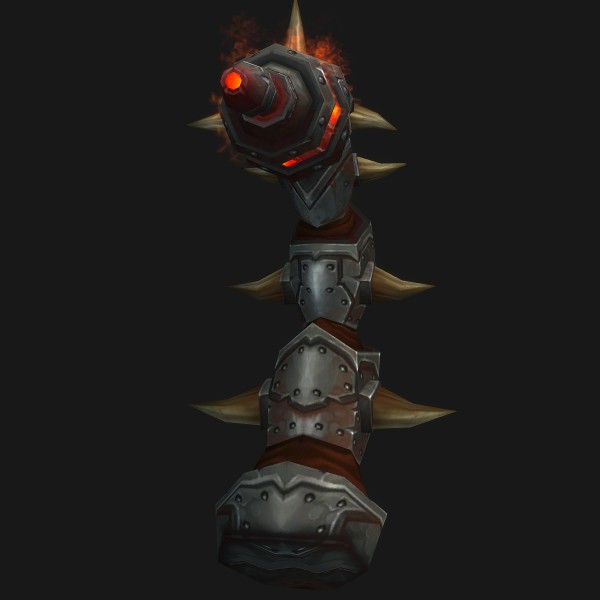 Laser Turret
The fight against Blackfuse unfolds amidst a weapons manufacturing assembly line. Each time the conveyor belts activate, three disassembled weapons of various types roll out, and players may access the assembly line by jumping into nearby pipes, to destroy one of the three. The remaining two will be activated and assault the raid until they slide out of view.
- Damage Dealers: Take turns going onto the Assembly Line to destroy one Disassembled Weapon per wave.
- Damage Dealers: Automated Shredders' [Reactive Armor] makes normal attacks ineffective against them.
- Damage Dealers: Destroy Crawler Mines before they can reach their targets.
- Healers: When an Electromagnet activates, [Magnetic Crush] deals sustained raidwide damage.
- Healers: Automated Shredders deal increasing amounts of raidwide damage with [Overload] the longer they are alive.
- Tanks: Blackfuse heals any nearby Automated Shredders with his [Automatic Repair Beam].
- Tanks: As you gain applications of Blackfuse's [Electrostatic Charge], you can more effectively damage Automatic Shredders through their [Reactive Armor].
Abilities
- Launch Sawblade
- Serrated Slash
- Protective Frenzy
- Electrostatic Charge
- Automatic Repair Beam
- Overcharge
- Energized Defensive Matrix
- Reactive Armor
- Death from Above
- Overload
- The Assembly Line
- Transport Pipes
- Pattern Recognition
- Matter Purification Beam
- Shockwave Missile
- Overcharged Missile Turret
Paragons of the Klaxxi
- Skeer the Bloodseeker
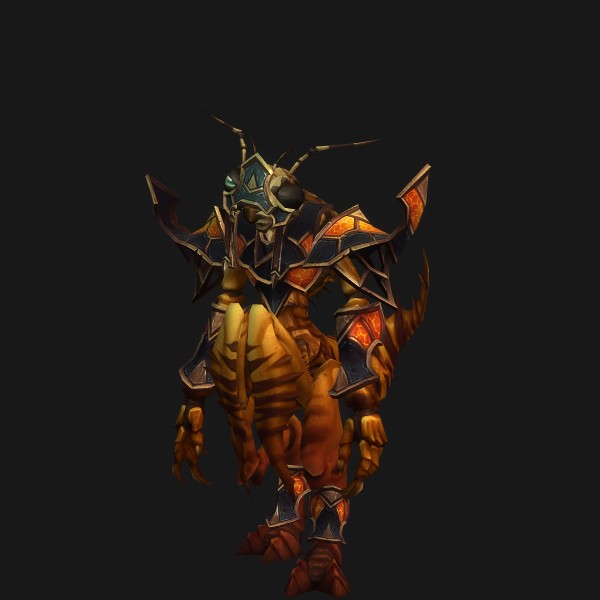 Hisek the Swarmkeeper
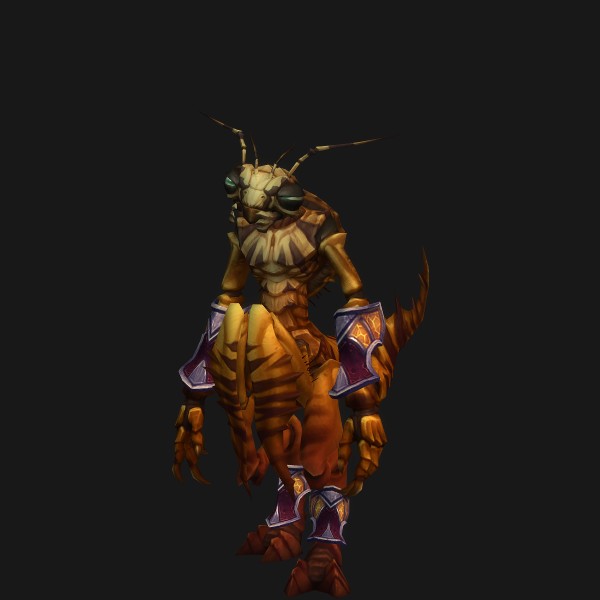 Ka'roz the Locust
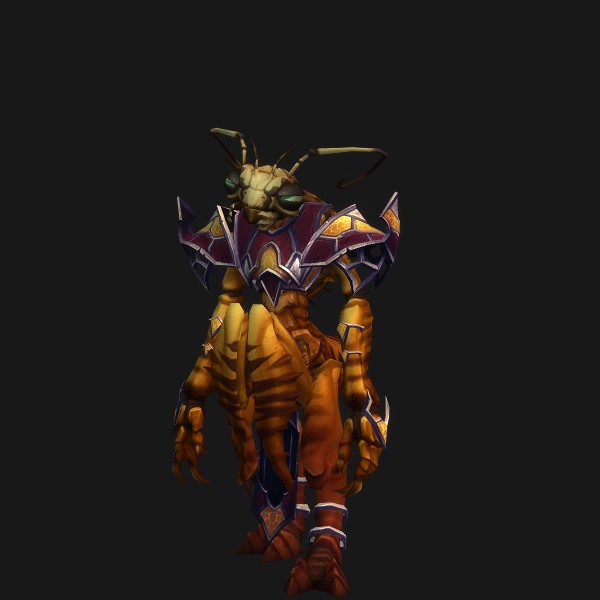 Rik'kal the Dissector
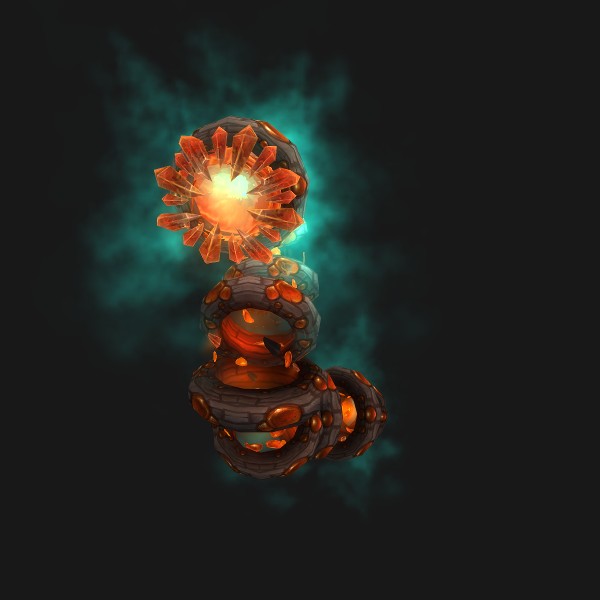 Amber Parasite
Three Klaxxi Paragons join the fight at the beginning of the encounter, while the remaining six observe the action from perches above. Each time a Klaxxi Paragon is defeated, any other active Paragons heal to full and the next Klaxxi Paragon leaps down to join the fight. The encounter ends when all nine have been defeated.
- Damage Dealers: Defeat the Blood oozes summoned by Skeer's [Bloodletting] before they can reach their target.
- Damage Dealers: After Hisek [Aims], he [Fires], dealing massive damage split among all players in a line with the target.
- Damage Dealers: When Korven is active, break the shell created by [Encase in Amber] or the targeted Paragon will be healed.
- Damage Dealers: Kaz'tik's Hungry Kunchongs instantly devour anyone who touches them, except when feeding on a [Mesmerized] player.
- Healers: Rik'kal's Amber Parasites fixate on different players and deal heavy damage via [Feed].
- Healers: After Hisek [Aims], he [Fires], dealing massive damage split among all players in a line with the target.
- Healers: Kaz'tik's Hungry Kunchongs instantly devour anyone who touches them, except when feeding on a [Mesmerized] player.
- Tanks: Rik'kal's [Injection] fails if you have an active mitigation ability in effect, and only spawns Parasites if Rik'kal is still alive when [Injection] expires.
- Tanks: Skeer and Rik'kal must be tanked by separate players, as must Xaril and Kil'ruk, as each Paragon afflicts a vulnerability to the other's attacks.
- Tanks: When a Hungry Kunchong reaches full Energy it will [Molt] and mature into a large kunchong that must be tanked.
Abilities
- Paragon's Purpose
- Ready to Fight
- Power of the Paragons
- Hewn
- Bloodletting
- Bloodthirsty
- Genetic Alteration
- Injection
- Genetic Modifications
- Feed
- Mutate: Amber Scorpion
- Claw
- Swipe
- Sting
- Prey
- Faulty Mutation
Garrosh Hellscream
- Garrosh Hellscream
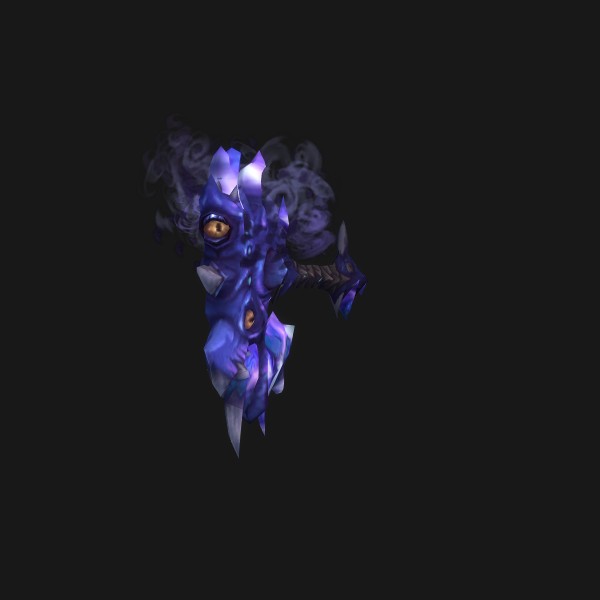 Desecrated Weapon
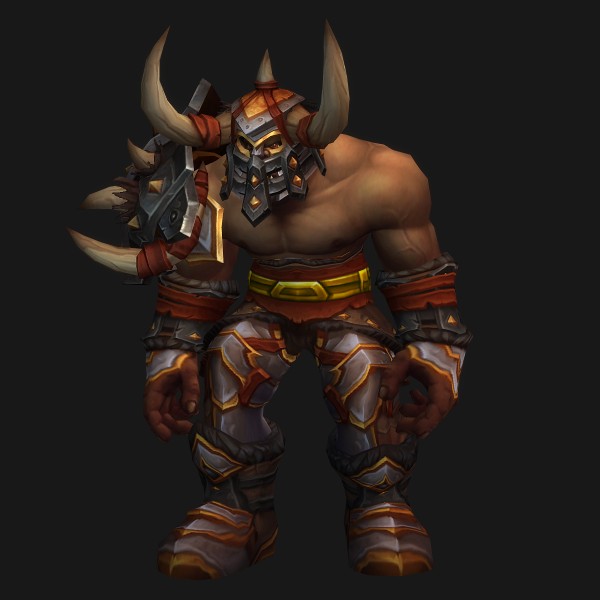 Kor'kron Warbringer
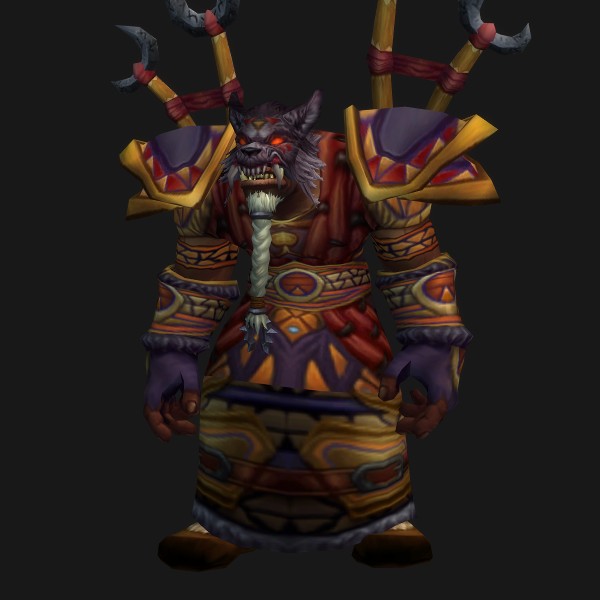 Farseer Wolf Rider
Garrosh calls in Kor'kron soldiers, while Siege Engineers try to activate Iron Stars that crush players and orcs in their path. When Garrosh reaches 10% health, he draws upon the Heart to heal himself. Garrosh periodically pulls all players into the Realm of Y'Shaarj, where they must interrupt his efforts to draw power from the Heart. When reaching 10% health a second time, Garrosh fully drains the heart, empowering all his abilities until his defeat.
- Damage Dealers: During the initial phase, interrupt Far Seers' casts and kill at least one Siege Engineer per wave.
- Damage Dealers: In the realm of Y'Shaarj, defeat all Sha manifestations to prevent Garrosh from gaining energy.
- Damage Dealers: Damage afflicted players to break the [Touch of Y'Shaarj], and interrupt them to prevent the affliction from spreading.
- Damage Dealers: Once Garrosh reaches 25 energy, [Empowered Whirling Corruption] spawns Minions of Y'Shaarj that gain great power if killed near each other.
- Healers: During the initial phase, [Exploding Iron Stars] deal heavy raidwide damage that decreases with distance from the impact point.
- Healers: Once Garrosh's shield in the Realm of Y'Shaarj is broken, his [Annihilate] will deal heavy raidwide damage.
- Healers: [Whirling Corruption] deals heavy raidwide damage that decreases the farther a target is from Garrosh.
- Tanks: During the initial phase, Garrosh will use [Hellscream's Warsong] to significantly increase the damage output of his Kor'kron minions.
- Tanks: After leaving the Realm of Y'Shaarj, Garrosh's attacks will inflict [Gripping Despair], which increases in damage with each application.
- Tanks: Once Empowered, [Whirling Corruption] spawns Minions of Y'Shaarj that gain great power if killed near each other.
Abilities
- Stage One: The True Horde
- Desecrate
- Hellscream's Warsong
- Hamstring
- Blood Frenzied
- Ancestral Fury
- Ancestral Chain Heal
- Chain Lightning
- Iron Star Impact
- Exploding Iron Star
- Intermission: Realm of Y'Shaarj
- Y'Shaarj's Protection
- Annihilate
- Consumed Courage
- Crushing Fear
- Consumed Faith
Loot
What each boss can drop. With a class chosen, only what it can use (by armor type or because the item is for that class). Drop chances aren't published.
Immerseus
 Bubble-Burst BracersWrist · Plate
 Chestplate of Congealed CorrosionChest · Plate
 Corruption-Rotted GauntletsHands · Plate
 Treads of Unchained HateFeet · Plate
 Bracers of Sordid SleepWrist · Plate
 Pauldrons of Violent EruptionShoulder · Plate
 Bolt-Burster GripsHands · Cloth
 Ichor-Dripping ShoulderpadsShoulder · Cloth
 Hood of Swirling SensesHead · Cloth
 Immerseus' Crystalline EyeNeck · Miscellaneous
 Cloak of Misguided PowerBack · Cloth
 Purified Bindings of ImmerseusTrinket · Miscellaneous
 Seal of Eternal SorrowFinger · Miscellaneous
 Salt Water SandalsFeet · Leather
 Bracers of Purified SpiritWrist · Leather
 Soul-Soaked GlovesHands · Mail
 Greatbelt of Living WatersWaist · Plate
 Trident of Corrupted WatersTwo-Hand · Staff
 Waterwalker GreatbootsFeet · Plate
 Encapsulated Essence of ImmerseusOne-Hand · Mace
 Hood of Blackened TearsHead · Leather
 Puddle PunishersFeet · Mail
The Fallen Protectors
 Rook's Unlucky TalismanTrinket · Miscellaneous
 Softfoot's Last ResortOne-Hand · Fist Weapon
 Death Lotus CrossbowRanged · Crossbow
 Stonetoe's Tormented TreadsFeet · Leather
 Grips of Unending AnguishHands · Mail
- Darkfallen ShoulderplatesShoulder · Plate
 Poisonbinder GirthWaist · Plate
 Shockstriker GauntletsHands · Plate
 Sorrowpath SignetFinger · Miscellaneous
 Gloomwrap GreatcloakBack · Cloth
 Sha-Seared SandalsFeet · Cloth
 Robes of the Tendered HeartChest · Cloth
 Shoulderpads of Dou Dou ChongShoulder · Cloth
 Lifebane BracersWrist · Cloth
 Petrified Pennyroyal RingFinger · Miscellaneous
 Purehearted Cricket CageHeld In Off-hand · Miscellaneous
 Shoulders of the Roiling InfernoShoulder · Leather
- Sabatons of DefilementFeet · Mail
 Shoulderguards of Dark MeditationsShoulder · Mail
 Grips of the Fallen CouncilHands · Plate
 Gaze of Echoing DespairHead · Plate
Norushen
- Bracers of Blind HatredWrist · Plate
 Xifeng, Longblade of the Titanic GuardianOne-Hand · Sword
 Norushen's ShortbladeOne-Hand · Dagger
 Gloves of the Golden ProtectorHands · Leather
 Robes of the Blackened WatcherChest · Leather
 Quarantine ShoulderguardsShoulder · Mail
 Leggings of Unabashed AngerLegs · Mail
 Rage-Blind GreathelmHead · Plate
 Reality Ripper RingFinger · Miscellaneous
- Drape of the Despairing PitBack · Cloth
 Bracers of Broken CausationWrist · Cloth
 Blight HurlersHands · Cloth
 Sash of the Last GuardianWaist · Cloth
 Rime-Rift ShouldersShoulder · Cloth
 Untainted Guardian's ChainNeck · Miscellaneous
 Norushen's Enigmatic BarrierOff Hand · Shield
 Boots of Broken RelianceFeet · Leather
 Confident GripsHands · Leather
 Bracers of Final SerenityWrist · Mail
 Shadow-Binder's KiltLegs · Mail
 Wristplates of Broken DoubtWrist · Plate
 Fusion-Fire CoreTrinket · Miscellaneous
Sha of Pride
 Chest of the Cursed VanquisherNon-equippable · JunkDruidMageDeath KnightRogue
- Chest of the Cursed ConquerorNon-equippable · JunkWarlockPriestPaladin
- Chest of the Cursed ProtectorNon-equippable · JunkHunterMonkShamanWarrior
- Chest of the Cursed VanquisherNon-equippable · JunkDruidMageDeath KnightRogue
 Chest of the Cursed Vanquisher
- Chest of the Cursed ConquerorNon-equippable · JunkWarlockPriestPaladin
- Chest of the Cursed Conqueror
- Chest of the Cursed ProtectorNon-equippable · JunkHunterMonkShamanWarrior
- Chest of the Cursed Protector
- Chest of the Cursed ConquerorNon-equippable · JunkWarlockPriestPaladin
- Chest of the Cursed ProtectorNon-equippable · JunkHunterMonkShamanWarrior
- Chest of the Cursed VanquisherNon-equippable · JunkDruidMageDeath KnightRogue
 Droplet of Y'ShaarjNon-equippable · Companion Pets
 Gooey Sha-lingNon-equippable · Companion Pets
 Assurance of ConsequenceTrinket · Miscellaneous
 Prismatic Prison of PrideTrinket · Miscellaneous
 Greatsword of Pride's FallTwo-Hand · Sword
 Shield of MockeryOff Hand · Shield
 Gaze of ArroganceTwo-Hand · Staff
 Self-Reflecting MaskHead · Leather
- Greaves of Sublime SuperiorityFeet · Plate
 Necklace of Fading LightNeck · Miscellaneous
 Choker of the Final WordNeck · Miscellaneous
- Crown of Boastful WordsHead · Plate
Galakras
 Evil Eye of GalakrasTrinket · Miscellaneous
- Arcsmasher BracersWrist · Plate
 Krugruk's Rigid ShoulderplatesShoulder · Plate
- Unrepentant HeelsFeet · Leather
 Korgra's Venom-Soaked GauntletsHands · Leather
 Swift Serpent SignetFinger · Miscellaneous
 Dagryn's Discarded LongbowRanged · Bow
 Cannoneer's Multipocket GunbeltWaist · Mail
 Dagryn's Fuselight BracersWrist · Mail
 Thranok's Shattering HelmHead · Plate
 Galakrond Control BandFinger · Miscellaneous
- Bone-Inlaid SandalsFeet · Cloth
 Scalebane BracersWrist · Cloth
 Flameslinger's Fiery CowlHead · Cloth
 Skydancer BootsFeet · Cloth
- Shoulderpads of Pulsing ProtectionShoulder · Cloth
 Extinguished Ember of GalakrasFinger · Miscellaneous
 Drakebinder GreatstaffTwo-Hand · Staff
 Dragonmaw Emergency StrapWaist · Leather
- Grips of Tidal ForceHands · Mail
- Smoldering Drakescale BracersWrist · Plate
 Windfire LegplatesLegs · Plate
Galakras
- Evil Eye of GalakrasTrinket · Miscellaneous
- Arcsmasher BracersWrist · Plate
- Krugruk's Rigid ShoulderplatesShoulder · Plate
- Unrepentant HeelsFeet · Leather
- Korgra's Venom-Soaked GauntletsHands · Leather
- Swift Serpent SignetFinger · Miscellaneous
- Dagryn's Discarded LongbowRanged · Bow
- Cannoneer's Multipocket GunbeltWaist · Mail
- Dagryn's Fuselight BracersWrist · Mail
- Thranok's Shattering HelmHead · Plate
- Galakrond Control BandFinger · Miscellaneous
- Bone-Inlaid SandalsFeet · Cloth
- Scalebane BracersWrist · Cloth
- Flameslinger's Fiery CowlHead · Cloth
- Skydancer BootsFeet · Cloth
- Shoulderpads of Pulsing ProtectionShoulder · Cloth
- Extinguished Ember of GalakrasFinger · Miscellaneous
- Drakebinder GreatstaffTwo-Hand · Staff
- Dragonmaw Emergency StrapWaist · Leather
- Grips of Tidal ForceHands · Mail
- Smoldering Drakescale BracersWrist · Plate
- Windfire LegplatesLegs · Plate
Iron Juggernaut
- Earthripper GlovesHands · Cloth
 Juggernaut's Focusing CrystalTrinket · Miscellaneous
 Minelayer's Padded BootsFeet · Mail
- Tar-Coated GauntletsHands · Plate
- Wall-Borer BracersWrist · Plate
- Precision CuttersHands · Mail
 Demolisher's Reinforced BeltWaist · Plate
 Seismic BoreOne-Hand · Mace
 Laser Burn BracersWrist · Leather
 Ricocheting ShoulderguardsShoulder · Leather
 Earthbreaker's Steaming ChestplateChest · Plate
 Juggernaut's Ignition KeysNeck · Miscellaneous
 Belt of Ominous TremblesWaist · Cloth
 Leggings of Furious FlameLegs · Cloth
- Bracers of the Broken FaultWrist · Cloth
 Shock Pulse RobesChest · Cloth
 Laser-Slice SignetFinger · Miscellaneous
 Juggernaut's Power CoreHeld In Off-hand · Miscellaneous
- Castlebreaker BracersWrist · Leather
- Treads of Autonomic MotionFeet · Mail
- Cavemaker WristguardsWrist · Mail
- Borer Drill BootsFeet · Plate
Kor'kron Dark Shaman
 Kardris' Toxic TotemTrinket · Miscellaneous
 Kardris' ScepterOne-Hand · Mace
- Darkfang MaskHead · Leather
 Belt of the Iron PrisonWaist · Mail
- Shoulderguards of Foul StreamsShoulder · Mail
- Shackles of Stinking SlimeWrist · Plate
 Shoulderplates of Gushing GeysersShoulder · Plate
 Haromm's TalismanTrinket · Miscellaneous
- Breastplate of Shamanic MirrorsChest · Plate
 Bloodclaw BandFinger · Miscellaneous
 Wolf-Rider SpursFeet · Plate
 Ring of the Iron TombFinger · Miscellaneous
 Haromm's Frozen CrescentOne-Hand · Axe
 Damron's Belt of DarknessWaist · Leather
 Riou's Vigilant LeggingsLegs · Leather
 Haromm's Horrifying HelmHead · Mail
- Ashen Wall GirdleWaist · Plate
 Poisonmist NightcloakBack · Cloth
 Toxic Tornado TreadsFeet · Cloth
 Iron Wolf HoodHead · Cloth
 Ashflare PendantNeck · Miscellaneous
General Nazgrim
 Gauntlets of the Cursed VanquisherNon-equippable · JunkDruidMageDeath KnightRogue
- Gauntlets of the Cursed ConquerorNon-equippable · JunkWarlockPriestPaladin
- Gauntlets of the Cursed ProtectorNon-equippable · JunkHunterMonkShamanWarrior
- Gauntlets of the Cursed ProtectorNon-equippable · JunkHunterMonkShamanWarrior
- Gauntlets of the Cursed VanquisherNon-equippable · JunkDruidMageDeath KnightRogue
- Gauntlets of the Cursed Vanquisher
- Gauntlets of the Cursed ConquerorNon-equippable · JunkWarlockPriestPaladin
- Gauntlets of the Cursed Conqueror
- Gauntlets of the Cursed VanquisherNon-equippable · JunkDruidMageDeath KnightRogue
- Gauntlets of the Cursed Protector
- Gauntlets of the Cursed ConquerorNon-equippable · JunkWarlockPriestPaladin
- Gauntlets of the Cursed ProtectorNon-equippable · JunkHunterMonkShamanWarrior
 Nazgrim's Burnished InsigniaTrinket · Miscellaneous
- Ravager's PathwalkersFeet · Mail
 Nazgrim's GutripperOne-Hand · Dagger
 Bulwark of the Fallen GeneralOff Hand · Shield
- Sandals of Two Little BeesFeet · Cloth
 Shoulderguards of the Righteous StandShoulder · Leather
 Gar'tok, Strength of the FaithfulTwo-Hand · Mace
 Arcweaver Spell SwordOne-Hand · Sword
- Robes of the Warrior's FallChest · Leather
 Crown of Tragic TruthHead · Mail
- Spaulders of Kor'kron FealtyShoulder · Cloth
Malkorok
 Vial of Living CorruptionTrinket · Miscellaneous
- Blood Rage BracersWrist · Plate
 Lazahk's Lost ShadowrapChest · Leather
 Ring of Restless EnergyFinger · Miscellaneous
- Malkorok's Giant StompersFeet · Plate
- Wristguards of RuinationWrist · Mail
 Malkorok's Tainted Dog TagsNeck · Miscellaneous
 Malkorok's SkullcleaverOne-Hand · Axe
 Halberd of Inner ShadowsTwo-Hand · Polearm
 Kor'kron Hand CannonRanged · Gun
 Legplates of Willful DoomLegs · Plate
 Miasmic SkullbeltWaist · Cloth
- Hood of Perpetual ImplosionHead · Cloth
- Robes of Riven DreamsChest · Cloth
 Frenzied Crystal of RageTrinket · Miscellaneous
 Black-Blooded DrapeBack · Cloth
 Seal of Sullen FuryFinger · Miscellaneous
- Visage of the MonstrousOff Hand · Shield
- Boots of Perilous InfusionFeet · Leather
- Bracers of Averted FatalityWrist · Leather
 Ebon Blood ChestguardChest · Mail
 Terrorguard ChestplateChest · Plate
Spoils of Pandaria
 Sigil of RampageTrinket · Miscellaneous
- Ominous Mogu GreatbootsFeet · Plate
- Pandaren RoofsprintersFeet · Leather
 Seal of the Forgotten KingsFinger · Miscellaneous
- Ancient Mogu Tower ShieldOff Hand · Shield
- Arrowflight GirdleWaist · Mail
- Helm of the Night WatchmanHead · Plate
- Mantid Carapace AugmentsWrist · Leather
- Untarnishable GreatbeltWaist · Plate
 Enchanted Shao-Tien SaberOne-Hand · Sword
 Ancient Archer's ChestguardChest · Mail
- Avool's Ancestral BracersWrist · Cloth
- Mantid Vizier's RobesChest · Cloth
 Lost Necklace of the Mogu EmpressNeck · Miscellaneous
 Immaculately Preserved WandRanged · Wand
- Klaxxi Grips of RejuvenationHands · Leather
 Shado-Pan Reliquary KiltLegs · Leather
- Chitin-Link Chain BeltWaist · Mail
- Bracers of the Pristine PurifierWrist · Mail
- Plate Belt of the War-HealerWaist · Plate
- Mogu Mindbender's GreavesFeet · Plate
Thok the Bloodthirsty
 Helm of the Cursed VanquisherNon-equippable · JunkDruidMageDeath KnightRogue
- Helm of the Cursed ConquerorNon-equippable · JunkWarlockPriestPaladin
- Helm of the Cursed ProtectorNon-equippable · JunkHunterMonkShamanWarrior
- Helm of the Cursed VanquisherNon-equippable · JunkDruidMageDeath KnightRogue
- Helm of the Cursed ConquerorNon-equippable · JunkWarlockPriestPaladin
- Helm of the Cursed ProtectorNon-equippable · JunkHunterMonkShamanWarrior
- Helm of the Cursed VanquisherNon-equippable · JunkDruidMageDeath KnightRogue
- Helm of the Cursed Vanquisher
- Helm of the Cursed Conqueror
- Helm of the Cursed Protector
- Helm of the Cursed ConquerorNon-equippable · JunkWarlockPriestPaladin
- Helm of the Cursed ProtectorNon-equippable · JunkHunterMonkShamanWarrior
 Thok's Acid-Grooved ToothTrinket · Miscellaneous
 Thok's Tail TipTrinket · Miscellaneous
 Gleaming Eye of the DevilsaurNeck · Miscellaneous
 Signet of the DinomancersFinger · Miscellaneous
- Hvitserk's Formidable ShankerOne-Hand · Dagger
- Montak's Grips of Scorching BreathHands · Cloth
 Devilfang BandFinger · Miscellaneous
- Icy Blood ChestplateChest · Plate
 Festering Primordial GlobuleHeld In Off-hand · Miscellaneous
- Britomart's Jagged PikeTwo-Hand · Polearm
 Akolik's Acid-Soaked RobesChest · Cloth
Siegecrafter Blackfuse
 Blackfuse BomblingNon-equippable · Companion Pets
 Shoulders of the Cursed VanquisherNon-equippable · JunkDruidMageDeath KnightRogue
- Shoulders of the Cursed ConquerorNon-equippable · JunkWarlockPriestPaladin
- Shoulders of the Cursed ProtectorNon-equippable · JunkHunterMonkShamanWarrior
- Shoulders of the Cursed VanquisherNon-equippable · JunkDruidMageDeath KnightRogue
- Shoulders of the Cursed ConquerorNon-equippable · JunkWarlockPriestPaladin
- Shoulders of the Cursed ProtectorNon-equippable · JunkHunterMonkShamanWarrior
- Shoulders of the Cursed VanquisherNon-equippable · JunkDruidMageDeath KnightRogue
- Shoulders of the Cursed Vanquisher
- Shoulders of the Cursed ConquerorNon-equippable · JunkWarlockPriestPaladin
- Shoulders of the Cursed Conqueror
- Shoulders of the Cursed Protector
- Shoulders of the Cursed ProtectorNon-equippable · JunkHunterMonkShamanWarrior
 Bomber's Blackened WristwatchWrist · Leather
- Siegecrafter's Forge HammerOne-Hand · Mace
 Fusespark GlovesHands · Cloth
 Dysmorphic Samophlange of DiscontinuityTrinket · Miscellaneous
 Ticking Ebon DetonatorTrinket · Miscellaneous
- Calixian BladebreakersHands · Plate
- Asgorathian Blood SealFinger · Miscellaneous
- Powder-Stained Totemic TreadsFeet · Mail
 Lever of the Megantholithic ApparatusTwo-Hand · Staff
 Blackfuse's Blasting CordNeck · Miscellaneous
- Bracers of Infinite PipesWrist · Mail
Paragons of the Klaxxi
 KovokNon-equippable · Companion Pets
- Leggings of the Cursed Conqueror
 Leggings of the Cursed ProtectorNon-equippable · JunkHunterMonkShamanWarrior
- Leggings of the Cursed VanquisherNon-equippable · JunkDruidMageDeath KnightRogue
- Leggings of the Cursed VanquisherNon-equippable · JunkDruidMageDeath KnightRogue
- Leggings of the Cursed ConquerorNon-equippable · JunkWarlockPriestPaladin
- Leggings of the Cursed ProtectorNon-equippable · JunkHunterMonkShamanWarrior
- Leggings of the Cursed VanquisherNon-equippable · JunkDruidMageDeath KnightRogue
- Leggings of the Cursed Vanquisher
- Leggings of the Cursed Conqueror
- Leggings of the Cursed ConquerorNon-equippable · JunkWarlockPriestPaladin
- Leggings of the Cursed Protector
- Leggings of the Cursed ProtectorNon-equippable · JunkHunterMonkShamanWarrior
 Skeer's Bloodsoaked TalismanTrinket · Miscellaneous
- Bracers of Sonic ProjectionWrist · Cloth
- Gauntlets of Insane CalculationsHands · Plate
- Iyyokuk's Hereditary SealFinger · Miscellaneous
 Kil'ruk's Band of AscendancyFinger · Miscellaneous
 Hisek's Reserve LongbowRanged · Bow
- Chestguard of Toxic InjectionsChest · Mail
 Korven's Crimson CrescentOne-Hand · Axe
 Kil'ruk's Furious BladeOne-Hand · Sword
 Rik'kal's Bloody ScalpelOne-Hand · Dagger
 Amber Parasite WrapsChest · Leather
Garrosh Hellscream
 Kor'kron JuggernautNon-equippable · Mount
 Essence of the Cursed ProtectorNon-equippable · JunkHunterMonkShamanWarrior
 Essence of the Cursed ConquerorNon-equippable · JunkWarlockPriestPaladin
 Essence of the Cursed VanquisherNon-equippable · JunkDruidMageDeath KnightRogue
- Essence of the Cursed ProtectorNon-equippable · JunkHunterMonkShamanWarrior
- Essence of the Cursed ConquerorNon-equippable · JunkWarlockPriestPaladin
- Essence of the Cursed VanquisherNon-equippable · JunkDruidMageDeath KnightRogue
- Essence of the Cursed Protector
- Essence of the Cursed Conqueror
- Essence of the Cursed Vanquisher
- Essence of the Cursed ProtectorNon-equippable · JunkHunterMonkShamanWarrior
- Essence of the Cursed ConquerorNon-equippable · JunkWarlockPriestPaladin
- Essence of the Cursed VanquisherNon-equippable · JunkDruidMageDeath KnightRogue
- Curse of HubrisTrinket · Miscellaneous
 Xal'atoh, Desecrated Image of GorehowlTwo-Hand · Axe
 Kor'kron Elite SkullmaskHead · Leather
- Shoulderguards of Intended PowerShoulder · Mail
- Greathelm of the WarchiefHead · Plate
- Cord of Black DreamsWaist · Leather
- Penetrating Gaze of Y'ShaarjHead · Mail
- Chestguard of Relentless TyrannyChest · Mail
 Kor'kron Spire of SupremacyTwo-Hand · Staff
 Legplates of Unthinking StrifeLegs · Plate
- Spaulders of the Fallen WarchiefShoulder · Plate
 Tusks of MannorothShoulder · Plate
- Belt of the Broken PactWaist · Cloth
- Ebon Ritual HoodHead · Cloth
 Black Blood of Y'ShaarjTrinket · Miscellaneous
 Horned Mace of the Old OnesOne-Hand · Mace
 Revelations of Y'ShaarjHeld In Off-hand · Miscellaneous
 Seal of Karmic ReturnWaist · Leather
- Hopeglow SpauldersShoulder · Leather
- Cowl of Smoking DreamsHead · Mail
- Chestplate of Fallen PassionChest · Plate
- Mantle of Looming DarknessShoulder · Plate
 Horde Warlord's ThroneNon-equippable · Decor
Instance facts
- 1Modes: Raid Finder, Normal, Heroic, Mythic.