










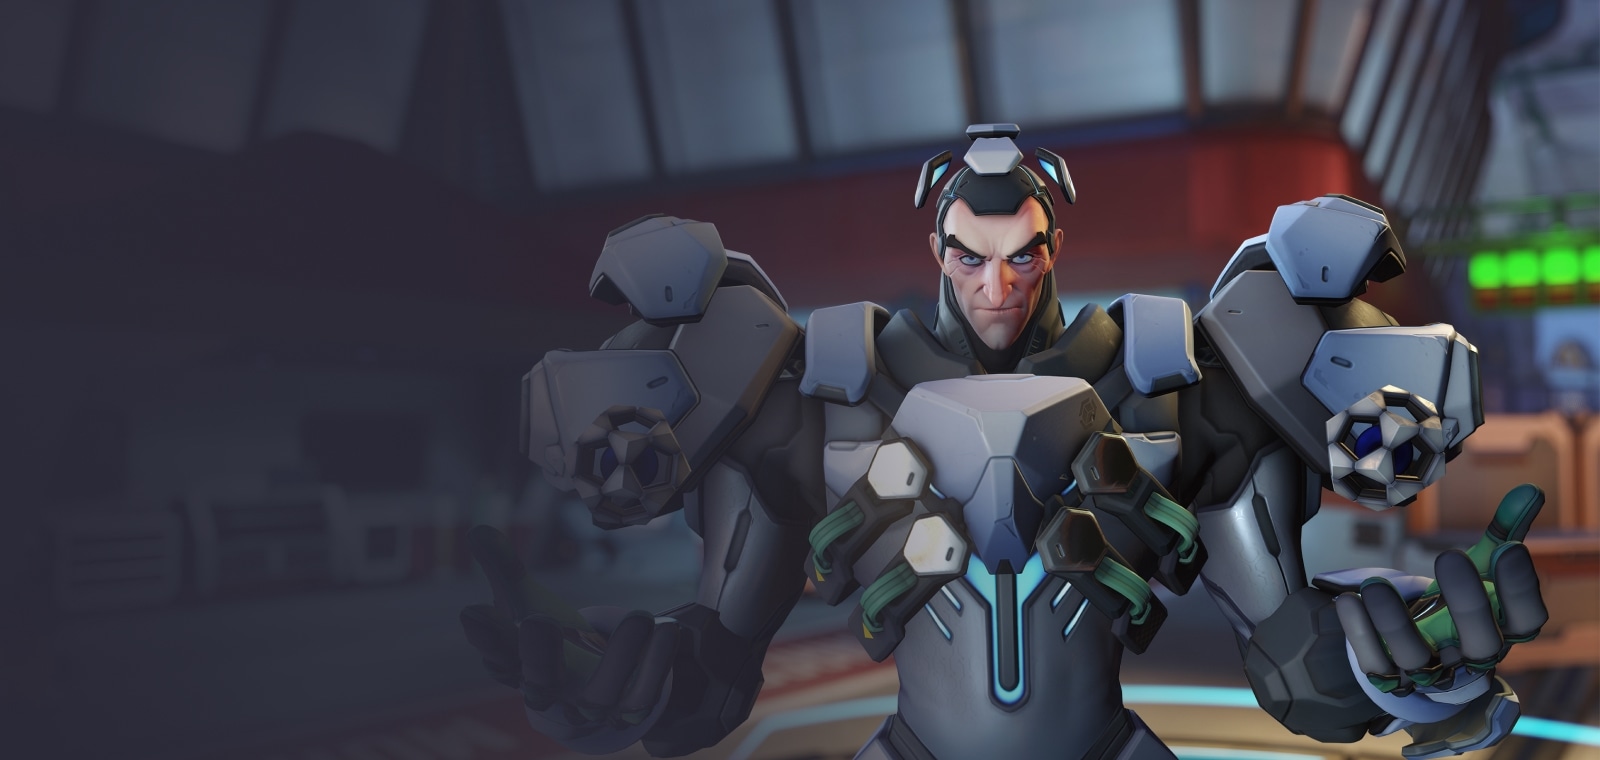

Sigma · Tank
Sigma guide
More Sigma guides
This guide is assembled by the site from match data and the game's own information — nobody wrote it by hand. Official and community guides appear alongside it when they exist.
Overview
Sigma is a stalwart tank hero in Overwatch with 350 health and 275 shields (625 in total). In competitive this season (PC, Americas, Europe and Asia averaged) it wins 50.0% of its games, is picked by 10.8% of teams and banned in 3.8% of matches: tier B on our ladder.
Strengths
- Shines on Circuit Royal, Havana and Junkertown (up to 55.2% won).
- Protection: Experimental Barrier blocks or absorbs damage.
Weaknesses
- Struggles on Aatlis, New Junk City and Suravasa (down to 45.4% won).
Build cheat sheet
Pick the build that fits what you want to do this game.
- Sigma · recommended perksBalancedRecommendedOne minor and one major perk, chosen by what each one's text adds to a tank hero. Blizzard doesn't publish how often each perk is picked, so this is a reading of the perks, not a pick rate.
- Sigma · StadiumBalancedStadiumFour of the 12 Stadium powers of Sigma, chosen by what their text adds to a tank hero and spread over different abilities so no single one carries the build.
- Sigma · alternative perksUtilitySituationalThe other option of each perk level. Perks are chosen during the match, so switch to these when the enemy composition or the map asks for what they do.
Builds
Sigma · recommended perks
When to use it
One minor and one major perk, chosen by what each one's text adds to a tank hero. Blizzard doesn't publish how often each perk is picked, so this is a reading of the perks, not a pick rate.
Minor perk
 Kinetic CycleAbsorbing projectiles with Kinetic Grasp also reduces Accretion's cooldown.
 Hyper Regeneration30% of Hyperspheres' damage restores Experimental Barrier's health.
Picked for more survival: 30% of Hyperspheres' damage restores Experimental Barrier's health.
Major perk
 Hyper StrikeEvery 5 direct hits with Hyperspheres, your next successful Quick Melee levitates and knocks away enemies.
 LevitationActivate and hold Double Jump to briefly levitate upward.
Picked for more utility: Every 5 direct hits with Hyperspheres, your next successful Quick Melee levitates and knocks away enemies.
Sigma · Stadium
When to use it
Four of the 12 Stadium powers of Sigma, chosen by what their text adds to a tank hero and spread over different abilities so no single one carries the build.
Stadium powers (4)
- 1
 Philharmonic FortitudeExperimental Barrier: Experimental Barrier has 25% increased Max Health. Barrier health regenerates constantly but 50% slower while deployed.
 - 2
 Mass DriverExperimental Barrier: Accretion projectiles that pass through Experimental Barrier gain 300% Projectile Speed, deal 25% increased damage, and restore 150 Experimental Barrier health.
 - 3
 Event HorizonExperimental Barrier: Damage absorbed by Kinetic Grasp grants Overhealth to visible allies and restores Experimental Barrier's health. Excess is converted to Overhealth.
 - 4
 Symphonic SyzygyKinetic Grasp: When Kinetic Grasp ends, for every 50 damage absorbed gain 10% Attack Speed for 4s, stacking up to 4 times.
Sigma · alternative perks
When to use it
The other option of each perk level. Perks are chosen during the match, so switch to these when the enemy composition or the map asks for what they do.
Minor perk
Kinetic CycleAbsorbing projectiles with Kinetic Grasp also reduces Accretion's cooldown.Hyper Regeneration30% of Hyperspheres' damage restores Experimental Barrier's health.When the situation calls for it: Absorbing projectiles with Kinetic Grasp also reduces Accretion's cooldown.
Major perk
Hyper StrikeEvery 5 direct hits with Hyperspheres, your next successful Quick Melee levitates and knocks away enemies.LevitationActivate and hold Double Jump to briefly levitate upward.When the situation calls for it: Activate and hold Double Jump to briefly levitate upward.
Abilities
 LMBHyperspheresLaunch two charges which implode after a short duration, dealing damage in an area.Key: primary fire. Perks: Hyper Strike
 ShiftKinetic Grasp12sAbsorb projectiles in front of you and convert them into extra health.Key: Shift · cooldown 12 s. Perks: Kinetic Cycle
 EAccretion10sGather a mass of debris and throw it at an enemy to knock them down.Key: E · cooldown 10 s
 RMBExperimental Barrier1sHold to propel a floating barrier; release to stop. Press again to recall the barrier to you.Key: secondary fire · cooldown 1 s. Perks: Hyper Regeneration
 QGravitic FluxUltimateManipulate gravity to lift enemies into the air and slam them back down.Key: Q · ultimate
Strategy
1Your job
In Role Queue each team fields one tank: you take space for your team, soak the damage the enemy would otherwise aim at your backline and decide when the fight starts.
2Abilities
- primary fire · Hyperspheres: Launch two charges which implode after a short duration, dealing damage in an area.
- Shift · Kinetic Grasp · 12 s: Absorb projectiles in front of you and convert them into extra health.
- E · Accretion · 10 s: Gather a mass of debris and throw it at an enemy to knock them down.
- secondary fire · Experimental Barrier · 1 s: Hold to propel a floating barrier; release to stop. Press again to recall the barrier to you.
- Q · Gravitic Flux · ultimate: Manipulate gravity to lift enemies into the air and slam them back down.
3Perks
During each match you unlock a minor perk and, later, a major perk: one of two options each time. ★ marks this guide's pick.
- ★ Hyper Regeneration: 30% of Hyperspheres' damage restores Experimental Barrier's health.
- Kinetic Cycle: Absorbing projectiles with Kinetic Grasp also reduces Accretion's cooldown.
- ★ Hyper Strike: Every 5 direct hits with Hyperspheres, your next successful Quick Melee levitates and knocks away enemies.
- Levitation: Activate and hold Double Jump to briefly levitate upward.
4Stadium powers
In Stadium you pick up to four powers over the match. These four fit Sigma best by what their text does:
- Philharmonic Fortitude: Experimental Barrier has 25% increased Max Health. Barrier health regenerates constantly but 50% slower while deployed.
- Mass Driver: Accretion projectiles that pass through Experimental Barrier gain 300% Projectile Speed, deal 25% increased damage, and restore 150 Experimental Barrier health.
- Event Horizon: Damage absorbed by Kinetic Grasp grants Overhealth to visible allies and restores Experimental Barrier's health. Excess is converted to Overhealth.
- Symphonic Syzygy: When Kinetic Grasp ends, for every 50 damage absorbed gain 10% Attack Speed for 4s, stacking up to 4 times.
5In competitive
Blizzard's official stats for this season, division by division (PC, the three regions averaged).
- Bronze: 50.5% won, picked by 12.2% of teams
- Silver: 50.0% won, picked by 12.1% of teams
- Gold: 49.8% won, picked by 11.5% of teams
- Platinum: 49.9% won, picked by 10.6% of teams
- Emerald: 50.3% won, picked by 9.5% of teams
- Diamond: 50.3% won, picked by 8.7% of teams
- Master: 49.2% won, picked by 8.3% of teams
- Grandmaster: 49.8% won, picked by 9.4% of teams
6Best and worst maps
Win rate of Sigma on each competitive map compared with its 50.0% overall.
- Circuit Royal: 55.2% won (18.6% pick rate)
- Havana: 52.4% won (15.9% pick rate)
- Junkertown: 51.3% won (14.0% pick rate)
- Aatlis: 45.4% won (5.9% pick rate)
- New Junk City: 45.7% won (5.9% pick rate)
- Suravasa: 46.8% won (6.0% pick rate)
7Common mistakes
- Pushing into five enemies without your team behind you.
- Taking duels far from your supports.
Tips
- Experimental Barrier (secondary fire) protects: time it for the enemy's burst, not for chip damage.
- Gravitic Flux (Q) is your ultimate: plan it with your team's ultimates instead of using it as soon as it's ready.
- Walk ahead of your team but not so far that your supports lose line of sight.
- Spend your defensive cooldowns on the damage that would kill you, not on chip damage.
Matchups
Works well with
Both do better than their average on the same maps, such as Circuit Royal, Havana and Junkertown: a good pairing when the map suits them.
Both do better than their average on the same maps, such as Circuit Royal, Havana and Junkertown: a good pairing when the map suits them.
Both do better than their average on the same maps, such as Circuit Royal, Junkertown and Havana: a good pairing when the map suits them.
Both do better than their average on the same maps, such as Circuit Royal, Havana and Junkertown: a good pairing when the map suits them.




Changelog
- Guide created for patch Season 4.
Was this helpful?
Your vote helps other players find the best guides.