











Battle of Dazar'alor
For ages untold, Dazar'alor has stood at the center of the great and powerful Zandalari empire. Its guards have thwarted numerous attempts on King Rastakhan's life, and it has endured trials both ancient and new. But as war reaches the shores of Zuldazar, the Alliance embarks on a daring gambit to besiege the golden pyramid and sever the Zandalari's bond to the Horde.
- Chefes
- 12 chefes
- Cronômetro da Mítica+
- Sem cronômetro
- Entrada
- Dazar'alor · 38.8, 2.5

Chefes
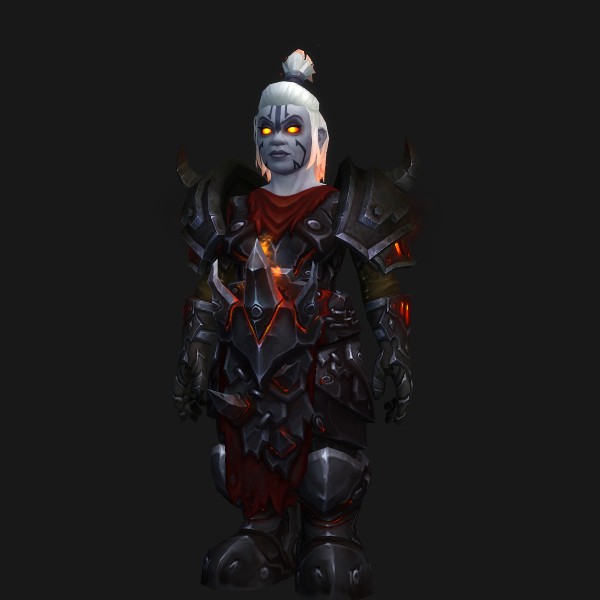
Champion of the Light
As vanguard for the Alliance's assault on Dazar'alor, Frida Ironbellows leads her troops with fervor and conviction. Her battle prowess and unwavering faith in the Light make her a force to be reckoned with.
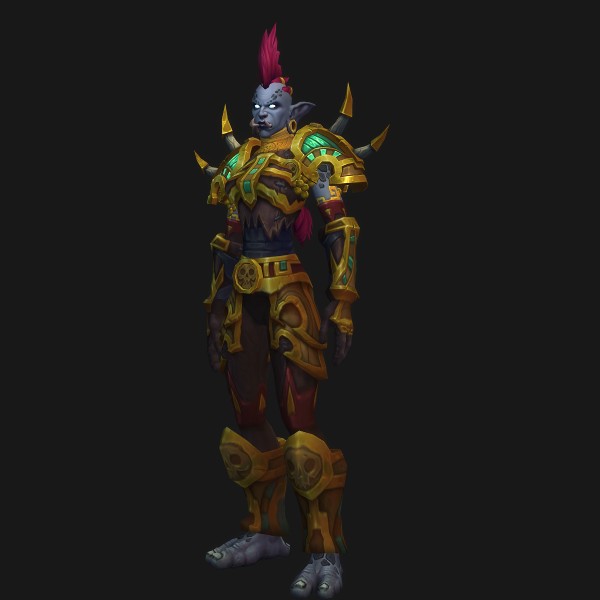
Champion of the Light
Ra'wani and her troops are the first line of defense against the Alliance, sworn to lay down their lives for their city. Standing together, they empower and heal each other while fending off the incoming invaders.
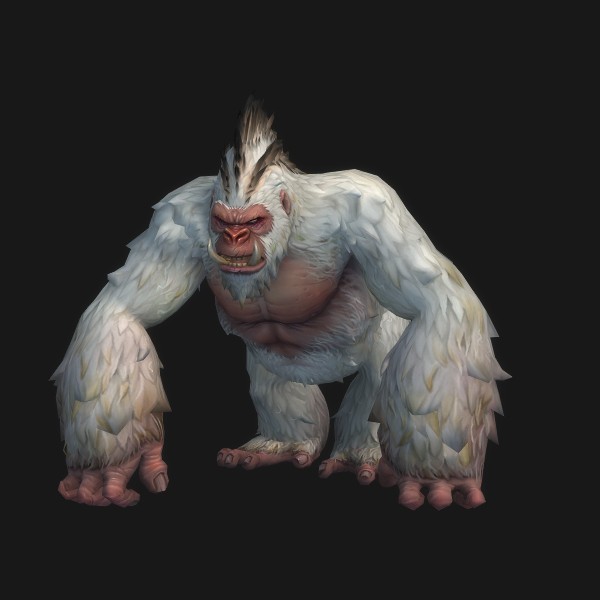
Grong, the Jungle Lord
After volunteering to become a living super weapon, the once-intelligent Grong devolved into a giant rampaging behemoth. But though his mind may have deteriorated, Grong's strength is more immense than it has ever been.
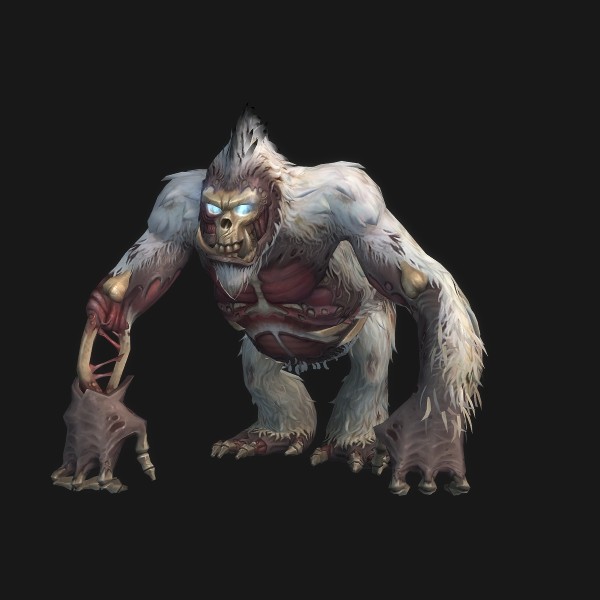
Grong, the Revenant
Once willing to sacrifice everything to serve the Alliance, the mighty Grong has been raised from the dead and pitted against his former friends. Fighting on behalf of the Horde would be anathema to this noble soul, whose only hope for release is a clean death.
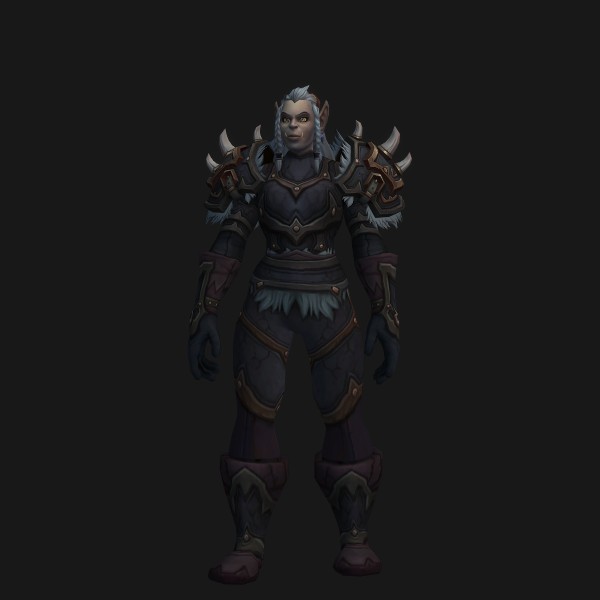
Jadefire Masters
To the untrained eye, Ma'ra Grimfang and Anathos Firecaller may seem like a mismatched pair. The truth, however, is that their coordination is second to none. Their combined assault is powerful enough to level the most formidable foes.
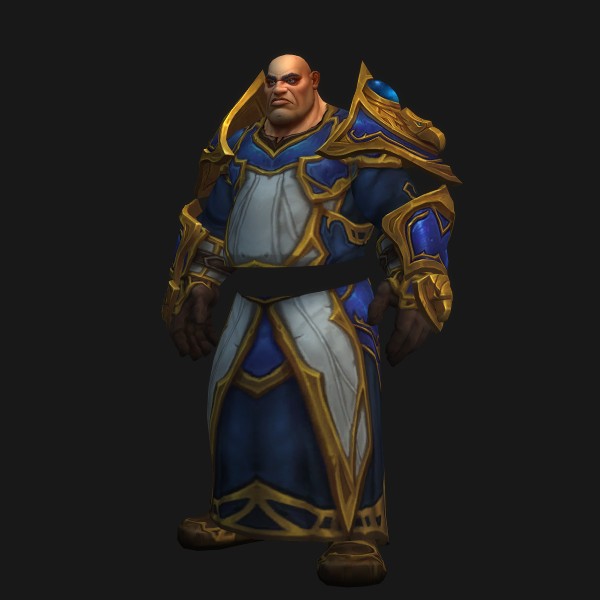
Jadefire Masters
Though they began training together only recently, Manceroy and Mestrah have perfected their teamwork and now present a united front. With both fire and fists, they stand ready to strike down any who challenge the Alliance.
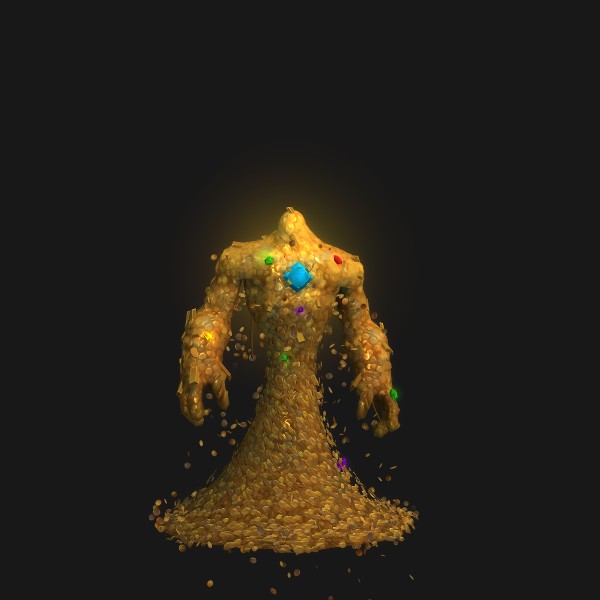
Opulence
Long ago, King Dazar had his golden treasury enchanted so that it would rise against anyone except its rightful owner. Many an unsuspecting thief has been slain by the very riches they coveted, serving as an important lesson to those who would steal from the throne.
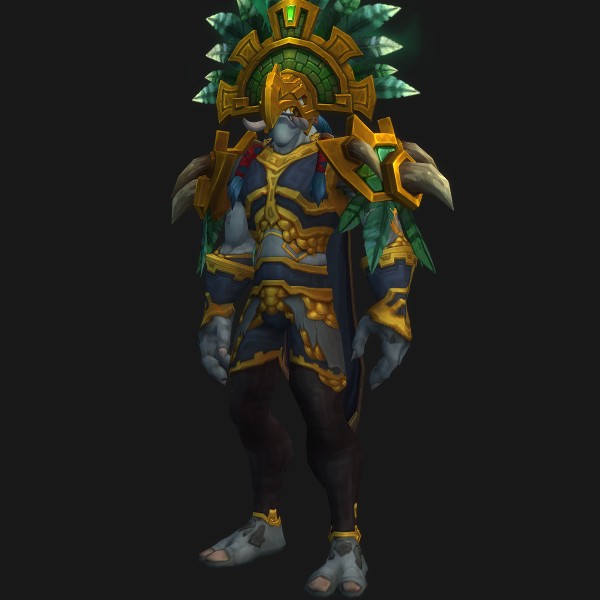
Conclave of the Chosen
Deep within Dazar'alor lies a chamber built to honor six of Zandalar's greatest loa, guarded by their most devout followers. Trespassers who dare enter this sacred hall are soon met with primal fury like none they have ever seen.
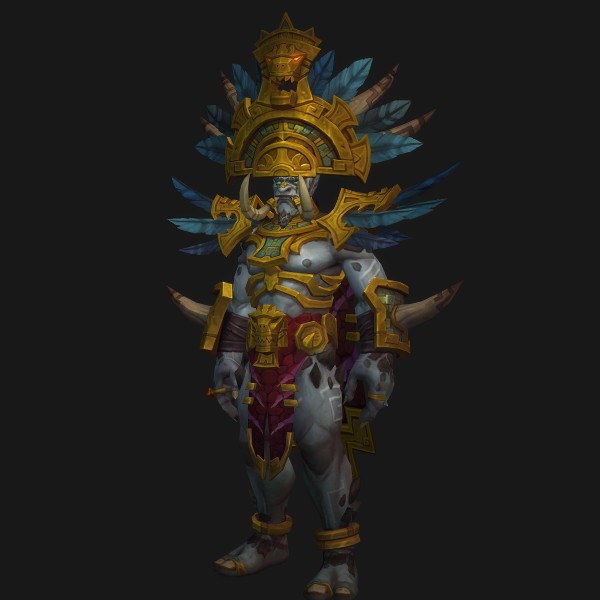
King Rastakhan
For over two hundred years, King Rastakhan has ruled the Zandalari empire. Since the fall of Rezan, he has turned to a new patron--Bwonsamdi, the loa of death. The dark bargain he has made grants him the power to crush his enemies... but at what cost?
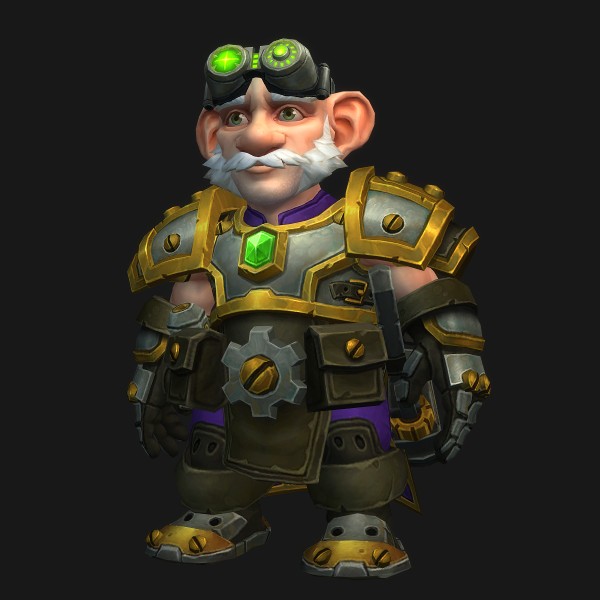
High Tinker Mekkatorque
Unrivaled in their ingenuity, Gelbin Mekkatorque's inventions have been instrumental to the Alliance's attack on Dazar'alor. His state-of-the-art armor is outfitted with the latest--and deadliest--ordnance that gnomish engineering can offer.
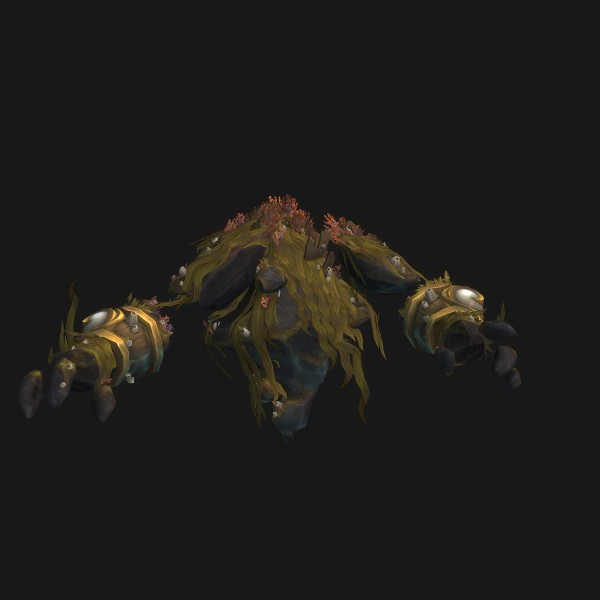
Stormwall Blockade
Brother Joseph and Sister Katherine are devout worshippers of the waves. These proud Kul Tirans would gladly risk their lives to ensure the safety of their compatriots. Their command over sea and storm is awesome to behold, as are the ancient and powerful rituals they practice.
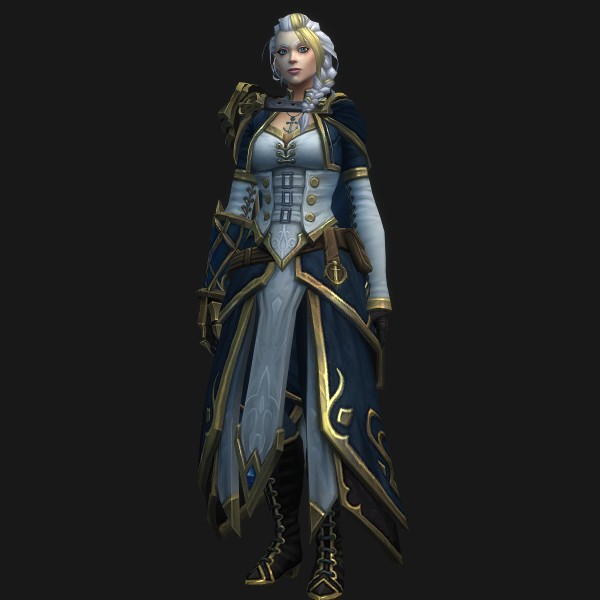
Lady Jaina Proudmoore
As the Alliance fleet withdraws from Dazar'alor, Lady Jaina Proudmoore stays behind with a handful of Kul Tiran vessels to slow the Horde's pursuit. Storm clouds gather overhead as Jaina leads her pursuers deeper into the Great Sea, where she will attempt to turn the odds in her favor.
Chefe a chefe
Champion of the Light
- Frida Ironbellows
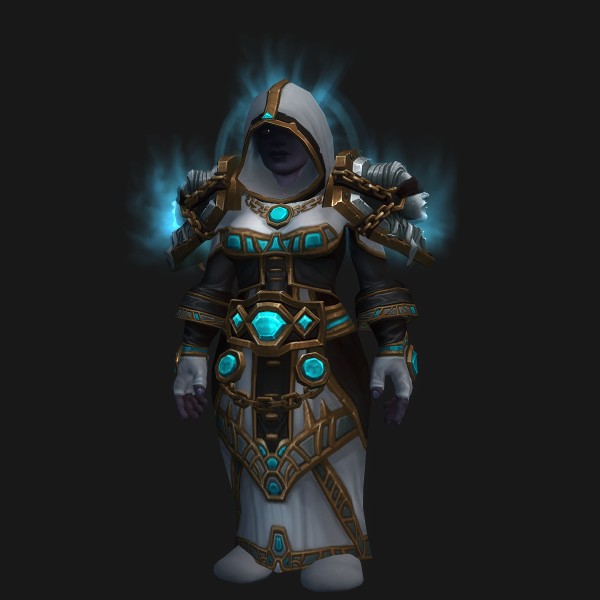 Anointed Disciple
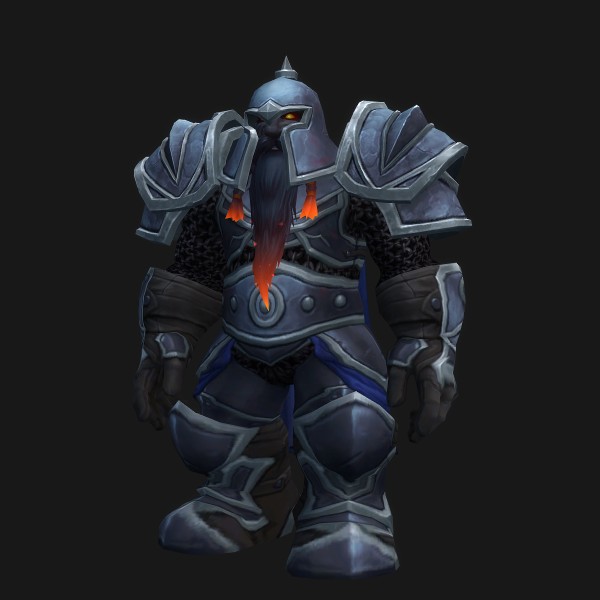 Darkforged Crusader
Frida empowers herself with various seals, and releases those seals to improve her allies whenever she reaches 100 Energy. Additionally, Frida and her allies work to reduce the size of the battlefield for their enemies, using both [Consecration] and [Wave of Light] to do so. Crusader allies provide additional damage and crowd control for Frida, while disciples heal wounded allies.
- Damage Dealers: Interrupt any heals you can to avoid enemies regaining too much health.
- Damage Dealers: Avoid facing the crusader allies when they cast [Blinding Faith].
- Damage Dealers: Avoid attacking the boss when they are affected by [Seal of Reckoning].
- Healers: [Seal of Retribution] causes the boss's melee attacks to affect all players.
- Healers: Avoid facing the crusader allies when they cast [Blinding Faith].
- Tanks: Don't let [Sacred Blade] stack too high.
- Tanks: When tanking the adds, move them out of [Consecration] so they are not affected by its damage reduction.
- Tanks: Keep the adds moving to avoid them being hit by [Wave of Light].
Habilidades
- Zealotry
- Sacred Blade
- Wave of Light
- Divine Protection
- Forbearance
- Prayer for the Fallen
- Angelic Renewal
- Divine Mallet
- Crusader's Seals
- Release Seal
- Seal of Retribution
- Aura of Retribution
- Retribution Wave
- Judgment: Righteousness
- Seal of Reckoning
- Reckoning
Champion of the Light
- Ra'wani Kanae
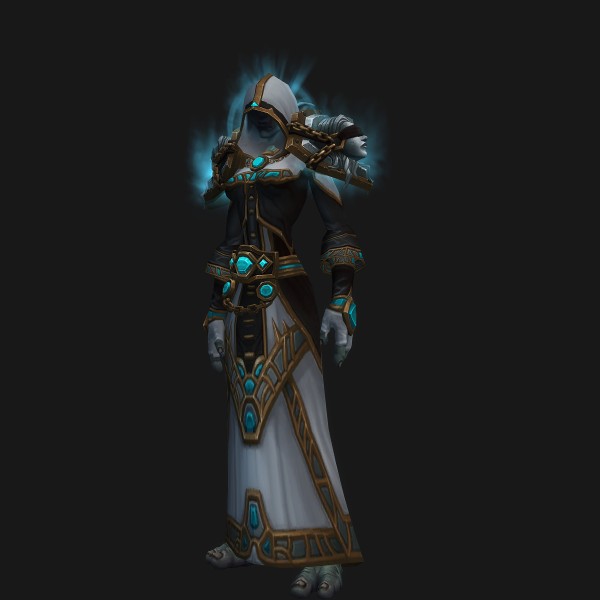 Rezani Disciple
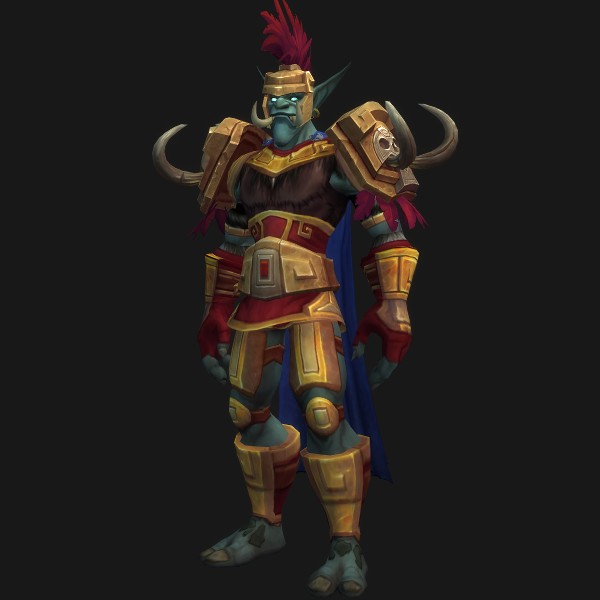 Zandalari Crusader
Ra'wani empowers herself with various seals, and releases those seals to improve her allies whenever she reaches 100 Energy. Additionally, Ra'wani and her allies work to reduce the size of the battlefield for their enemies, using both [Consecration] and [Wave of Light] to do so. Crusader allies provide additional damage and crowd control for Ra'wani, while disciples heal wounded allies.
- Healers: [Seal of Retribution] causes the boss's melee attacks to affect all players.
- Healers: Avoid facing the crusader allies when they cast [Blinding Faith].
- Tanks: Don't let [Sacred Blade] stack too high.
- Tanks: When tanking the adds, move them out of [Consecration] so they are not affected by its damage reduction.
- Tanks: Keep the adds moving to avoid them being hit by [Wave of Light].
- Damage Dealers: Interrupt any heals you can to avoid enemies regaining too much health.
- Damage Dealers: Avoid facing the crusader allies when they cast [Blinding Faith].
- Damage Dealers: Avoid attacking the boss when they are affected by [Seal of Reckoning].
Habilidades
- Zealotry
- Sacred Blade
- Wave of Light
- Divine Protection
- Forbearance
- Prayer for the Fallen
- Angelic Renewal
- Divine Mallet
- Crusader's Seals
- Release Seal
- Seal of Retribution
- Aura of Retribution
- Retribution Wave
- Judgment: Righteousness
- Seal of Reckoning
- Reckoning
Grong, the Jungle Lord
- Grong
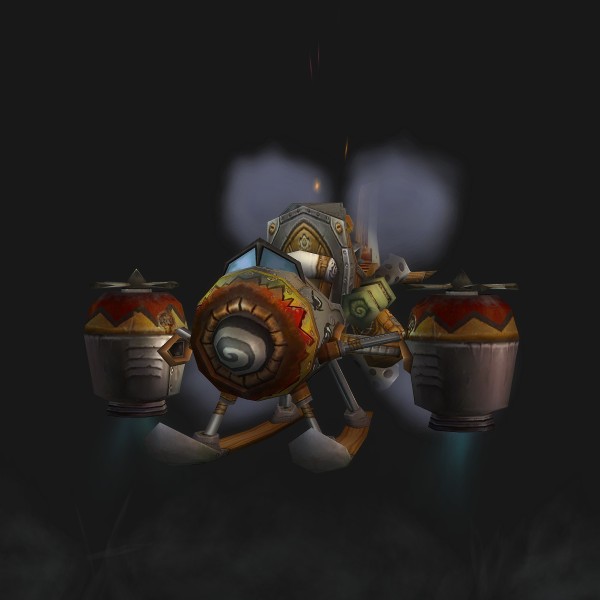 Flying Ape Wranglers
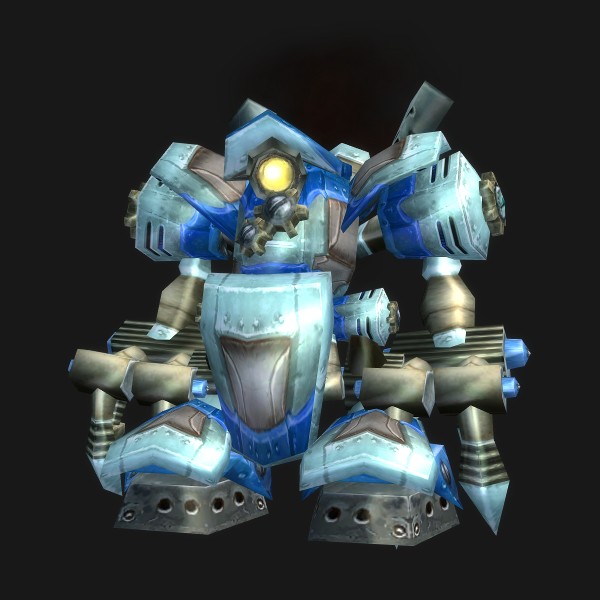 Apetagonizer 3000
Grong will [Tantrum] when hit by [Discharge Apetagonizer Core] or when his Rage reaches 100.
- Damage Dealers: Interrupt and kill any Apetaganizer 3000 as quickly as possible to decrease the amount of Rage gained.
- Damage Dealers: Stay near allies to avoid being feared by [Ferocious Roar]
- Healers: Stay near allies to avoid being feared by [Ferocious Roar].
- Healers: If Grong's rage is above 75, use cooldowns to handle [Tantrum].
- Tanks: Stay near allies to avoid being feared by [Ferocious Roar].
- Tanks: Avoid taking two [Bestial Smash] in a row.
Habilidades
- Tantrum
- Shattered
- Bestial Combo
- Bestial Smash
- Crushed
- Rending Bite
- Bestial Throw
- Bestial Impact
- Reverberating Slam
- Reverberating Echo
- Ferocious Roar
- Angry Ape
- Enraged Ape
- Furious Ape
- Apetagonizer 3000
- Megatomic Seeker Missile
Grong, the Revenant
- Grong the Revenant
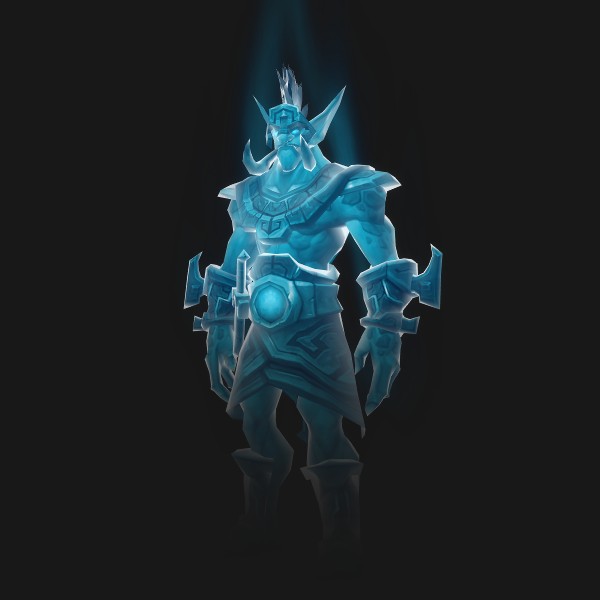 Death Specter
Grong the Revenant will [Death Knell] when hit by [Discharge Necrotic Core] or when his Death Energy reaches 100.
- Damage Dealers: Interupt and kill Death Specters as fast as possible to decrease the amount of Death Energy gained.
- Damage Dealers: Stay near allies to avoid being feared by [Ferocious Roar]
- Healers: Stay near allies to avoid being feared by [Ferocious Roar].
- Healers: If Grong's Death Energy is above 75, use cooldowns to handle [Death Knell].
- Tanks: Stay near allies to avoid being feared by [Ferocious Roar].
- Tanks: Avoid taking two [Bestial Smash] in a row.
Habilidades
- Death Knell
- Death Touched
- Necrotic Combo
- Bestial Smash
- Crushed
- Rending Bite
- Bestial Throw
- Bestial Impact
- Deathly Slam
- Deathly Echo
- Ferocious Roar
- Undead Ape
- Necrotic Ape
- Deathly Ape
- Death Specter
- Voodoo Blast
Jadefire Masters
- Ma'ra Grimfang
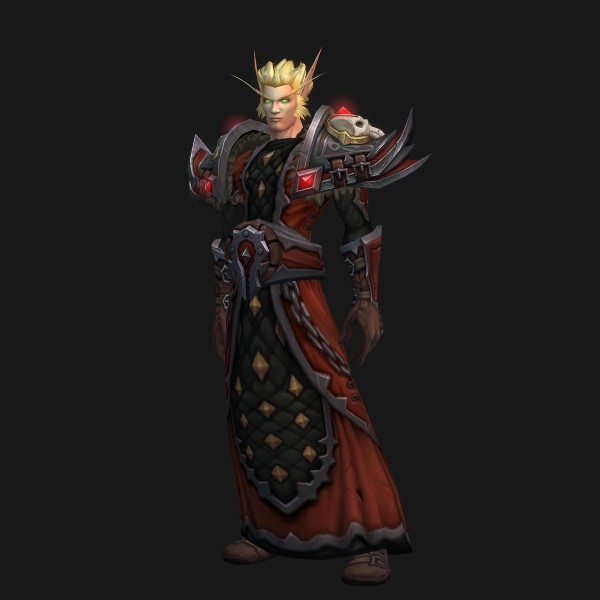 Anathos Firecaller
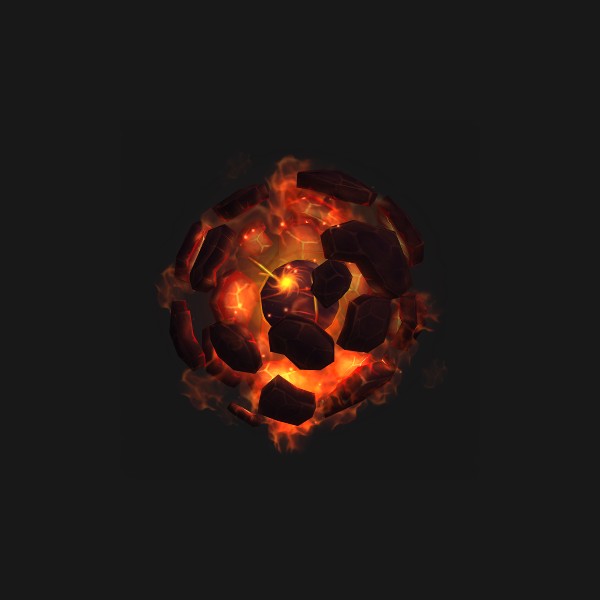 Living Bomb
Players face off against a pair of Horde combatants who combine their powers at key points throughout the fight.
- Damage Dealers: Keep both combatant's health at similar levels to avoid giving either combatant too much damage from [Harmonious Spirits].
- Damage Dealers: [Magma Trap] will knock you so high into the air that the fall will kill you.
- Damage Dealers: Spirits of Xuen will [Stalk] a random target until they are defeated.
- Damage Dealers: [Fire Shield] must be damaged down so that you can interrupt [Pyroblast].
- Damage Dealers: During Serene Showers, you are unable to pass through [Rings of Hostility].
- Damage Dealers: [Chi-Ji's Song] blocks targeting into and out of its confines.
- Damage Dealers: Keep both combatant's health at similar levels to avoid giving either combatant too much damage from [Harmonious Spirits].
- Damage Dealers: During Hostile Showers, you are unable to pass through [Rings of Hostility].
- Damage Dealers: [Fire Shield] must be damaged down so that you can interrupt [Pyroblast].
- Damage Dealers: [Chi-Ji's Song] blocks targeting into and out of its confines.
- Healers: You cannot heal the tank while they are going through their [Multi-Sided Strike] sequence.
- Healers: Dispel the [Searing Embers] with the lowest duration remaining first to avoid [Unleashed Ember].
- Healers: Players inside [Chi-Ji's Song] will be obscured from your sight unless you step inside with them.
- Healers: Once [Blazing Phoenix] is active, the entire raid will continually take damage until the Blazing Phoenix is dispatched.
- Healers: You cannot heal the tank while they are going through their [Multi-Sided Strike] sequence.
- Healers: Dispel the [Searing Embers] with the lowest duration remaining first to avoid [Unleashed Ember].
- Healers: Players inside [Chi-Ji's Song] will be obscured from your sight unless you step inside with them.
- Healers: Once [Blazing Phoenix] is active, the entire raid will continually take damage until the Blazing Phoenix is dispatched.
- Tanks: You're on your own during [Multi-Sided Strike], face each attack to mitigate the damage!
- Tanks: You must work with your fellow tank to manage each other's applications of [Rising Flames].
- Tanks: [Whirling Jade Storm] persists until the caster is engaged in melee combat.
- Tanks: [Chi-Ji's Song] blocks targeting into and out of its confines.
Habilidades
- Harmonious Spirits
- Whirling Jade Storm
- Multi-Sided Strike
- Successful Defense
- Tested
- Spirits of Xuen
- Tiger Paw
- Pounce
- Fireball
- Rising Flames
- Burnout
- Pyroblast
- Fire Shield
- Searing Embers
- Unleashed Ember
- Magma Trap
Jadefire Masters
- Manceroy Flamefist
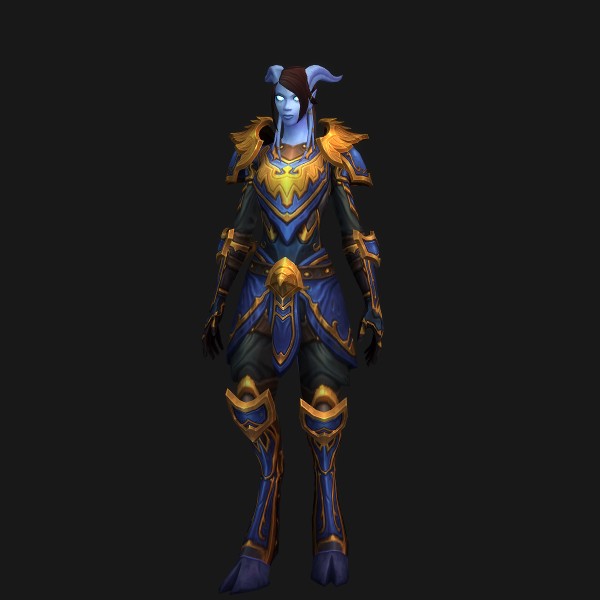 Mestrah
- Mestrah, the Illuminated
- Living Bomb
Players face off against a pair of Alliance combatants who combine their powers at key points throughout the fight.
- Damage Dealers: Keep both combatant's health at similar levels to avoid giving either combatant too much damage from [Harmonious Spirits].
- Damage Dealers: [Magma Trap] will knock you so high into the air that the fall will kill you.
- Damage Dealers: Spirits of Xuen will [Stalk] a random target until they are defeated.
- Damage Dealers: [Fire Shield] must be damaged down so that you can interrupt [Pyroblast].
- Damage Dealers: During Serene Showers, you are unable to pass through [Rings of Hostility].
- Damage Dealers: [Chi-Ji's Song] blocks targeting into and out of its confines.
- Damage Dealers: Keep both combatant's health at similar levels to avoid giving either combatant too much damage from [Harmonious Spirits].
- Damage Dealers: During Hostile Showers, you are unable to pass through [Rings of Hostility].
- Damage Dealers: [Fire Shield] must be damaged down so that you can interrupt [Pyroblast].
- Damage Dealers: [Chi-Ji's Song] blocks targeting into and out of its confines.
- Healers: You cannot heal the tank while they are going through their [Multi-Sided Strike] sequence.
- Healers: Dispel the [Searing Embers] with the lowest duration remaining first to avoid [Unleashed Ember].
- Healers: Players inside [Chi-Ji's Song] will be obscured from your sight unless you step inside with them.
- Healers: Once [Blazing Phoenix] is active, the entire raid will continually take damage until the Blazing Phoenix is dispatched.
- Healers: You cannot heal the tank while they are going through their [Multi-Sided Strike] sequence.
- Healers: Dispel the [Searing Embers] with the lowest duration remaining first to avoid [Unleashed Ember].
- Healers: Players inside [Chi-Ji's Song] will be obscured from your sight unless you step inside with them.
- Healers: Once [Blazing Phoenix] is active, the entire raid will continually take damage until the Blazing Phoenix is dispatched.
- Tanks: You're on your own during [Multi-Sided Strike], face each attack to mitigate the damage!
- Tanks: You must work with your fellow tank to manage each other's applications of [Rising Flames].
- Tanks: [Whirling Jade Storm] persists until the caster is engaged in melee combat.
- Tanks: [Chi-Ji's Song] blocks targeting into and out of its confines.
Habilidades
- Harmonious Spirits
- Whirling Jade Storm
- Multi-Sided Strike
- Successful Defense
- Tested
- Spirits of Xuen
- Tiger Paw
- Pounce
- Fireball
- Rising Flames
- Burnout
- Pyroblast
- Fire Shield
- Searing Embers
- Unleashed Ember
- Magma Trap
Opulence
- Opulence
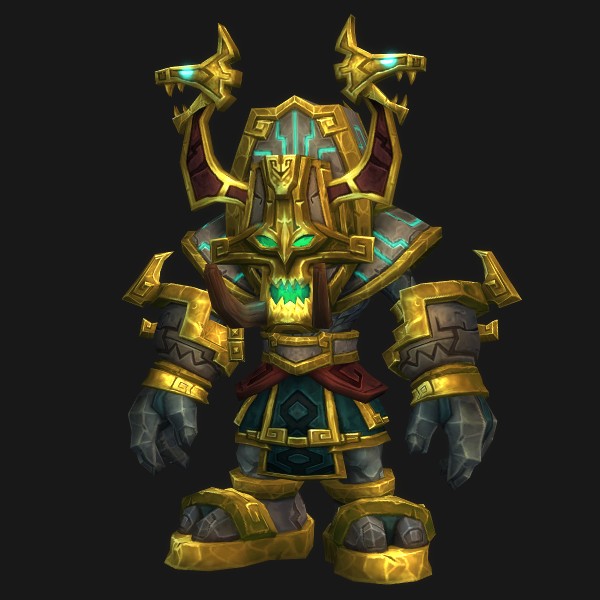 The Hand of In'zashi
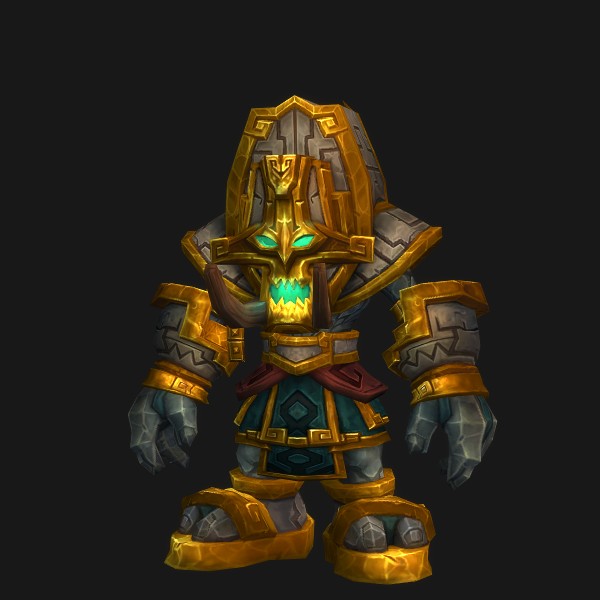 Yalat's Bulwark
 Spirit of Gold
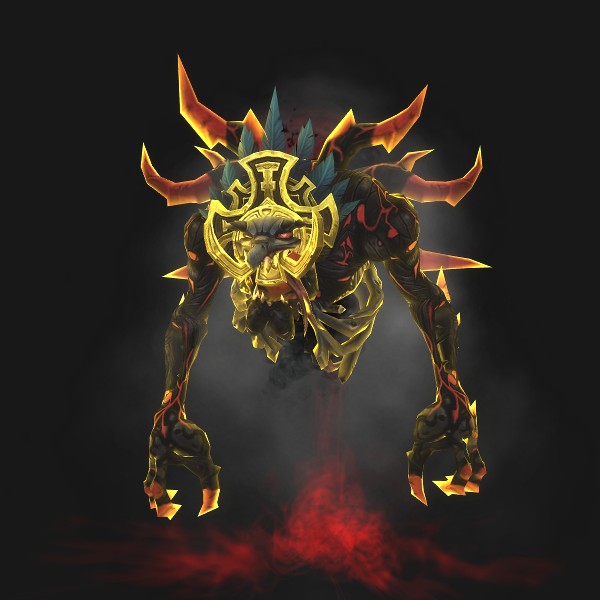
In order to survive the battle with the Opulence, players must split their raid into two groups and battle through trapped hallways guarded by ancient Zandalari constructs to loot the Zandalari Crown Jewels, using their magical power to overcome the Guardian's overwhelming strength.
- Tanks: Position Yalat's Bulwark or the Hand of In'zashi with plenty of room to their left and right so players can dodge [Crush].
- Tanks: It is very difficult to survive against Opulence without the [Diamond of the Unshakeable Protector]. Swap tanks when the current tank is afflicted by [Depleted Diamond].
- Tanks: [Coin Sweep] inflicts heavy damage to Opulence's current tank.
- Healers: Ensure enough healers pick up the [Amethyst of the Shadow King] to keep the raid protected with[Shadow-Touched].
- Healers: Dispel [Hex of Lethargy] before players need to move.
- Damage Dealers: Quickly kill Spirits of Gold before [Gold Burst] becomes overwhelming.
- Damage Dealers: Select a Zandalari Crown Jewel that interacts well with your role in the encounter and class abilities.
- Damage Dealers: Stack with players to divide the damage of [Coin Shower].
Habilidades
- The Zandalari Crown Jewels
- Thief's Bane
- Diamond of the Unshakeable Protector
- Depleted Diamond
- Tailwind Sapphire
- Tailwinds
- Soothing Breeze
- Amethyst of the Shadow King
- Shadow-Touched
- Dark Knowledge
- Ruby of Focused Animus
- Focused Animus
- Topaz of Brilliant Sunlight
- Incandescence
- Grossly Incandescent!
- Brilliant Aura
Conclave of the Chosen
- Pa'ku's Aspect
 Gonk's Aspect
 Kimbul's Aspect
 Pa'ku
Pa'ku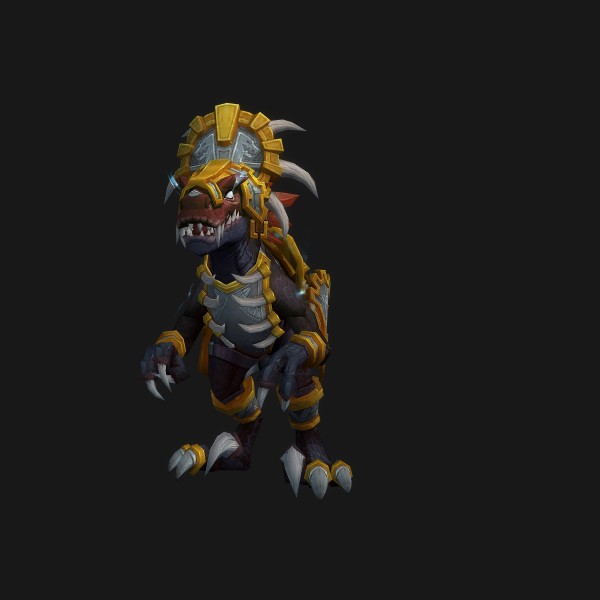 Gonk
Gonk
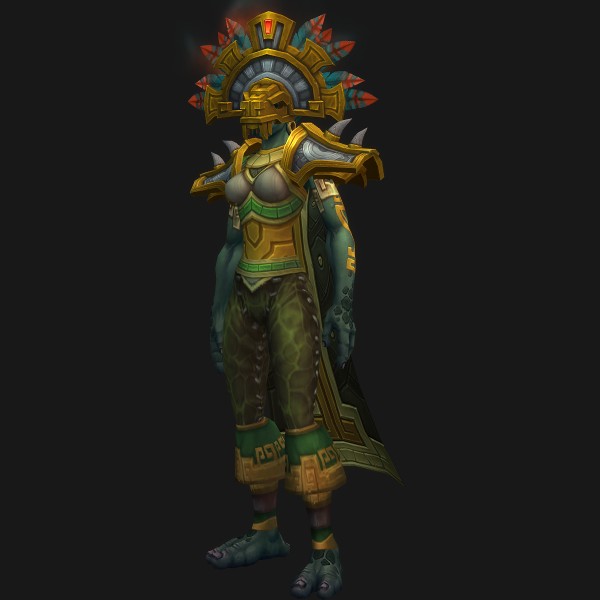
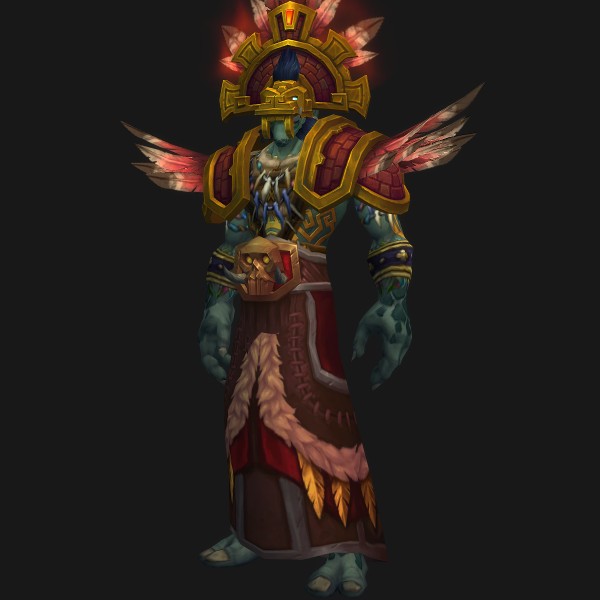
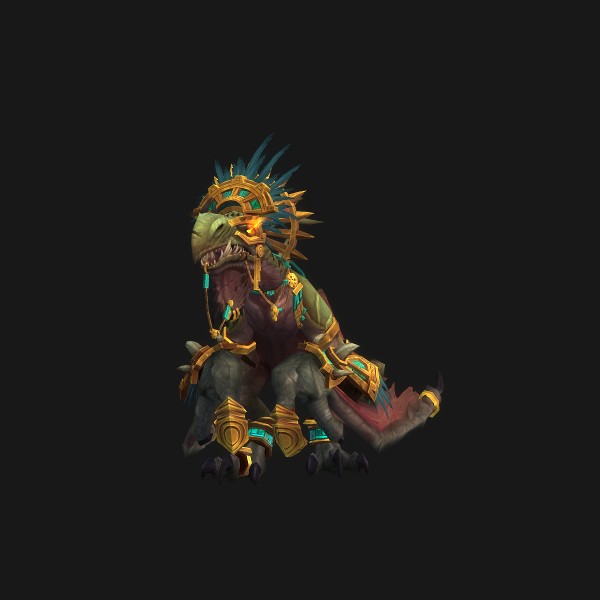
A pair of aspects join the fight at the start of the encounter, while the others observe. Each time an aspect is defeated, any other active aspects heal to full and receive a stack of [Loa's Wrath]. Afterwards, a new aspect joins the fight. Throughout the encounter, the loa appear to unleash their wrath, with an additional loa being added to the rotation when a new aspect enters the fray. The encounter ends when all the loa's aspects are defeated.
- Damage Dealers: Kill Ravenous Stalkers.
- Damage Dealers: Move away from allies when effected by [Akunda's Wrath].
- Damage Dealers: Move to Pa'ku during [Pa'ku's Wrath] to avoid taking lethal damage.
- Healers: [Kimbul's Wrath] is continuously spread throughout the raid during the encounter.
- Healers: Dispel allies affected by [Mind Wipe].
- Healers: Move to Pa'ku during [Pa'ku's Wrath] to avoid taking lethal damage.
- Healers: [Kimbul's Wrath] is continuously spread throughout the raid during the encounter.
- Healers: Dispel allies affected by [Mind Wipe].
- Healers: Move to Pa'ku during [Pa'ku's Wrath] to avoid taking lethal damage.
- Healers: When you dispel [Bwonsamdi's Wrath] it will jump to the closest target that does not have this effect.
- Tanks: Keep the aspects apart to prevent them from receiving [Loa's Pact].
- Tanks: Move to Pa'ku during [Pa'ku's Wrath] to avoid taking lethal damage.
- Tanks: Move to Pa'ku during [Pa'ku's Wrath] to avoid taking lethal damage.
Habilidades
- Loa's Pact
- Loa's Wrath
- Cry of the Fallen
- Gift of Wind
- Hastening Winds
- Pa'ku's Wrath
- Crawling Hex
- Raptor Form
- Wild Maul
- Gonk's Wrath
- Pack Hunter
- Mark of Prey
- Lacerating Claws
- Kimbul's Wrath
- Bleeding Wounds
- Thundering Storm
King Rastakhan
- King Rastakhan
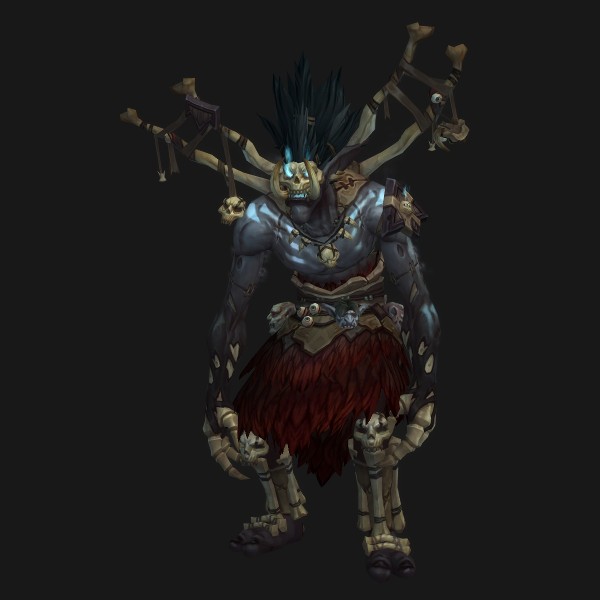 Bwonsamdi
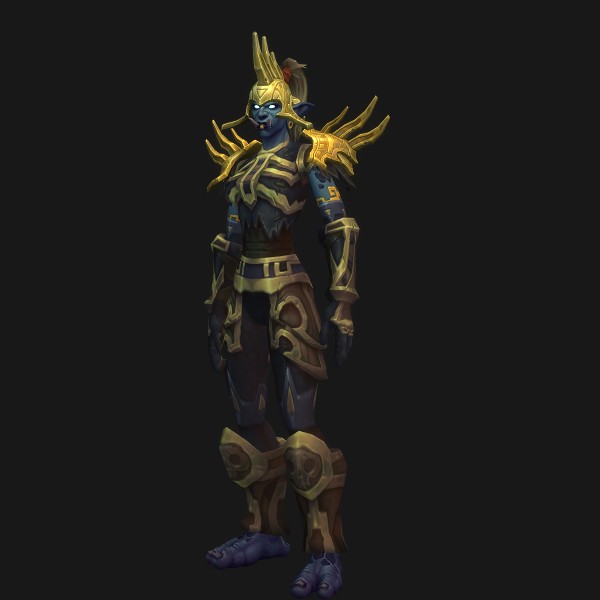 Prelate Za'lan
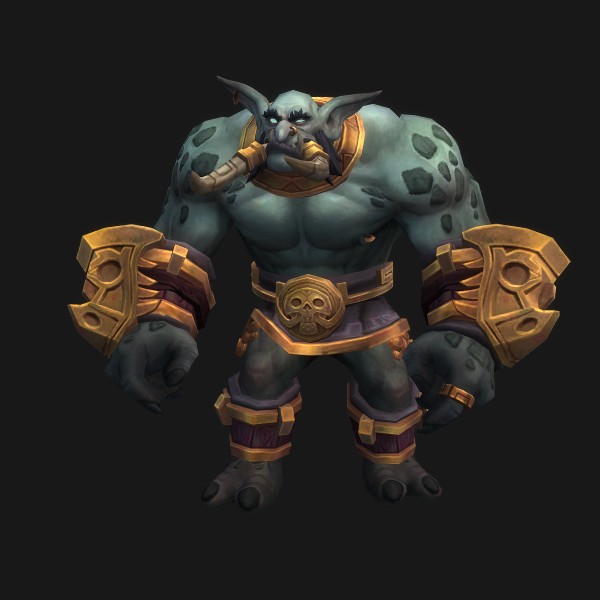 Siegebreaker Roka
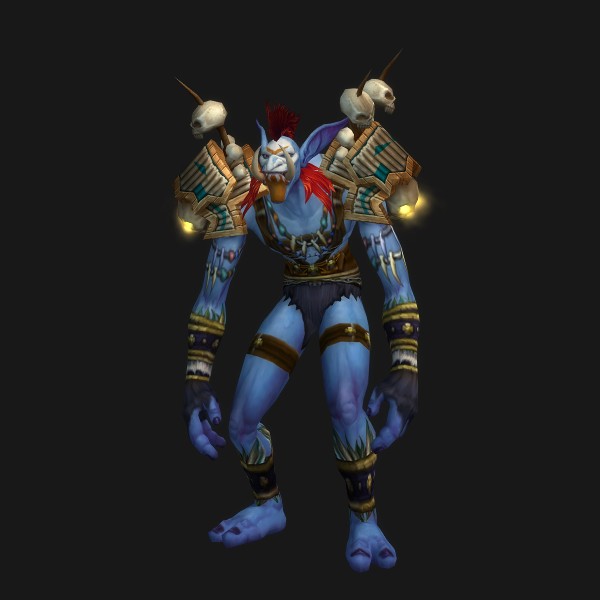 Headhunter Gal'wana
King Rastakhan calls upon his retinue of bodyguards to defend him and his throne room. After Rastakhan's bodyguards have been dispatched, Rastakhan calls upon his Loa, Bwonsamdi, to come and aid him. When Rastakhan reaches 60% health he demands that Bwonsamdi empowers him, causing Bwonsamdi to transfer a portion of his Death power into Rastakhan. After the transfer, Bwonsamdi shifts to the death realm, pulling the closest half of the party with him. Once Bwonsamdi is taken to 50% he abandons Rastakhan and teleports all players in the death realm to the realm of the living to finish the fight with Rastakhan.
- Damage Dealers: Place [Death Rifts] in locations that will shield allies in the death realm from [Dread Reaping].
- Damage Dealers: Coordinate clearing [Deathly Withering] in [Death Rifts].
- Damage Dealers: Free your allies by destroying [Zombie Dust Totems].
- Damage Dealers: Group up together to split the damage of [Meteor Leap].
- Damage Dealers: Spread out to avoid spreading [Plague of Fire].
- Damage Dealers: Avoid [Dread Reaping] as they move through the throne room.
- Healers: Place [Death Rifts] in locations that will shield allies in the death ream from [Dread Reaping].
- Healers: Coordinate clearing [Deathly Withering] in [Death Rifts].
- Healers: Avoid healing allies affected by [Caress of Death].
- Healers: Focus healing on players affected by [Grievous Axe] and [Focused Demise].
- Healers: Group up together to split the damage of [Meteor Leap].
- Healers: Spread out to avoid spreading [Plague of Fire].
- Healers: Avoid [Dread Reaping] as they move through the throne room.
- Tanks: Place [Death Rifts] in locations that will shield allies in the death realm from [Dread Reaping].
- Tanks: Move away from King Rastakhan when targeted by [Scorching Detonation].
- Tanks: Move away from Bwonsamdi or King Rastakhan when targeted by [Caress of Death].
- Tanks: Group up together to split the damage of [Meteor Leap].
- Tanks: Move away from King Rastakhan when targeted by [Scorching Detonation].
- Tanks: Avoid [Dread Reaping] as they move through the throne room.
Habilidades
- Bind Souls
- Scorching Detonation
- Plague of Toads
- Poison Toad Slime
- Greater Serpent Totem
- Serpent's Breath
- Seal of Purification
- Meteor Leap
- Crushing Leap
- Crushed
- Grievous Axe
- Grievous Axe Flurry
- Plague of Fire
- Zombie Dust Totem
- Unliving
- Aura of Death
High Tinker Mekkatorque
- High Tinker Mekkatorque
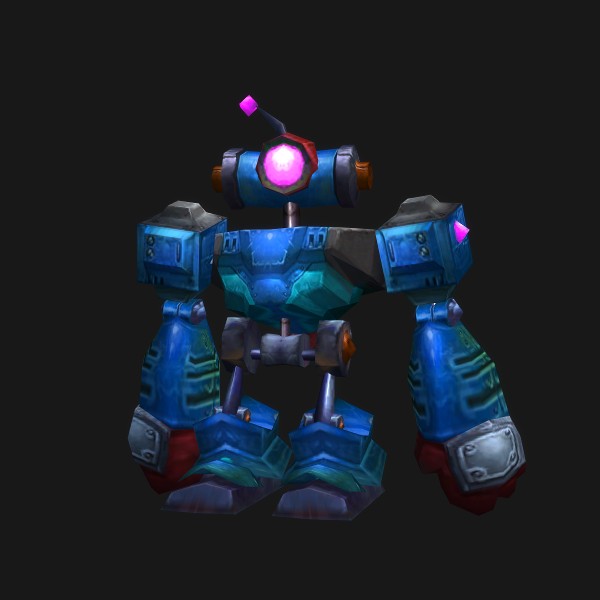 Spark Bot
 Explosive Sheep
Mekkatorque halts the Horde counter-attack using his latest weaponry and inventions. Spark Bots protected by a [Gnomish Force Shield] are called in that pursue players until they're disabled. Take advantage of [World Enlarger] to hijack Spark Bots and shut them down.
- Tanks: Coordinate with your co-tank to manage [Electroshock Strikes].
- Tanks: Be prepared to taunt Mekkatorque if your co-tank is affected by [Gigavolt Charge] or [Shrunk].
- Tanks: Hide from your allies when [Gigavolt Charge] is about to expire.
- Tanks: Seek out and tamper with Spark Bots when [Shrunk]. Await instructions from your allies before inputting a shutdown code!
- Healers: Hide from your allies when [Gigavolt Charge] is about to expire.
- Healers: Allies affected by [Gigavolt Blast] will suffer substantial damage over time.
- Healers: Seek out and tamper with Spark Bots when [Shrunk]. Await instructions from your allies before inputting a shutdown code!
- Damage Dealers: Hide from your allies when [Gigavolt Charge] is about to expire.
- Damage Dealers: Utilize crowd control abilities to prevent Spark Bots from getting into [Spark Pulse] range.
- Damage Dealers: Seek out and tamper with Spark Bots when [Shrunk]. Await instructions from your allies before inputting a shutdown code!
Habilidades
- Electroshock Strikes
- Electroshock Amplification
- Buster Cannon
- Heavy Thrusters
- Blast Off
- Crash Down
- Gigavolt Charge
- Gigavolt Blast
- Gigavolt Radiation Zone
- Gigavolt Radiation
- Wormhole Generator
- Miscalculated Teleport
- Discombobulation
- Deploy Spark Bot
- Gnomish Force Shield
- Spark Shield
Stormwall Blockade
- Laminaria
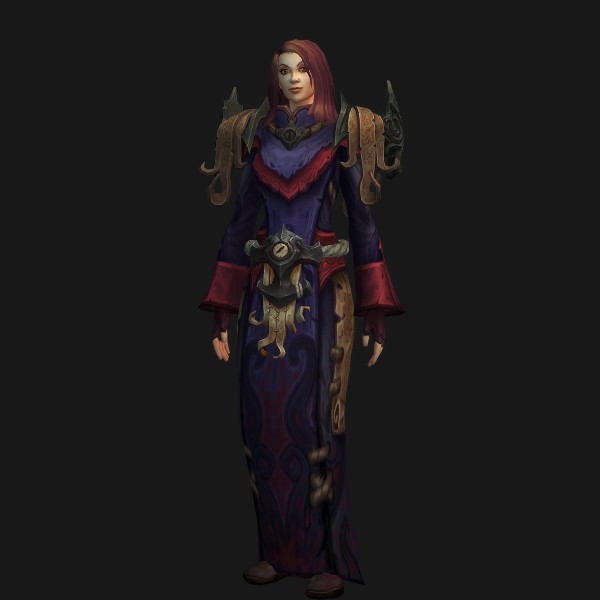 Sister Katherine
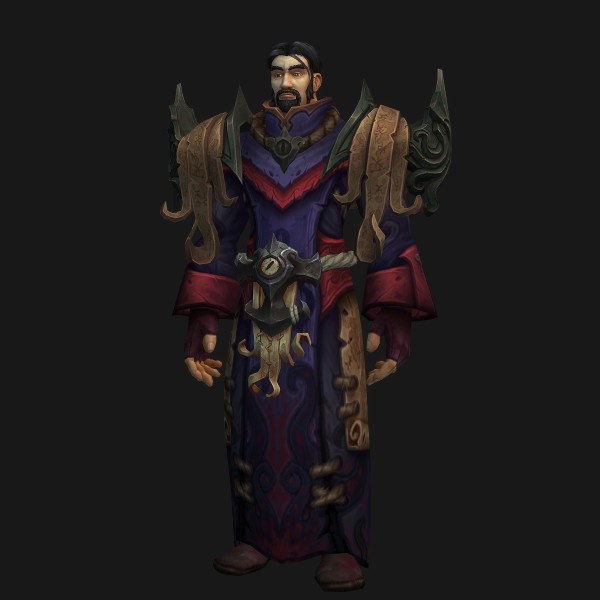 Brother Joseph
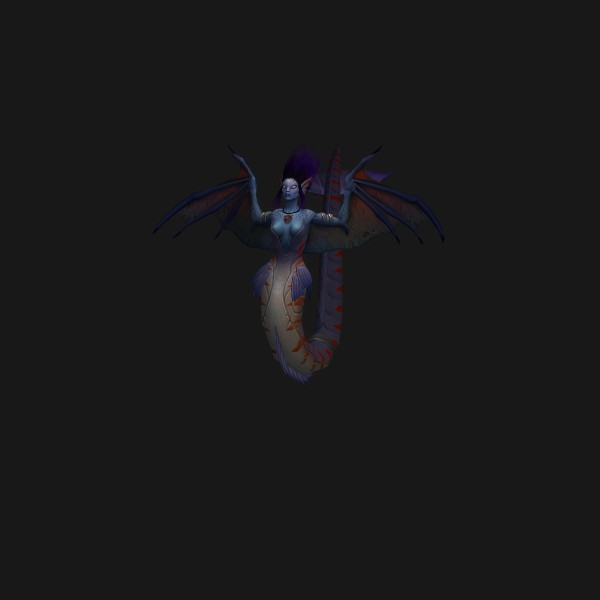 Tempting Siren
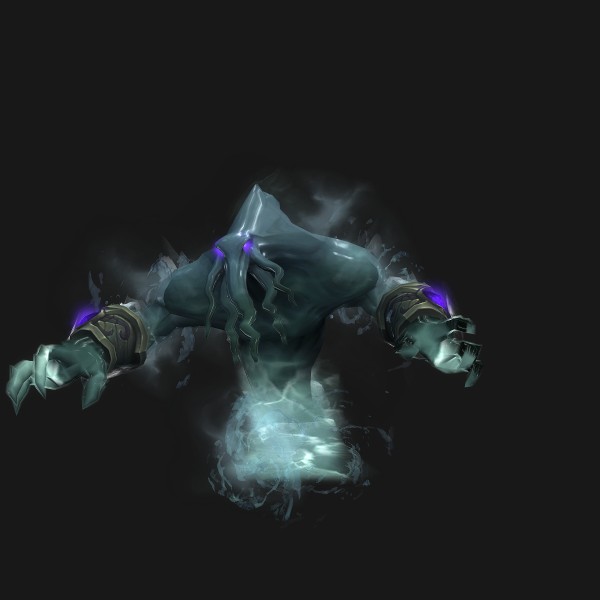 Spawn of Laminaria
Working to cover the main portion of the Alliance fleet as they fell back, a cadre of Stormsong tidepriests have established a blockade and summoned an overwhelming elemental to wash away Dazar'alor's port area. Re-establish a foothold on the docks, overrun the alliance ships and return the summoned monstrosity back to the deep before they destroy a large portion of the city.
- Tanks: Interrupt Brother Joseph's and Sister Katherine's Empowerments when you can.
- Tanks: Use [Kelp-Wrapped Fists] to slow Energizing Storms.
- Healers: If affected by [Tempting Song], try to position yourself as far away from the Siren as possible.
- Healers: Keep moving to avoid being hit by [Voltaic Flash].
- Damage Dealers: If affected by [Tempting Song], try to position yourself as far away from the Siren as possible.
- Damage Dealers: Keep moving to avoid being hit by [Voltaic Flash].
- Damage Dealers: Use [Storm's Wail] to remove [Freezing Tidepools].
Habilidades
- Empowering the storm
- Catastrophic Tides
- Voltaic Flash
- Crackling Lightning
- Thunderous Boom
- Electric Shroud
- Storm's Empowerment
- Jolting Volley
- Soul of the Tidepriestess
- Greater Storm's Empowerment
- Sea Storm
- Sea's Temptation
- Tempting Song
- Tidal Shroud
- Tidal Empowerment
- Tidal Volley
Lady Jaina Proudmoore
- Lady Jaina Proudmoore
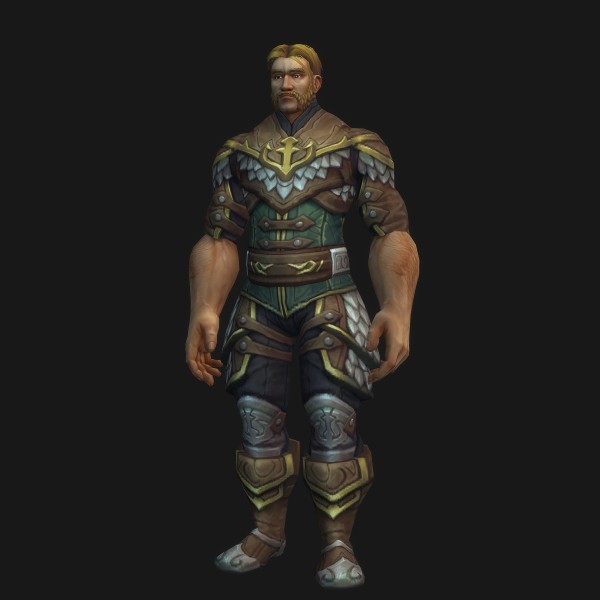 Kul Tiran Marine
- Icebound Image
 Unexploded Ordnance
The pursuit of Jaina across the seas takes place over three stages. During stage one, Jaina assaults the Zandalari warship with Kul Tiran Corsairs that [Bombard] the play space. As the fight progresses, marines [Set Charges] that inflict heavy damage to the raid unless these bombs are thrown overboard before detonated. During stage two, Jaina unleashes the full force of her power, freezing the raid over time. Dwindling heat sources must be used to slow the stacks of [Chilling Touch] in order to avoid becoming [Frozen Solid]. During stage three, Jaina utilizes [Prismatic Images] that duplicate her most dangerous frost spells. Frozen allies must be freed before they are hit by [Shattering Lance].
- Damage Dealers: Fire ballistas at Kul Tiran Corsairs to repel their attack.
- Damage Dealers: Hurl munition barrels placed by [Set Charge] overboard before they explode.
- Damage Dealers: Free allies who are [Frozen Solid]!
- Damage Dealers: Clear stacks of [Chilling Touch] by running into patches of [Searing Pitch] or standing nearby a [Burning Explosion] before it detonates.
- Tanks: Clear stacks of [Chilling Touch] by running into patches of [Searing Pitch] or standing nearby a [Burning Explosion] before it detonates.
- Tanks: Clear patches of [Searing Pitch] with Jaina's [Avalanche] or [Freezing Blast] abilities.
- Tanks: Move away from Jaina when targeted by [Avalanche] to better avoid the shards of ice.
- Healers: [Ring of Ice] inflicts heavy damage to the raid.
- Healers: Dispel allies effected by [Grasp of Frost] or [Hand of Frost].
- Healers: Players targeted by [Siegebreaker Blast] will take high damage upon impact.
Habilidades
- Chilling Touch
- Frozen Solid
- Gathering Blizzard
- Freezing Blood
- Kul Tiran Corsair
- Marked Target
- Set Charge
- Bombard
- Searing Pitch
- Ice Shard
- Avalanche
- Time Warp
- Grasp of Frost
- Freezing Blast
- Ring of Ice
- Frozen Siege
Espólios
O que cada chefe pode dropar. Com uma classe escolhida, somente o que ela pode usar (pela armadura ou porque o item é dessa classe). A probabilidade de cada item não é publicada.
Champion of the Light
 Breastplate of Divine PurificationChest · Plate
 Divine Fury RaimentChest · Cloth
 Bracers of Regal DevotionWrist · Leather
 Gloves of Spiritual GraceHands · Leather
 Desecrated Blade of the DisciplesOne-Hand · Dagger
 Ward of EnvelopmentTrinket · Miscellaneous
 DawnbreakerTwo-Hand · Sword
 Crusade PummelersHands · Plate
 Lightgrace SabatonsFeet · Mail
 Pauldrons of Ancestral VengeanceShoulder · Mail
 Cowl of Righteous ResolveHead · Leather
 Bracers of Zealous CallingWrist · Cloth
 Sunburst CrestOff Hand · Shield
Champion of the Light
- Breastplate of Divine PurificationChest · Plate
- Divine Fury RaimentChest · Cloth
- Bracers of Regal DevotionWrist · Leather
- Gloves of Spiritual GraceHands · Leather
- Desecrated Blade of the DisciplesOne-Hand · Dagger
- Ward of EnvelopmentTrinket · Miscellaneous
- DawnbreakerTwo-Hand · Sword
- Crusade PummelersHands · Plate
- Lightgrace SabatonsFeet · Mail
- Pauldrons of Ancestral VengeanceShoulder · Mail
- Cowl of Righteous ResolveHead · Leather
- Bracers of Zealous CallingWrist · Cloth
- Sunburst CrestOff Hand · Shield
Grong, the Jungle Lord
 Grong's Primal RageTrinket · Miscellaneous
 Grongpelt VestChest · Leather
 Leggings of Dire ResearchLegs · Cloth
 Cursed Monkey PalmHeld In Off-hand · Miscellaneous
 Hornridged CrusherTwo-Hand · Polearm
 Bristling Fur-Lined AmiceShoulder · Cloth
 Silverback CloakBack · Cloth
 Bonelash PawOne-Hand · Fist Weapon
 Spaulders of the Gorilla KingShoulder · Plate
 Stretched Sinew WaistcordWaist · Leather
 Apetagonizer's ClawOne-Hand · Mace
 Simian Berserker's HelmHead · Mail
 Splinter-Bone VambracesWrist · Plate
 Ape Wrangler's WristguardsWrist · Mail
Grong, the Revenant
- Grong's Primal RageTrinket · Miscellaneous
- Grongpelt VestChest · Leather
- Leggings of Dire ResearchLegs · Cloth
- Cursed Monkey PalmHeld In Off-hand · Miscellaneous
- Hornridged CrusherTwo-Hand · Polearm
- Bristling Fur-Lined AmiceShoulder · Cloth
- Silverback CloakBack · Cloth
- Bonelash PawOne-Hand · Fist Weapon
- Spaulders of the Gorilla KingShoulder · Plate
- Stretched Sinew WaistcordWaist · Leather
- Apetagonizer's ClawOne-Hand · Mace
- Simian Berserker's HelmHead · Mail
- Splinter-Bone VambracesWrist · Plate
- Ape Wrangler's WristguardsWrist · Mail
Jadefire Masters
 Helm of Tempered JadeHead · Plate
 Mistfire RaimentChest · Mail
 Band of Multi-Sided StrikesFinger · Miscellaneous
 Cranedancer LeggingsLegs · Leather
 Embersear WaistguardWaist · Plate
 Invocation of Yu'lonTrinket · Miscellaneous
 Phoenixfire StaffTwo-Hand · Staff
 Blazewing HoodHead · Cloth
 Grips of Harmonious SpiritsHands · Mail
 Firecaller's HandwrapsHands · Cloth
 Ma'ra's Boneblade MantleShoulder · Leather
Jadefire Masters
- Helm of Tempered JadeHead · Plate
- Mistfire RaimentChest · Mail
- Band of Multi-Sided StrikesFinger · Miscellaneous
- Cranedancer LeggingsLegs · Leather
- Embersear WaistguardWaist · Plate
- Invocation of Yu'lonTrinket · Miscellaneous
- Mestrah's Singing SpauldersShoulder · Leather
- Phoenixfire StaffTwo-Hand · Staff
- Blazewing HoodHead · Cloth
- Grips of Harmonious SpiritsHands · Mail
- Manceroy's FlamefistsHands · Cloth
Opulence
 Crown of the SeducerHead · Cloth
 Bloodtooth, the SoulfeasterOne-Hand · Warglaives
 Goldenscale GirdleWaist · Mail
 Diamond-Laced Refracting PrismTrinket · Miscellaneous
- Electrified Crown of Rahu'aiHead · Mail
- Boots of the Gilded PathFeet · Mail
 Coinage StampersFeet · Plate
 Waistcord of Flowing SilkWaist · Cloth
 Greed's FollyOne-Hand · Dagger
 Incandescent SliverTrinket · Miscellaneous
- Amethyst-Studded BindingsWrist · Leather
- Crown of A'akul's Dark ReignHead · Leather
 Goblet of Glittering FavorOne-Hand · Mace
- Crown of Bloody SuccessionHead · Plate
Conclave of the Chosen
 Lightfeather FootpadsFeet · Cloth
- Gonk's Scale RobesChest · Mail
 Loa Exultant's ShroudBack · Cloth
 Arcing Thunderlizard LegplatesLegs · Plate
 Blade of Encroaching DeathOne-Hand · Sword
 Kimbul's Razor ClawTrinket · Miscellaneous
- Vestments of Indomitable WillChest · Leather
 Akunda's ShocksplitterOne-Hand · Axe
- Mantle of the SkyterrorShoulder · Cloth
- Ridgeplate PauldronsShoulder · Plate
 Crest of Pa'kuTrinket · Miscellaneous
 Pterrorwing LongbowRanged · Bow
 Enchanted Talon of Pa'kuNon-equippable · Companion Pets
 Thundering Scale of AkundaNon-equippable · Companion Pets
 Spawn of Krag'waNon-equippable · Companion Pets
- Crest of Pa'kuTrinket · Miscellaneous
King Rastakhan
 Last Fang of RezanOne-Hand · Dagger
- Mantle of the Soulbinder's CaressShoulder · Mail
 Mirror of Entwined FateTrinket · Miscellaneous
 Bwonsamdi's BargainTrinket · Miscellaneous
- Phantom Stalker ShouldersShoulder · Leather
- Breastplate of the DeathboundChest · Plate
 Deathhunter's LegguardsLegs · Mail
- Roka's Bonecrushing ManaclesWrist · Plate
- Vestments of the AfterlifeChest · Cloth
 Deathspeaker SpireTwo-Hand · Staff
 Seal of the Zandalari EmpireFinger · Miscellaneous
High Tinker Mekkatorque
- Servo-Claw SmasherOne-Hand · Mace
- Mech-Jockey GripsHands · Leather
- Mekkatorque's Bomber JacketChest · Leather
- Lever Stabilizing WristwrapsWrist · Cloth
- Target-Tracking HeadgearHead · Mail
- Giga-Charged ShoulderpadsShoulder · Cloth
 High Tinker's CapeBack · Cloth
 Variable Intensity Gigavolt Oscillating ReactorTrinket · Miscellaneous
- Dyno-Sprocket SpauldersShoulder · Plate
 Twin-Pipe Buster CannonRanged · Gun
 Ramping Amplitude Gigavolt EngineTrinket · Miscellaneous
 G.M.O.D.Non-equippable · Mount
Stormwall Blockade
- Tidemother's CoverHead · Leather
- Wavecaller LeggingsLegs · Cloth
 Storm-Toothed KasuyuOne-Hand · Axe
- Tidal Shroud SpauldersShoulder · Mail
- Kelp-Laced GreavesLegs · Leather
- Sea Swell ChestplateChest · Plate
 Siren's SongRanged · Wand
- Stormwrought GauntletsHands · Plate
- Slimy KelpweaversHands · Mail
 Crash of TidesTwo-Hand · Axe
- Docksplitter Siege HookTwo-Hand · Polearm
- Blockade BulwarkOff Hand · Shield
- Cowl of Tideborne OmensHead · Cloth
Lady Jaina Proudmoore
 Everchill AnchorTrinket · Miscellaneous
 Glacial TidestormNon-equippable · Mount
- Hullplate GirdleWaist · Plate
 Lord Admiral's SignetFinger · Miscellaneous
 Tidestorm CodexTrinket · Miscellaneous
- Glaciercrest HelmHead · Plate
- Icebinder's BracersWrist · Mail
 Embossed DeckwalkersFeet · Leather
 Fogbreaker, Light of the SeaHeld In Off-hand · Miscellaneous
 Daelin Proudmoore's SaberOne-Hand · Sword
- Flag Officer's OvercoatChest · Mail
- Admiralty's Ceremonial EpauletsShoulder · Leather
- Robes of Biting ColdChest · Cloth
- G.M.O.D.Non-equippable · Mount
Dados da instância
- 1Modes: Raid Finder, Normal, Heroic, Mythic.