










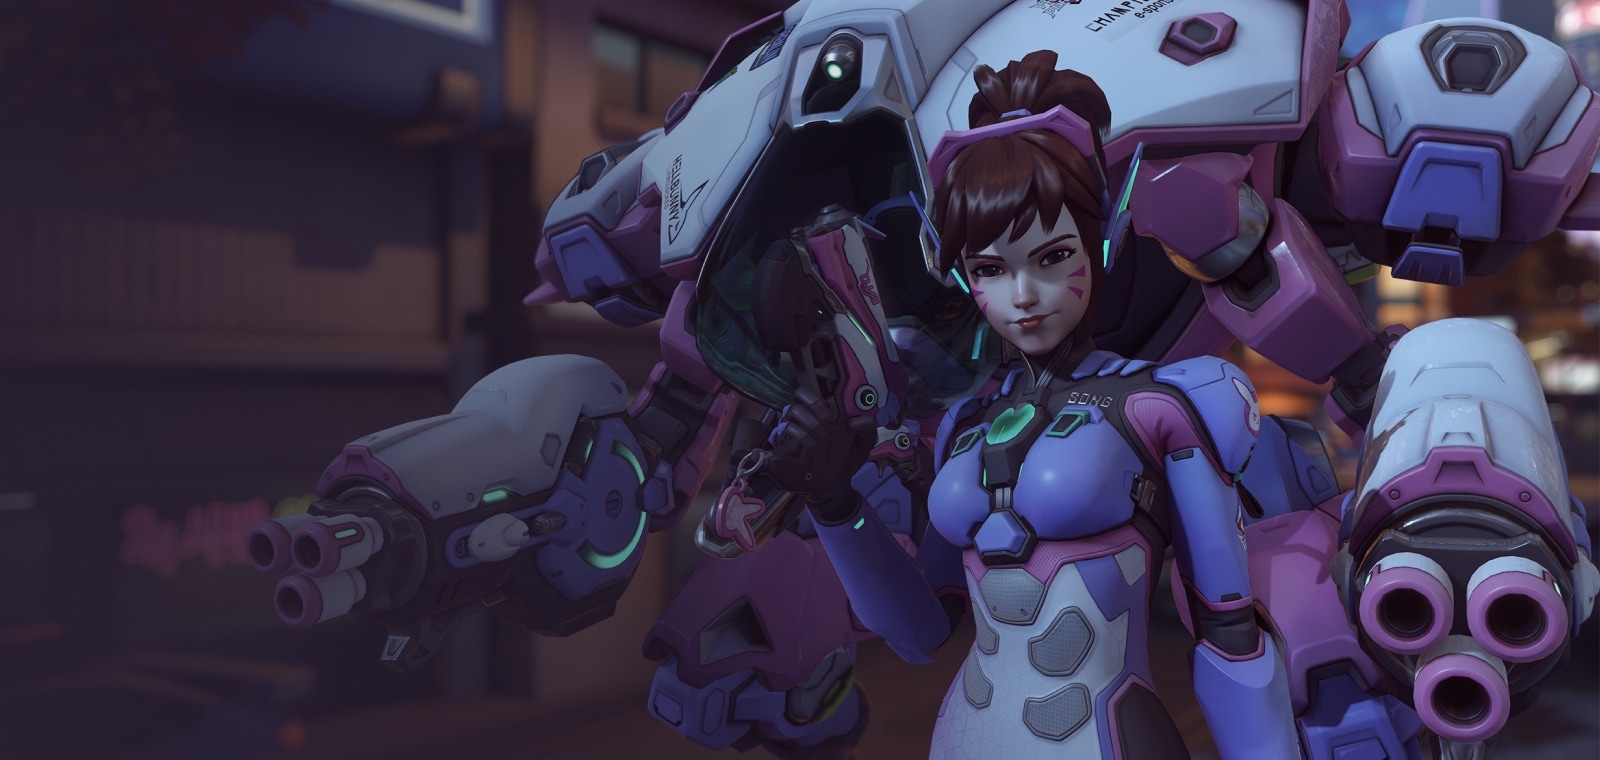

D.Va · Tank
D.Va abilities, perks and Stadium powers
Mais guias de D.Va
Este guia é montado pelo site com dados de partidas e do próprio jogo: ninguém o escreveu à mão. Se houver guias oficiais ou da comunidade, eles aparecem ao lado.
Introdução
D.Va is a initiator tank hero in Overwatch with 325 health and 325 armor (650 in total). In competitive this season (PC, Americas, Europe and Asia averaged) it wins 46.1% of its games, is picked by 5.8% of teams and banned in 3.7% of matches: tier D on our ladder. D.Va has 4 perks and 12 Stadium powers; below, each one is listed under the ability it changes.
Cola de builds
Escolha a build de acordo com o que você quer fazer na partida.
- D.Va · recommended perksEquilibradoRecomendadaOne minor and one major perk, chosen by what each one's text adds to a tank hero. Blizzard doesn't publish how often each perk is picked, so this is a reading of the perks, not a pick rate.
- D.Va · StadiumEquilibradoStadiumFour of the 12 Stadium powers of D.Va, chosen by what their text adds to a tank hero and spread over different abilities so no single one carries the build.
- D.Va · alternative perksUtilidadeSituacionalThe other option of each perk level. Perks are chosen during the match, so switch to these when the enemy composition or the map asks for what they do.
Builds
D.Va · recommended perks
Quando usar
One minor and one major perk, chosen by what each one's text adds to a tank hero. Blizzard doesn't publish how often each perk is picked, so this is a reading of the perks, not a pick rate.
Vantagem menor
 Poder da CoelhinhaEjetar concede 75 de vida extra temporária e o raio de dano de Chamar Mecha é aumentado em 50%.
 Propulsão ExtraAtingir um inimigo com Propulsores causa 40% a mais de dano e prolonga a duração em 0,5 s.
Picked for more damage: Eject grants 75 temporary overhealth and Call Mech’s damage radius is increased by 50%.
Vantagem maior
 Sistema de EscudoConverte 100 de vida em escudos. A Matriz de Defesa restaura os escudos com base em 25% do dano absorvido por ela.
 Fusão de PrecisãoPressione R para reduzir a dispersão dos Canhões de Fusão em 75% por 3 s.
Picked for more survival: Convert 100 health to shields. Defense Matrix restores shields based on 25% of its damage absorbed.
D.Va · Stadium
Quando usar
Four of the 12 Stadium powers of D.Va, chosen by what their text adds to a tank hero and spread over different abilities so no single one carries the build.
Poderes do Stadium (4)
- 1
 Ejetor de MEKASelf-Destruct: Self-Destruct explodes 25% faster and costs 60% less Ultimate Charge but deals 75% reduced damage and only grants 75% Ultimate Charge after detonation.
 - 2
 Bônus de AtributosDefense Matrix: Boosters damage extends Boosters duration by 0.5s and restores 5% Defense Matrix energy and heal 5% Max Life.
 - 3
 Escudo de Evacuação de MEKACall Mech: +50% Call Mech Radius. When ejecting or re-entering your Mech, grant Overhealth equal to 20% of your Max Life to all nearby allies for 5s.
 - 4
 Tokki EsmagadorBoosters: During Boosters, use Crouch to slam the ground, dealing Boosters damage equal to 15% of your Max Life and knocking up enemies hit.
D.Va · alternative perks
Quando usar
The other option of each perk level. Perks are chosen during the match, so switch to these when the enemy composition or the map asks for what they do.
Vantagem menor
Poder da CoelhinhaEjetar concede 75 de vida extra temporária e o raio de dano de Chamar Mecha é aumentado em 50%.Propulsão ExtraAtingir um inimigo com Propulsores causa 40% a mais de dano e prolonga a duração em 0,5 s.When the situation calls for it: Hitting an enemy with Boosters deals 40% increased damage and extends the duration by 0.5 seconds.
Vantagem maior
Sistema de EscudoConverte 100 de vida em escudos. A Matriz de Defesa restaura os escudos com base em 25% do dano absorvido por ela.Fusão de PrecisãoPressione R para reduzir a dispersão dos Canhões de Fusão em 75% por 3 s.When the situation calls for it: Press R to reduce Fusion Cannons' spread by 75% for 3 seconds.
Habilidades
 LMBCanhões de FusãoArmas difusas automáticas de curto alcance.Key: primary fire. Perks: Precision Fusion
 LMBPistola de LuzArma automática.Key: primary fire
 ShiftPropulsores4sVoa na direção em que você está indo.Key: Shift · cooldown 4 s. Perks: Extended Boosters
 RMBMatriz de Defesa1sBloqueia projéteis em uma área na sua frente.Key: secondary fire · cooldown 1 s. Perks: Shield System
 EMicromísseis7sLança uma rajada de foguetes explosivos.Key: E · cooldown 7 s
 QAutodestruirSupremaEjeta e sobrecarrega seu mecha, fazendo com que ele exploda após um curto período de tempo.Key: Q · ultimate
 QChamar MechaSupremaChama um novo mecha.Key: Q · ultimate. Perks: Bunny Power
 Ejetar!PassivaEjeta você de seu mecha quando ele é destruído.passive
Estratégia
1Fusion Cannons
primary fire · Fusion Cannons: Automatic short-range spread weapons.
- Major perk · Precision Fusion: Press R to reduce Fusion Cannons' spread by 75% for 3 seconds.
- Stadium · Multi-Task Mod: Fusion Cannons can now be fired while using Defense Matrix.
2Light Gun
primary fire · Light Gun: Automatic weapon.
3Boosters
Shift · Boosters · 4 s: Fly in the direction you are facing.
- Minor perk · Extended Boosters: Hitting an enemy with Boosters deals 40% increased damage and extends the duration by 0.5 seconds.
- Stadium · Ignition Burst: Boosters damage Burn enemies for 40 damage over 2s.
- Stadium · MEKA Punch: While using Boosters, Quick Melee has 50% more Attack Speed. Quick Melee and Boosters eliminations reset the cooldown of Boosters.
- Stadium · Tokki Slam: During Boosters, use Crouch to slam the ground, dealing Boosters damage equal to 15% of your Max Life and knocking up enemies hit.
4Defense Matrix
secondary fire · Defense Matrix · 1 s: Block projectiles in an area in front of you.
- Major perk · Shield System: Convert 100 health to shields. Defense Matrix restores shields based on 25% of its damage absorbed.
- Stadium · Focused Fusion: Fusion Cannon's spread is reduced by 50% and 20m increased falloff range. When dealing Weapon damage to enemies beyond 8m, Defense Matrix recovers 33% faster.
- Stadium · Countermeasures: When you mitigate 150 damage with Defense Matrix, automatically fire 3 Micro Missiles.
- Stadium · Facetanking: When you mitigate 150 damage with Defense Matrix, heal yourself for 15% of that damage and all other allies within 6m for 25% of that damage.
- Stadium · Stat Boost: Boosters damage extends Boosters duration by 0.5s and restores 5% Defense Matrix energy and heal 5% Max Life.
5Micro Missiles
E · Micro Missiles · 7 s: Launch a volley of explosive rockets.
- Stadium · Legendary Loadout: Micro Missiles are replaced with 6 Heavy Rockets, which deal 375% more explosive damage and have 100% increased radius.
- Stadium · Overstocked: Gain 1 extra charge of Micro Missiles.
6Self-Destruct
Q · Self-Destruct · ultimate: Eject and overload your mech, causing it to explode after a short time.
- Stadium · MEKA Ejector: Self-Destruct explodes 25% faster and costs 60% less Ultimate Charge but deals 75% reduced damage and only grants 75% Ultimate Charge after detonation.
7Call Mech
Q · Call Mech · ultimate: Call down a new mech.
- Minor perk · Bunny Power: Eject grants 75 temporary overhealth and Call Mech’s damage radius is increased by 50%.
- Stadium · MEKA Evac Shield: +50% Call Mech Radius. When ejecting or re-entering your Mech, grant Overhealth equal to 20% of your Max Life to all nearby allies for 5s.
8Eject!
Eject! · passive: Eject out of your mech when it is destroyed.
9Perks
During each match you unlock a minor perk and, later, a major perk: one of two options each time. ★ marks this guide's pick.
- ★ Bunny Power: Eject grants 75 temporary overhealth and Call Mech’s damage radius is increased by 50%.
- Extended Boosters: Hitting an enemy with Boosters deals 40% increased damage and extends the duration by 0.5 seconds.
- Precision Fusion: Press R to reduce Fusion Cannons' spread by 75% for 3 seconds.
- ★ Shield System: Convert 100 health to shields. Defense Matrix restores shields based on 25% of its damage absorbed.
Dicas
- Self-Destruct (Q) is your ultimate: plan it with your team's ultimates instead of using it as soon as it's ready.
- Call Mech (Q) is your ultimate: plan it with your team's ultimates instead of using it as soon as it's ready.
Confrontos
Combina bem com
Both do better than their average on the same maps, such as Watchpoint: Gibraltar, Dorado and Junkertown: a good pairing when the map suits them.
Both do better than their average on the same maps, such as Watchpoint: Gibraltar, Junkertown and Route 66: a good pairing when the map suits them.
Both do better than their average on the same maps, such as Watchpoint: Gibraltar, Junkertown and Dorado: a good pairing when the map suits them.
Both do better than their average on the same maps, such as Watchpoint: Gibraltar, Dorado and Numbani: a good pairing when the map suits them.



Mudanças
- Guide created for patch Season 4.
Ele te ajudou?
Seu voto ajuda outros jogadores a encontrar os melhores guias.