










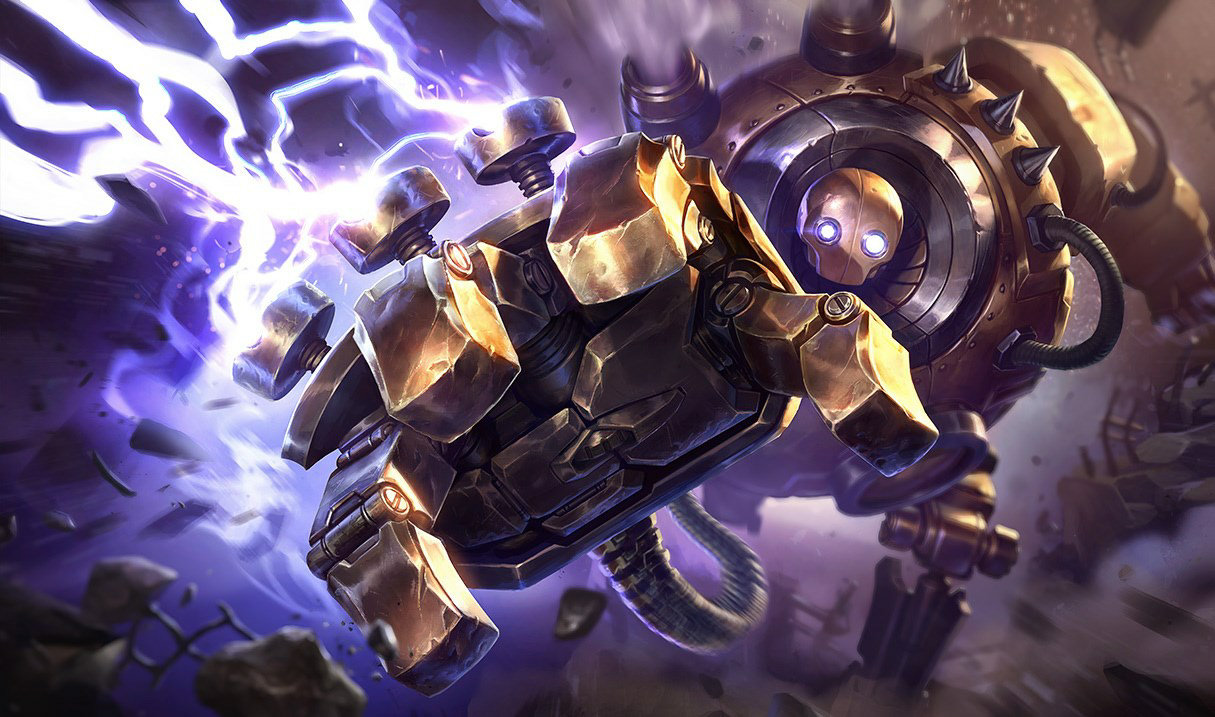
Blitzcrank · Support
Blitzcrank Aggressive Guide
More Blitzcrank guides
This guide is assembled by the site from match data and the game's own information — nobody wrote it by hand. Official and community guides appear alongside it when they exist.
Overview
This guide is about playing Blitzcrank aggressively. Aggressive support means looking for Static Field on every enemy mistake and roaming to mid when the lane is pushed. Your spikes are level 6, when Static Field comes online, and each completed item: Locket of the Iron Solari first, then Knight's Vow. Riot rates it 4/10 in attack, 5/10 in magic, 8/10 in defense and 4/10 in difficulty.


Strengths
- Crowd control: Static Field applies a silence to set up kills.
- Static Field hits several enemies: a strong team fight tool.
- Very durable: Riot rates it 8/10 in defense.
- Sustain from Mana Barrier.
Weaknesses
- No dash or blink in the kit: vulnerable to ganks without vision.
- Every death while playing aggressively hands the tempo back to the enemy.
Build cheat sheet
Pick the build that fits what you want to do this game.
- Offensive buildOffensiveRecommendedAll-in on damage: Sunfire Aegis, Hollow Radiance and Knight's Vow stack health, armor and ability haste. Choose it when you're ahead or the enemy team is fragile — it gives up safety for kill pressure.
- Against physical damageDefensiveSituationalFor a lane or a team that hits with attacks: armor boots and an armor item in the core.
Builds
Offensive build
When to use it
All-in on damage: Sunfire Aegis, Hollow Radiance and Knight's Vow stack health, armor and ability haste. Choose it when you're ahead or the enemy team is fragile — it gives up safety for kill pressure.


Where it's played
Picked before the game: the main lane first, then the alternatives.
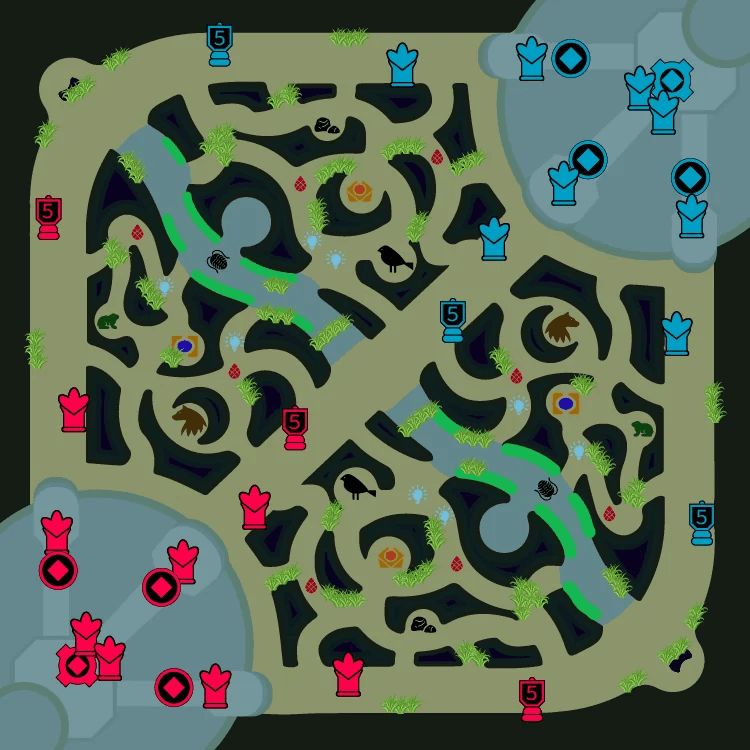
 1100%
1100%- SupportMain100% of matches
Starting items


Core items
- 1Sunfire Aegis
- 2Hollow Radiance
- 3Knight's Vow
Boots

Situational


Runes
Primary· Resolve








Secondary· Precision


Shards


Summoner spells
 Flash
Flash Ignite
Against physical damage
When to use it
For a lane or a team that hits with attacks: armor boots and an armor item in the core.
Where it's played
Picked before the game: the main lane first, then the alternatives.
1100%- SupportMain100% of matches
Starting items
Core items
- 1Locket of the Iron Solari
- 2Knight's Vow
- 3Dead Man's Plate
Boots

Situational

Runes
Primary· Resolve
Secondary· Inspiration





Shards
Summoner spells
- Flash
- Ignite
Abilities
 Mana BarrierPassiveBlitzcrank gains a shield based on their mana when dropping to low health.
 QRocket Grab20/19/18/17/16s100 mpBlitzcrank fires their right hand to grab an opponent on its path, dealing damage and dragging it back to them.
- Cooldown
- 20·19·18·17·16
- Cost
- 100
- Range
- 1079
 WOverdrive15s75 mpBlitzcrank super charges themself to get dramatically increased Move and Attack Speed. They are temporarily slowed after the effect ends.
- Cooldown
- 15
- Cost
- 75
- Range
- 1
 EPower Fist7/6.5/6/5.5/5s25 mpBlitzcrank charges up their fist to make the next attack deal double damage and pop their target up in the air.
- Cooldown
- 7·6.5·6·5.5·5
- Cost
- 25
- Range
- 300
 RStatic FieldUltimate60/40/20s100 mpEnemies attacked by Blitzcrank are marked and take lightning damage after 1 second. Additionally, Blitzcrank can activate this ability to remove nearby enemies' shields, damage them, and silence them briefly.
- Cooldown
- 60·40·20
- Cost
- 100
- Range
- 600
Strategy
1When to fight
Your spikes are level 6, when Static Field comes online, and each completed item: Locket of the Iron Solari first, then Knight's Vow. Aggressive support means looking for Static Field on every enemy mistake and roaming to mid when the lane is pushed.
2Picking your targets
Protect whoever the enemy dives: Static Field on the diver is worth more than any damage you could deal. The best target is the one your team can reach and kill before the enemy answers, not always the most valuable one.
3Snowballing a lead
After a won fight, take dragons and towers before anything else: that's what turns kills into a lead the enemy can't erase. Early, secure vision in the river and help your jungler contest the first dragon.
4When to back off
Safe support means staying next to your marksman, warding ahead and saving your abilities to answer the enemy engage. If your key abilities are on cooldown or the enemy is missing from the map, the aggressive play is to wait.
Tips
- Fight on your spikes: right after Locket of the Iron Solari, look for the next fight instead of farming.
- Look for kills when Static Field is ready and the enemy's key ability is not.
- Use Static Field to start the fight, then commit your damage.
- Track the enemy's key cooldowns and attack right after they use them.
- Turn every kill into dragons and towers: a kill without an objective is a wasted lead.
- Push your lane before you roam so the aggression doesn't cost you resources.
Matchups



Changelog
- Guide created for patch 16.19.1.
Was this helpful?
Your vote helps other players find the best guides.