










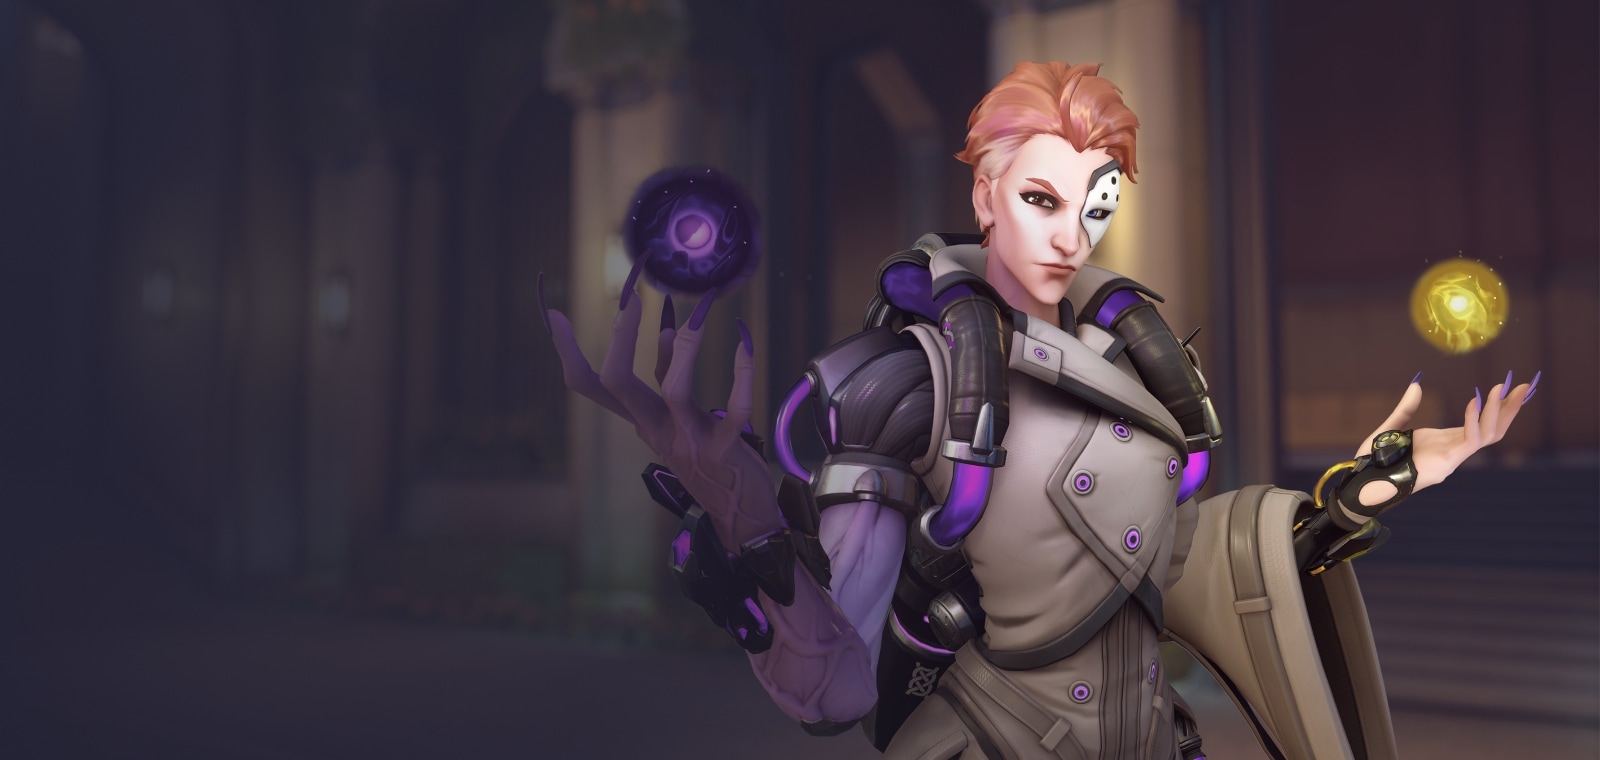

Moira · Support
Safe Moira guide
Mais guias de Moira
Este guia é montado pelo site com dados de partidas e do próprio jogo: ninguém o escreveu à mão. Se houver guias oficiais ou da comunidade, eles aparecem ao lado.
Introdução
Moira is a medic support hero in Overwatch with 225 health. In competitive this season (PC, Americas, Europe and Asia averaged) it wins 50.7% of its games, is picked by 30.7% of teams and banned in 4.7% of matches: tier A on our ladder. Moira has 225 hit points: 225 health.
Pontos fortes
- Healing: Biotic Grasp, Biotic Orb and Coalescence keep allies (or itself) alive.
Pontos fracos
- Loses strength as the level rises: −2.6 pts of win rate from Bronze–Silver to Master–Grandmaster.
- Struggles on Numbani, Paraíso and Blizzard World (down to 48.1% won).
- None of its abilities is described as a dash, jump or teleport: position before the fight, not during it.
Cola de builds
Escolha a build de acordo com o que você quer fazer na partida.
- Moira · survival perksDefensivoRecomendadaThe perks whose text adds the most healing, health or protection: for games where you die before your cooldowns matter.
- Moira · Stadium survivalDefensivoStadiumFour of the 12 Stadium powers of Moira, chosen by what their text adds and spread over different abilities so no single one carries the build.
- Moira · recommended perksEquilibradoSituacionalOne minor and one major perk, chosen by what each one's text adds to a support hero. Blizzard doesn't publish how often each perk is picked, so this is a reading of the perks, not a pick rate.
Builds
Moira · survival perks
Quando usar
The perks whose text adds the most healing, health or protection: for games where you die before your cooldowns matter.
Vantagem menor
 Vida ou MorteCoalescência pode alternar entre cura pura ou dano puro, com um efeito 30% maior.
 Nutrição ÉticaOs primeiros 30 pontos de cura do Orbe Biótico são instantâneos para cada aliado que encontrar.
Picked for more survival: Biotic Orb's first 30 healing is instant on each ally it encounters.
Vantagem maior
 InversãoReativar o Orbe Biótico inverte sua direção.
 Passo FantasmaDesvanecer dura 0,5 s a mais e aumenta em 50% a altura do salto.
Picked for more utility: Fade lasts 0.5 seconds longer and boosts jump height by 50%.
Moira · Stadium survival
Quando usar
Four of the 12 Stadium powers of Moira, chosen by what their text adds and spread over different abilities so no single one carries the build.
Poderes do Stadium (4)
- 1
 Potencialização TemeráriaBiotic Grasp: Allies healed by your Biotic Grasp are healed for an additional 25% of Biotic Grasp's healing over 5s.
 - 2
 Conexão do VazioFade: While using Fade, passing through a target grants you Overhealth equal to 10% of your Max Life. Passing through an ally also grants them the Overhealth and phases them briefly.
 - 3Vida ou MorteCoalescence: +25% Ultimate Cost Reduction. Coalescence can be toggled between pure healing or pure damage, with 30% greater effect.
- 4
 OrbexplosãoBiotic Orb: Recast Biotic Orb to explode all active Biotic Orbs, healing up to 45% or dealing damage up to 30% of the Biotic Orb's max capacity.
Moira · recommended perks
Quando usar
One minor and one major perk, chosen by what each one's text adds to a support hero. Blizzard doesn't publish how often each perk is picked, so this is a reading of the perks, not a pick rate.
Vantagem menor
Vida ou MorteCoalescência pode alternar entre cura pura ou dano puro, com um efeito 30% maior.Nutrição ÉticaOs primeiros 30 pontos de cura do Orbe Biótico são instantâneos para cada aliado que encontrar.Picked for more damage: Coalescence can be toggled between pure healing or pure damage, with 30% greater effect.
Vantagem maior
InversãoReativar o Orbe Biótico inverte sua direção.Passo FantasmaDesvanecer dura 0,5 s a mais e aumenta em 50% a altura do salto.Picked for more utility: Fade lasts 0.5 seconds longer and boosts jump height by 50%.
Habilidades
 LMBPunho BióticoSegure para curar todos os aliados a sua frente. Consome energia biótica. Arma com raio de longo alcance. O dano causado cura você e recupera sua energia biótica.Key: primary fire
 EOrbe Biótico8sDispara uma esfera que ricocheteia podendo curar aliados ou causar dano a inimigos.Key: E · cooldown 8 s. Perks: Ethical Nourishment, Reversal
 ShiftDesvanecer6sDesapareça, mova-se mais rápido e fique invulnerável, porém incapaz de atirar.
 QCoalescênciaSupremaDispara um raio que cura aliados e causa dano a inimigos.Key: Q · ultimate. Perks: Destruction's Divide
Estratégia
1Staying alive
The abilities that heal, protect or move you, by their own description:
- primary fire · Biotic Grasp: Hold to heal all allies in front of you. Consumes biotic energy. Long range beam weapon. Damage dealt heals you and replenishes your biotic energy.
- E · Biotic Orb · 8 s: Launch a bouncing sphere that either heals nearby allies or damages nearby enemies.
- Q · Coalescence · ultimate: Fire a beam that heals allies and damages enemies.
2Survival perks
During each match you unlock a minor perk and, later, a major perk: one of two options each time. ★ marks this guide's pick.
- Destruction's Divide: Coalescence can be toggled between pure healing or pure damage, with 30% greater effect.
- ★ Ethical Nourishment: Biotic Orb's first 30 healing is instant on each ally it encounters.
- ★ Phantom Step: Fade lasts 0.5 seconds longer and boosts jump height by 50%.
- Reversal: Reactivating Biotic Orb reverses its direction.
3Survival Stadium powers
The four powers whose text adds the most healing, health or protection:
- Precarious Potency
- Voidhoppers
- Destruction's Divide
- Orbsplosion
4Where to be careful
The competitive maps where it wins least:
- Numbani: 48.1% won (30.0% pick rate)
- Paraíso: 48.9% won (31.7% pick rate)
- Blizzard World: 49.0% won (30.6% pick rate)
5Mistakes that get you killed
- Wandering away from your team and getting picked alone.
- Using your key cooldown before the enemy commits theirs.
Dicas
- When no one needs healing, shoot: support damage wins fights too.
- Biotic Orb (E) heals: use it before an ally drops too low, not after.
Confrontos
Combina bem com
Both do better than their average on the same maps, such as Nepal, Lijiang Tower and Oasis: a good pairing when the map suits them.
Both do better than their average on the same maps, such as New Junk City, Aatlis and Samoa: a good pairing when the map suits them.
Both do better than their average on the same maps, such as Lijiang Tower, Nepal and Antarctic Peninsula: a good pairing when the map suits them.
Both do better than their average on the same maps, such as Antarctic Peninsula, Samoa and Nepal: a good pairing when the map suits them.



Mudanças
- Guide created for patch Season 4.
Ele te ajudou?
Seu voto ajuda outros jogadores a encontrar os melhores guias.