










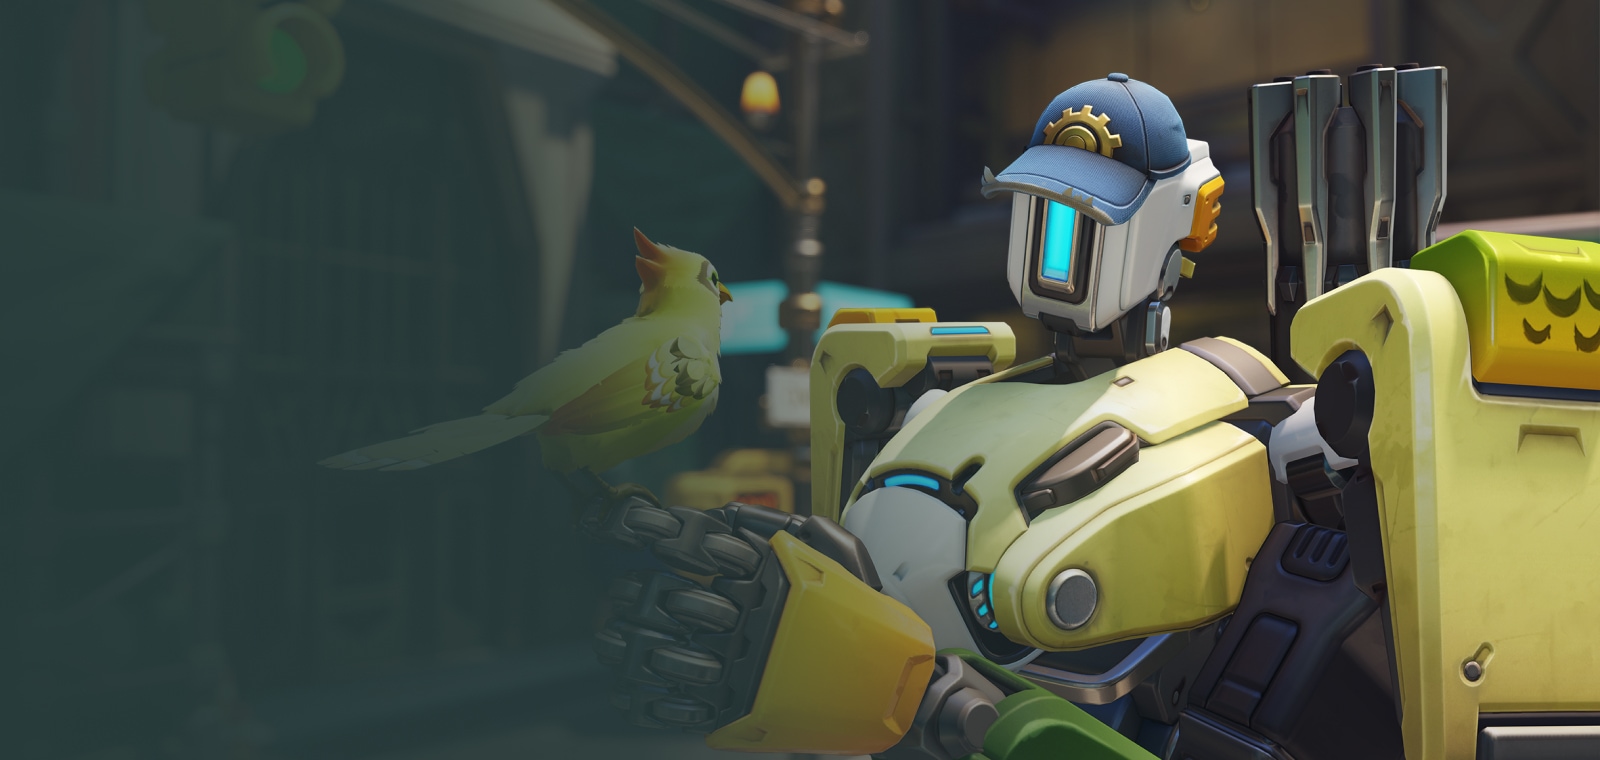
Bastion · Damage
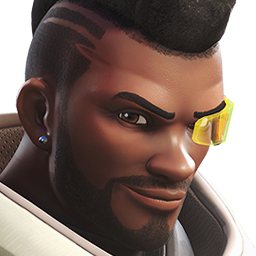
Bastion guide
More Bastion guides
This guide is assembled by the site from match data and the game's own information — nobody wrote it by hand. Official and community guides appear alongside it when they exist.
Overview
Bastion is a specialist damage hero in Overwatch with 250 health and 100 armor (350 in total). In competitive this season (PC, Americas, Europe and Asia averaged) it wins 47.4% of its games, is picked by 12.8% of teams and banned in 5.2% of matches: tier C on our ladder.
Strengths
- Shines on Antarctic Peninsula, Circuit Royal and Busan (up to 50.3% won).
- Sturdy for its role: 350 hit points against an average of 253 among damage heroes.
Weaknesses
- Only 47.4% of competitive games won (PC, all regions): #21 of 24 damage heroes.
- Struggles on Aatlis, Hollywood and Paraíso (down to 45.2% won).
- None of its abilities is described as a dash, jump or teleport: position before the fight, not during it.
Build cheat sheet
Pick the build that fits what you want to do this game.
- Bastion · recommended perksBalancedRecommendedOne minor and one major perk, chosen by what each one's text adds to a damage hero. Blizzard doesn't publish how often each perk is picked, so this is a reading of the perks, not a pick rate.
- Bastion · alternative perksUtilitySituationalThe other option of each perk level. Perks are chosen during the match, so switch to these when the enemy composition or the map asks for what they do.
Builds
Bastion · recommended perks
When to use it
One minor and one major perk, chosen by what each one's text adds to a damage hero. Blizzard doesn't publish how often each perk is picked, so this is a reading of the perks, not a pick rate.
Minor perk
 Smart BombA-36 Tactical Grenade's self-knockback is increased by 25% and no longer damages you.
 Configuration ReloadReduce the cooldown of A-36 Tactical Grenade by 4 seconds when changing configurations.
Picked for more utility: Reduce the cooldown of A-36 Tactical Grenade by 4 seconds when changing configurations.
Major perk
 Lindholm ExplosivesConfiguration: Assault's weapon slowly fires explosive shells instead of a rotary cannon.
 Self-RepairPress E to rapidly heal yourself.
Picked for more damage: Configuration: Assault's weapon slowly fires explosive shells instead of a rotary cannon.
Bastion · alternative perks
When to use it
The other option of each perk level. Perks are chosen during the match, so switch to these when the enemy composition or the map asks for what they do.
Minor perk
Smart BombA-36 Tactical Grenade's self-knockback is increased by 25% and no longer damages you.Configuration ReloadReduce the cooldown of A-36 Tactical Grenade by 4 seconds when changing configurations.When the situation calls for it: A-36 Tactical Grenade's self-knockback is increased by 25% and no longer damages you.
Major perk
Lindholm ExplosivesConfiguration: Assault's weapon slowly fires explosive shells instead of a rotary cannon.Self-RepairPress E to rapidly heal yourself.When the situation calls for it: Press E to rapidly heal yourself.
Abilities
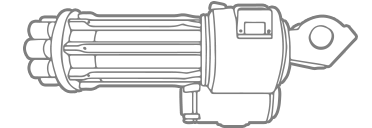 LMBConfiguration: AssaultA slow-moving tank with a powerful rotary cannon.Key: primary fire. Perks: Lindholm Explosives
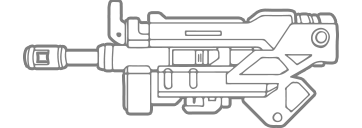 LMBConfiguration: ReconMobile, with a lightweight and highly accurate weapon.Key: primary fire
 RMBA-36 Tactical Grenade8sFire a bomb that bounces off walls and explodes when it impacts enemies or the ground.Key: secondary fire · cooldown 8 s. Perks: Configuration Reload, Smart Bomb
 ShiftReconfigure12sSwitch between weapon configurations.Key: Shift · cooldown 12 s
 QConfiguration: ArtilleryUltimateBecome immobile and fire up to 3 powerful artillery shells.Key: Q · ultimate
Strategy
1Your job
In Role Queue each team fields two damage heroes: you secure eliminations, pressure the enemy supports and turn the numbers advantage your tank creates into won fights.
2Abilities
- primary fire · Configuration: Assault: A slow-moving tank with a powerful rotary cannon.
- primary fire · Configuration: Recon: Mobile, with a lightweight and highly accurate weapon.
- secondary fire · A-36 Tactical Grenade · 8 s: Fire a bomb that bounces off walls and explodes when it impacts enemies or the ground.
- Shift · Reconfigure · 12 s: Switch between weapon configurations.
- Q · Configuration: Artillery · ultimate: Become immobile and fire up to 3 powerful artillery shells.
3Perks
During each match you unlock a minor perk and, later, a major perk: one of two options each time. ★ marks this guide's pick.
- ★ Configuration Reload: Reduce the cooldown of A-36 Tactical Grenade by 4 seconds when changing configurations.
- Smart Bomb: A-36 Tactical Grenade's self-knockback is increased by 25% and no longer damages you.
- ★ Lindholm Explosives: Configuration: Assault's weapon slowly fires explosive shells instead of a rotary cannon.
- Self-Repair: Press E to rapidly heal yourself.
4In competitive
Blizzard's official stats for this season, division by division (PC, the three regions averaged).
- Bronze: 48.6% won, picked by 17.1% of teams
- Silver: 47.8% won, picked by 16.6% of teams
- Gold: 47.2% won, picked by 14.4% of teams
- Platinum: 47.0% won, picked by 12.0% of teams
- Emerald: 47.2% won, picked by 9.6% of teams
- Diamond: 47.8% won, picked by 7.7% of teams
- Master: 47.8% won, picked by 6.6% of teams
- Grandmaster: 48.5% won, picked by 5.6% of teams
5Best and worst maps
Win rate of Bastion on each competitive map compared with its 47.4% overall.
- Antarctic Peninsula: 50.3% won (10.4% pick rate)
- Circuit Royal: 49.5% won (15.3% pick rate)
- Busan: 49.4% won (10.2% pick rate)
- Aatlis: 45.2% won (8.0% pick rate)
- Hollywood: 45.4% won (14.2% pick rate)
- Paraíso: 45.6% won (14.2% pick rate)
6Common mistakes
- Trading shots with the enemy tank while the enemy backline goes untouched.
- Staying on an angle after it's been found and focused.
Tips
- Configuration: Artillery (Q) is your ultimate: plan it with your team's ultimates instead of using it as soon as it's ready.
- Pick your angle before the fight starts: a second line of fire splits the enemy's attention.
- Focus the same target as your team; spread damage gets healed.
Matchups
Works well with
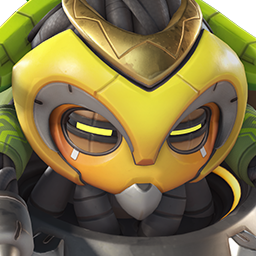
Both do better than their average on the same maps, such as Antarctic Peninsula, Busan and Oasis: a good pairing when the map suits them.
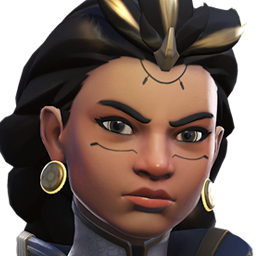
Both do better than their average on the same maps, such as Antarctic Peninsula, Samoa and Busan: a good pairing when the map suits them.
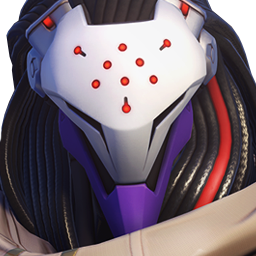
Both do better than their average on the same maps, such as Antarctic Peninsula, Nepal and Busan: a good pairing when the map suits them.
Both do better than their average on the same maps, such as Antarctic Peninsula, Circuit Royal and Busan: a good pairing when the map suits them.
Changelog
- Guide created for patch Season 4.
Was this helpful?
Your vote helps other players find the best guides.