










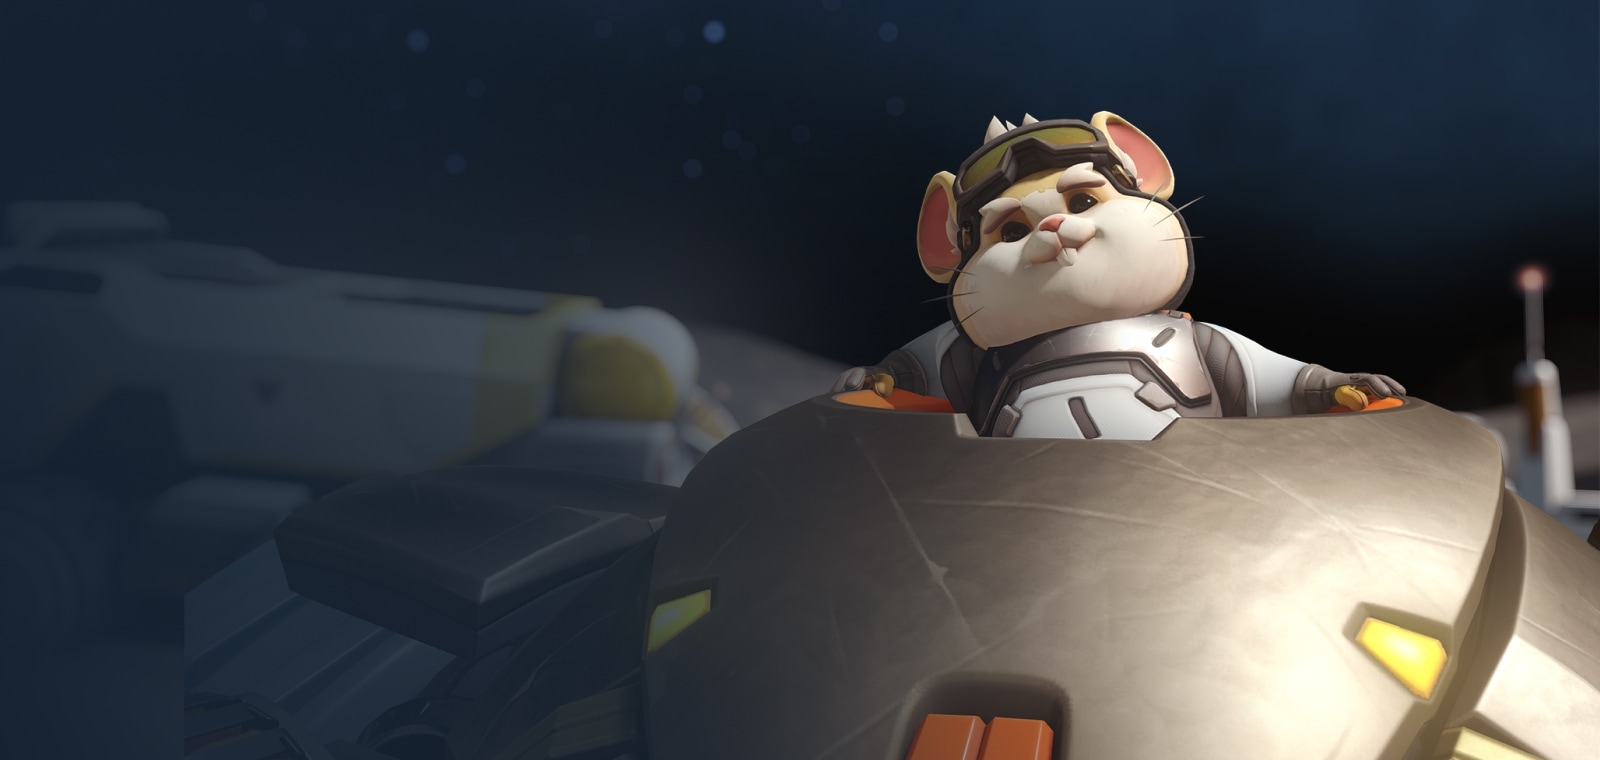
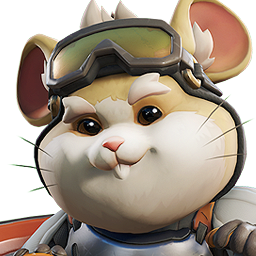
Wrecking Ball · Tank
Safe Wrecking Ball guide
More Wrecking Ball guides
This guide is assembled by the site from match data and the game's own information — nobody wrote it by hand. Official and community guides appear alongside it when they exist.
Overview
Wrecking Ball is a initiator tank hero in Overwatch with 450 health, 125 armor and 150 shields (725 in total). In competitive this season (PC, Americas, Europe and Asia averaged) it wins 50.1% of its games, is picked by 3.1% of teams and banned in 9.9% of matches: tier B on our ladder. Wrecking Ball has 725 hit points: 450 health, 125 armor (it reduces the damage of each hit), 150 shields (they regenerate out of combat).
Strengths
- Sturdy for its role: 725 hit points against an average of 632 among tank heroes.
Weaknesses
- Loses strength as the level rises: −1.5 pts of win rate from Bronze–Silver to Master–Grandmaster.
- Struggles on Oasis, Samoa and Nepal (down to 47.1% won).
Build cheat sheet
Pick the build that fits what you want to do this game.
- Wrecking Ball · survival perksDefensiveRecommendedThe perks whose text adds the most healing, health or protection: for games where you die before your cooldowns matter.
- Wrecking Ball · recommended perksBalancedSituationalOne minor and one major perk, chosen by what each one's text adds to a tank hero. Blizzard doesn't publish how often each perk is picked, so this is a reading of the perks, not a pick rate.
Builds
Wrecking Ball · survival perks
When to use it
The perks whose text adds the most healing, health or protection: for games where you die before your cooldowns matter.
Minor perk
 SteamrollerRoll impacts deal 100% more damage to Tanks.
 Multi-BallPress Q within 5 seconds after using Minefield to deploy 7 additional mines.
Picked for more damage: Press Q within 5 seconds after using Minefield to deploy 7 additional mines.
Major perk
 Hang TimePiledriver winds up longer, gaining air control and dealing up to 50% more damage.
 Adaptive BarrierAdaptive Shield generates a 1 second barrier on activation.
Picked for more survival: Adaptive Shield generates a 1 second barrier on activation.
Wrecking Ball · recommended perks
When to use it
One minor and one major perk, chosen by what each one's text adds to a tank hero. Blizzard doesn't publish how often each perk is picked, so this is a reading of the perks, not a pick rate.
Minor perk
SteamrollerRoll impacts deal 100% more damage to Tanks.Multi-BallPress Q within 5 seconds after using Minefield to deploy 7 additional mines.Picked for more damage: Roll impacts deal 100% more damage to Tanks.
Major perk
Hang TimePiledriver winds up longer, gaining air control and dealing up to 50% more damage.Adaptive BarrierAdaptive Shield generates a 1 second barrier on activation.Picked for more survival: Adaptive Shield generates a 1 second barrier on activation.
Abilities
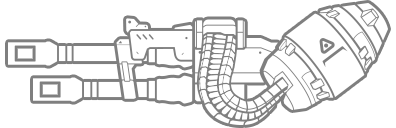 LMBQuad CannonsAutomatic assault weapons.
 RMBGrappling Claw5sLaunch a grappling claw to rapidly swing around the area. Enables high speed collisions to damage and knockback enemies.
 ShiftRoll0.4sTransform into a ball and increase maximum movement speed.
 CtrlPiledriver8sSlam into the ground below to damage and launch enemies upward.
 EAdaptive Shield15sCreate temporary extra health that increases with more nearby enemies. Some of the health can be transferred to allies.
 QMinefieldUltimateDeploy a massive field of proximity mines.
Strategy
1Survival perks
During each match you unlock a minor perk and, later, a major perk: one of two options each time. ★ marks this guide's pick.
- ★ Multi-Ball: Press Q within 5 seconds after using Minefield to deploy 7 additional mines.
- Steamroller: Roll impacts deal 100% more damage to Tanks.
- ★ Adaptive Barrier: Adaptive Shield generates a 1 second barrier on activation.
- Hang Time: Piledriver winds up longer, gaining air control and dealing up to 50% more damage.
2Where to be careful
The competitive maps where it wins least:
- Oasis: 47.1% won (3.8% pick rate)
- Samoa: 47.1% won (3.6% pick rate)
- Nepal: 47.2% won (3.5% pick rate)
3Mistakes that get you killed
- Pushing into five enemies without your team behind you.
- Taking duels far from your supports.
Tips
- You are the only tank: dying first usually loses the fight, so back off before you have to.
Matchups
Works well with
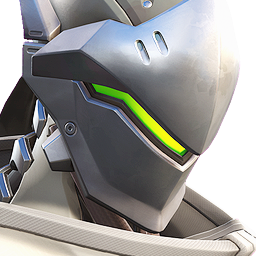
Both do better than their average on the same maps, such as Colosseo, Dorado and Watchpoint: Gibraltar: a good pairing when the map suits them.
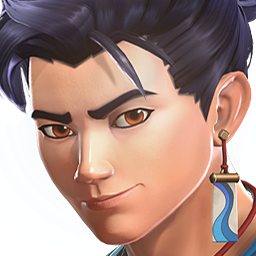
Both do better than their average on the same maps, such as Colosseo, Junkertown and Watchpoint: Gibraltar: a good pairing when the map suits them.
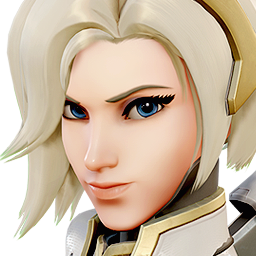
Both do better than their average on the same maps, such as Dorado, Colosseo and Junkertown: a good pairing when the map suits them.
Both do better than their average on the same maps, such as Colosseo, Junkertown and Watchpoint: Gibraltar: a good pairing when the map suits them.

Changelog
- Guide created for patch Season 4.
Was this helpful?
Your vote helps other players find the best guides.