










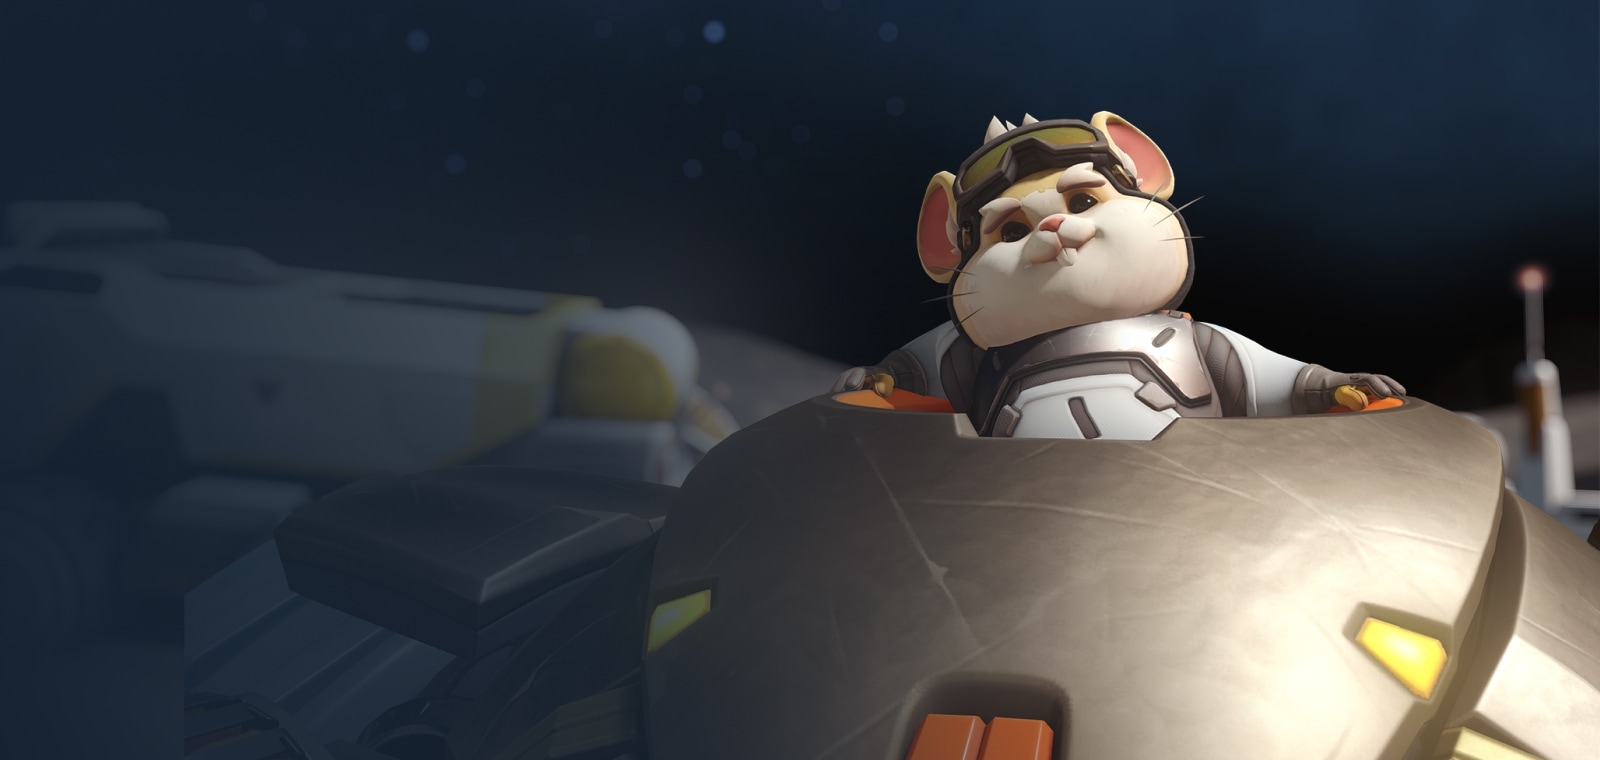
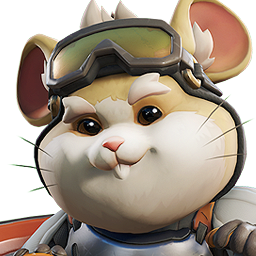
Wrecking Ball · Tank
Wrecking Ball guide
Mais guias de Wrecking Ball
Este guia é montado pelo site com dados de partidas e do próprio jogo: ninguém o escreveu à mão. Se houver guias oficiais ou da comunidade, eles aparecem ao lado.
Introdução
Wrecking Ball is a initiator tank hero in Overwatch with 450 health, 125 armor and 150 shields (725 in total). In competitive this season (PC, Americas, Europe and Asia averaged) it wins 50.1% of its games, is picked by 3.1% of teams and banned in 9.9% of matches: tier B on our ladder.
Pontos fortes
- Shines on Colosseo, Junkertown and Dorado (up to 54.4% won).
- Sturdy for its role: 725 hit points against an average of 632 among tank heroes.
Pontos fracos
- Loses strength as the level rises: −1.6 pts of win rate from Bronze–Silver to Master–Grandmaster.
- Struggles on Oasis, Samoa and Nepal (down to 46.9% won).
Cola de builds
Escolha a build de acordo com o que você quer fazer na partida.
- Wrecking Ball · recommended perksEquilibradoRecomendadaOne minor and one major perk, chosen by what each one's text adds to a tank hero. Blizzard doesn't publish how often each perk is picked, so this is a reading of the perks, not a pick rate.
- Wrecking Ball · alternative perksUtilidadeSituacionalThe other option of each perk level. Perks are chosen during the match, so switch to these when the enemy composition or the map asks for what they do.
Builds
Wrecking Ball · recommended perks
Quando usar
One minor and one major perk, chosen by what each one's text adds to a tank hero. Blizzard doesn't publish how often each perk is picked, so this is a reading of the perks, not a pick rate.
Vantagem menor
 Rolo CompressorOs impactos da Rolagem causam 100% a mais de dano em Tanques.
 MultiesferasPressione Q em até 5 s após usar o Campo Minado para implantar mais 7 minas.
Picked for more damage: Roll impacts deal 100% more damage to Tanks.
Vantagem maior
 Tempo AéreoO Bate-estaca dura por mais tempo, ganhando controle no ar e causando até 50% a mais de dano.
 Barreira AdaptativaEscudo Adaptativo gera uma barreira com 1 s de duração ao ser ativado.
Picked for more survival: Adaptive Shield generates a 1 second barrier on activation.
Wrecking Ball · alternative perks
Quando usar
The other option of each perk level. Perks are chosen during the match, so switch to these when the enemy composition or the map asks for what they do.
Vantagem menor
Rolo CompressorOs impactos da Rolagem causam 100% a mais de dano em Tanques.MultiesferasPressione Q em até 5 s após usar o Campo Minado para implantar mais 7 minas.When the situation calls for it: Press Q within 5 seconds after using Minefield to deploy 7 additional mines.
Vantagem maior
Tempo AéreoO Bate-estaca dura por mais tempo, ganhando controle no ar e causando até 50% a mais de dano.Barreira AdaptativaEscudo Adaptativo gera uma barreira com 1 s de duração ao ser ativado.When the situation calls for it: Piledriver winds up longer, gaining air control and dealing up to 50% more damage.
Habilidades
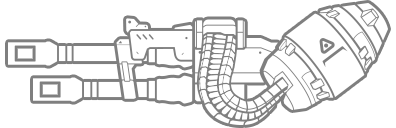 LMBArtilharia QuádruplaArmas de assalto automáticas.Key: primary fire
 RMBGarra5sDispara uma garra para se balançar rapidamente pela área. Permite colisões em alta velocidade, causando dano e repelindo os inimigos.Key: secondary fire · cooldown 5 s
 ShiftRolagem0.4sTransforma-se em uma bola e aumenta a velocidade máxima de movimento.Key: Shift · cooldown 0.4 s. Perks: Steamroller
 CtrlBate-estaca8sBate no chão, causando dano e arremessando os inimigos para o alto.Key: crouch · cooldown 8 s. Perks: Hang Time
 EEscudo Adaptativo15sCria vida adicional temporária que aumenta com mais inimigos próximos. Parte dessa vida pode ser transferida para aliados.Key: E · cooldown 15 s. Perks: Adaptive Barrier
 QCampo MinadoSupremaCobre uma área enorme com minas de proximidade.Key: Q · ultimate. Perks: Multi-Ball
Estratégia
1Your job
In Role Queue each team fields one tank: you take space for your team, soak the damage the enemy would otherwise aim at your backline and decide when the fight starts.
2Abilities
- primary fire · Quad Cannons: Automatic assault weapons.
- secondary fire · Grappling Claw · 5 s: Launch a grappling claw to rapidly swing around the area. Enables high speed collisions to damage and knockback enemies.
- Shift · Roll · 0.4 s: Transform into a ball and increase maximum movement speed.
- crouch · Piledriver · 8 s: Slam into the ground below to damage and launch enemies upward.
- E · Adaptive Shield · 15 s: Create temporary extra health that increases with more nearby enemies. Some of the health can be transferred to allies.
- Q · Minefield · ultimate: Deploy a massive field of proximity mines.
3Perks
During each match you unlock a minor perk and, later, a major perk: one of two options each time. ★ marks this guide's pick.
- Multi-Ball: Press Q within 5 seconds after using Minefield to deploy 7 additional mines.
- ★ Steamroller: Roll impacts deal 100% more damage to Tanks.
- ★ Adaptive Barrier: Adaptive Shield generates a 1 second barrier on activation.
- Hang Time: Piledriver winds up longer, gaining air control and dealing up to 50% more damage.
4In competitive
Blizzard's official stats for this season, division by division (PC, the three regions averaged).
- Bronze: 48.8% won, picked by 2.3% of teams
- Silver: 51.0% won, picked by 2.0% of teams
- Gold: 50.9% won, picked by 2.3% of teams
- Platinum: 50.7% won, picked by 3.1% of teams
- Emerald: 49.5% won, picked by 4.4% of teams
- Diamond: 48.9% won, picked by 5.5% of teams
- Master: 47.7% won, picked by 6.2% of teams
- Grandmaster: 48.9% won, picked by 6.0% of teams
5Best and worst maps
Win rate of Wrecking Ball on each competitive map compared with its 50.1% overall.
- Colosseo: 54.4% won (4.3% pick rate)
- Junkertown: 54.2% won (3.1% pick rate)
- Dorado: 53.7% won (2.9% pick rate)
- Oasis: 46.9% won (3.8% pick rate)
- Samoa: 47.1% won (3.6% pick rate)
- Nepal: 47.1% won (3.5% pick rate)
6Common mistakes
- Pushing into five enemies without your team behind you.
- Taking duels far from your supports.
Dicas
- Minefield (Q) is your ultimate: plan it with your team's ultimates instead of using it as soon as it's ready.
- Walk ahead of your team but not so far that your supports lose line of sight.
- Spend your defensive cooldowns on the damage that would kill you, not on chip damage.
Confrontos
Combina bem com
Both do better than their average on the same maps, such as Colosseo, Dorado and Watchpoint: Gibraltar: a good pairing when the map suits them.
Both do better than their average on the same maps, such as Colosseo, Watchpoint: Gibraltar and Dorado: a good pairing when the map suits them.
Both do better than their average on the same maps, such as Dorado, Colosseo and Junkertown: a good pairing when the map suits them.
Both do better than their average on the same maps, such as Colosseo, Junkertown and Watchpoint: Gibraltar: a good pairing when the map suits them.


Mudanças
- Guide created for patch Season 4.
Ele te ajudou?
Seu voto ajuda outros jogadores a encontrar os melhores guias.