










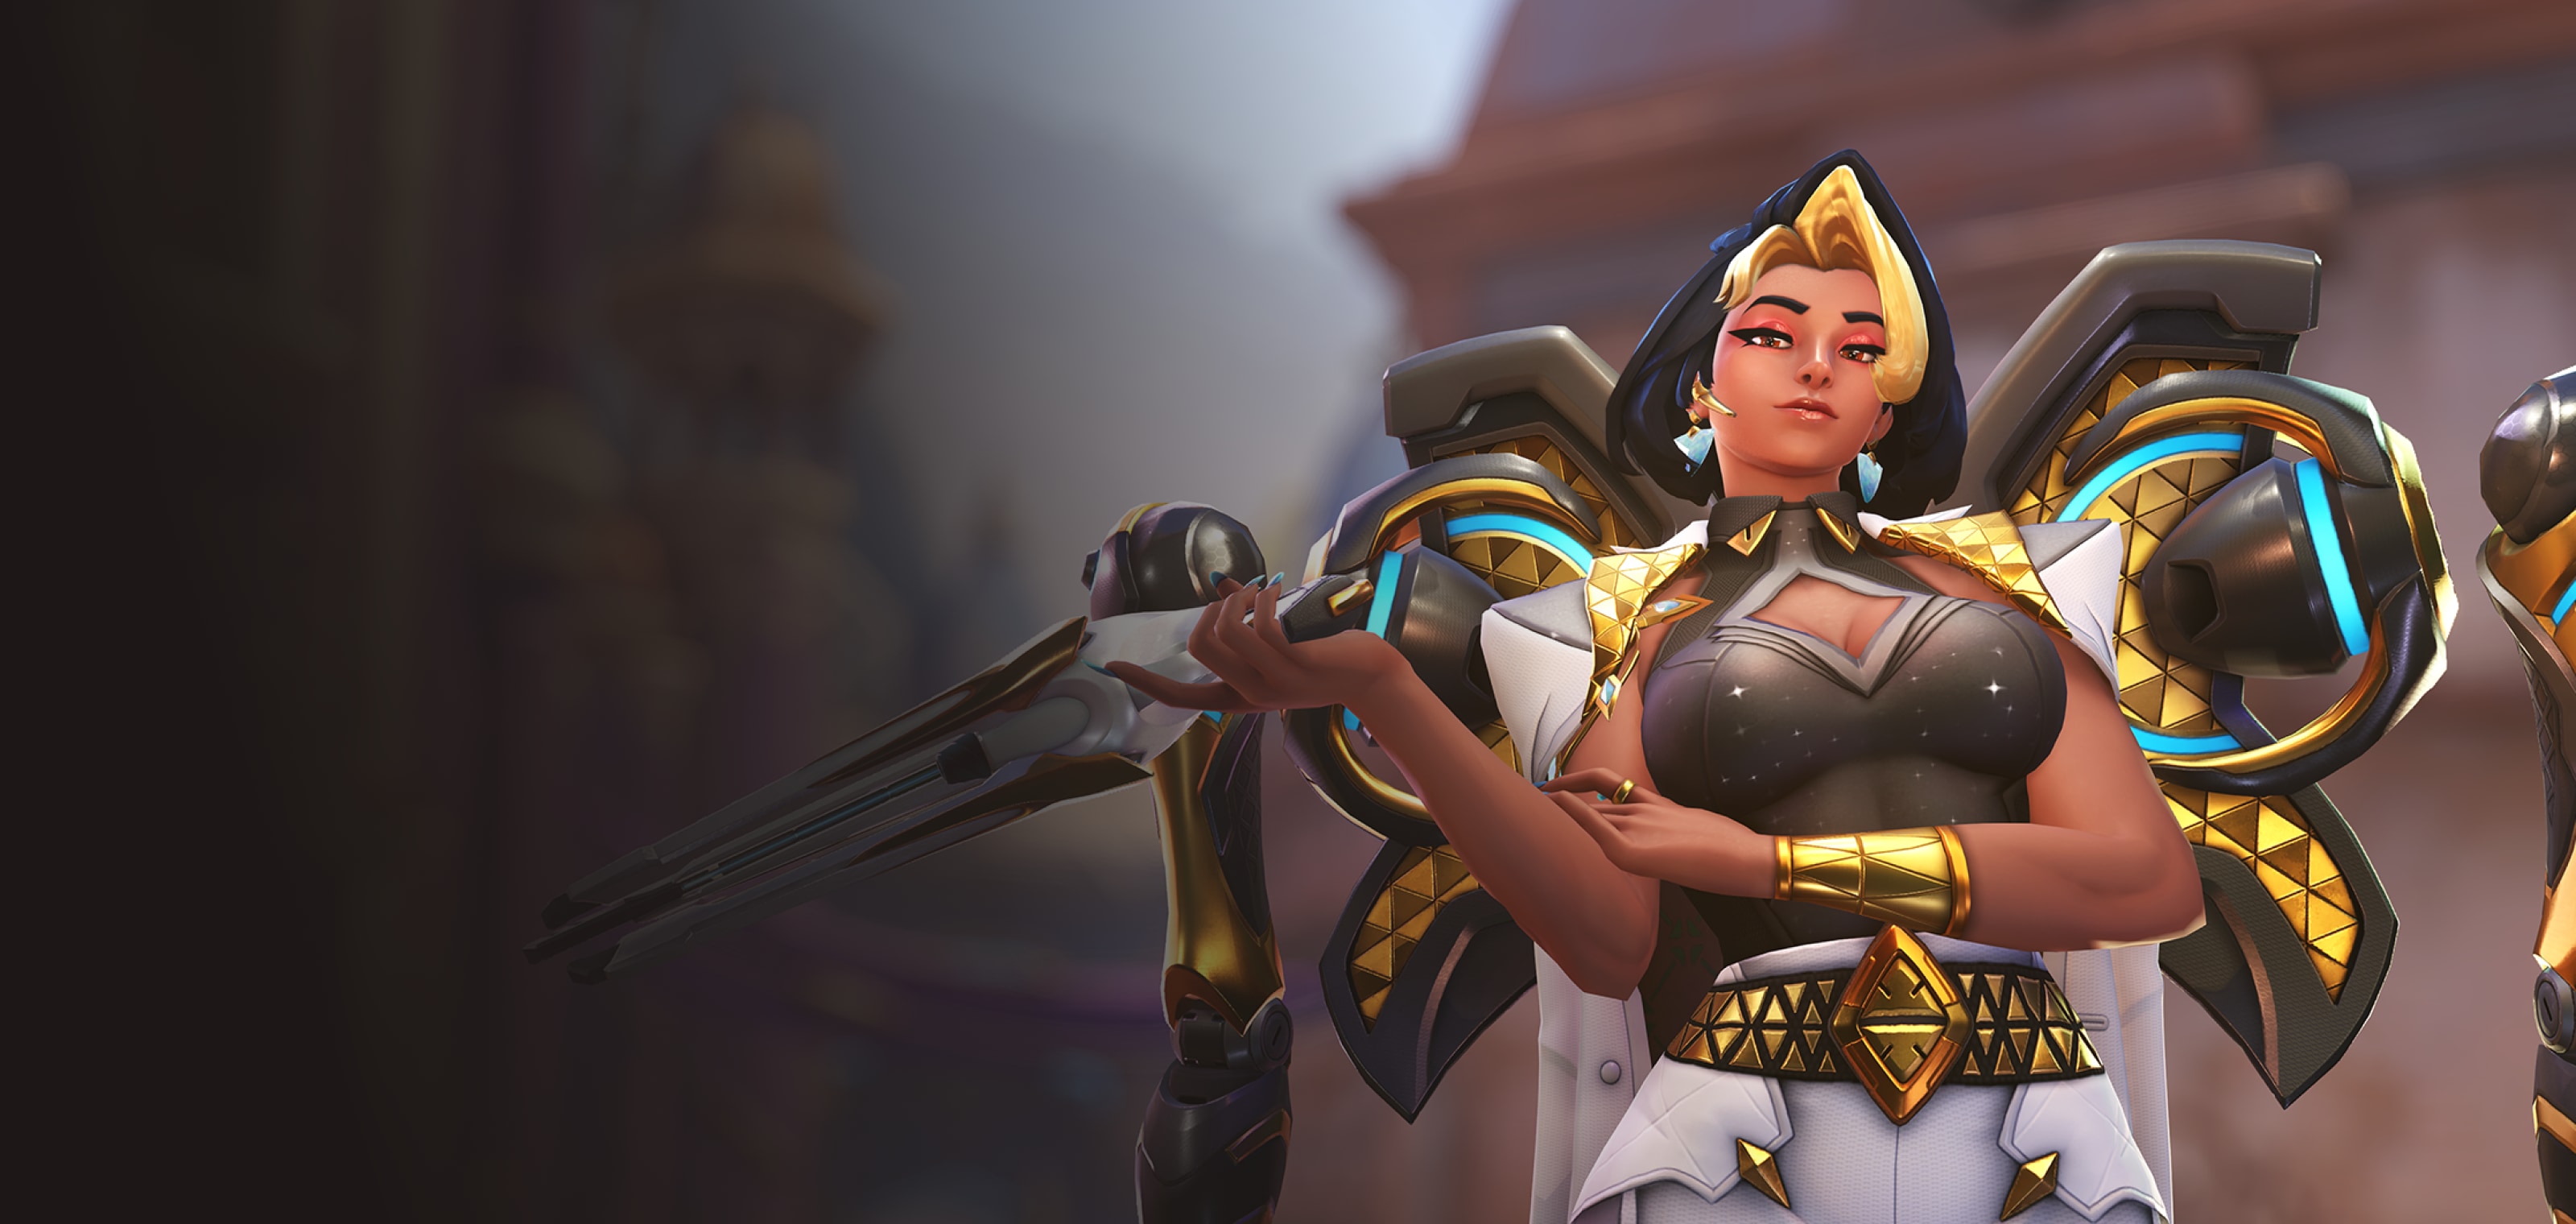

Domina · Tank
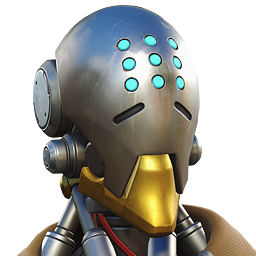
Domina in the team: the stalwart tank
Mais guias de Domina
Este guia é montado pelo site com dados de partidas e do próprio jogo: ninguém o escreveu à mão. Se houver guias oficiais ou da comunidade, eles aparecem ao lado.
Introdução
Domina is a stalwart tank hero in Overwatch with 250 health and 400 shields (650 in total). In competitive this season (PC, Americas, Europe and Asia averaged) it wins 50.5% of its games, is picked by 4.0% of teams and banned in 2.7% of matches: tier B on our ladder. In Role Queue each team fields one tank: you take space for your team, soak the damage the enemy would otherwise aim at your backline and decide when the fight starts.
Pontos fortes
- Shines on Circuit Royal, Havana and Rialto (up to 53.8% won).
- Crowd control: Sonic Repulsors and Panopticon stop enemies in their tracks.
- Protection: Barrier Array and Panopticon block or absorb damage.
Pontos fracos
- Struggles on Aatlis, New Junk City and Numbani (down to 46.9% won).
Cola de builds
Escolha a build de acordo com o que você quer fazer na partida.
- Domina · recommended perksEquilibradoRecomendadaOne minor and one major perk, chosen by what each one's text adds to a tank hero. Blizzard doesn't publish how often each perk is picked, so this is a reading of the perks, not a pick rate.
- Domina · alternative perksUtilidadeSituacionalThe other option of each perk level. Perks are chosen during the match, so switch to these when the enemy composition or the map asks for what they do.
Builds
Domina · recommended perks
Quando usar
One minor and one major perk, chosen by what each one's text adds to a tank hero. Blizzard doesn't publish how often each perk is picked, so this is a reading of the perks, not a pick rate.
Vantagem menor
 Design EficienteApós usar a Matriz de Barreiras, restaura 50 de escudo e ativa regeneração de vida passiva.
 Poder EstendidoAumenta em 20% o alcance da Magnum de Fótons.
Picked for more survival: After using Barrier Array, restore 50 shields and activate passive health regeneration.
Vantagem maior
 Detonação DisruptivaInimigos atingidos pela explosão da Carga Cristalina são desacelerados em 30% por 2 s.
 Recuo CorporativoEnquanto estiver ativa, a Matriz de Barreiras pode ser movida uma vez para outro local.
Picked for more damage: Enemies hit by Crystal Charge's explosion are slowed by 30% for 2 seconds.
Domina · alternative perks
Quando usar
The other option of each perk level. Perks are chosen during the match, so switch to these when the enemy composition or the map asks for what they do.
Vantagem menor
Design EficienteApós usar a Matriz de Barreiras, restaura 50 de escudo e ativa regeneração de vida passiva.Poder EstendidoAumenta em 20% o alcance da Magnum de Fótons.When the situation calls for it: Increase the range of Photon Magnum by 20%.
Vantagem maior
Detonação DisruptivaInimigos atingidos pela explosão da Carga Cristalina são desacelerados em 30% por 2 s.Recuo CorporativoEnquanto estiver ativa, a Matriz de Barreiras pode ser movida uma vez para outro local.When the situation calls for it: While Barrier Array is active, it can be moved one time to another location.
Habilidades
 LMBMagnum de FótonsFeixe de médio alcance que culmina em um tiro de alto impacto.
 RMBMatriz de Barreiras14sConstrói uma barreira segmentada.
 ShiftRepulsores Sônicos7sEmpurra inimigos, atordoando-os se eles baterem em uma parede.
 ECarga Cristalina8sProjeta um cristal explosivo e reativa para detoná-lo.
 QPanópticoSupremaDispara uma barreira de luz sólida que aprisiona inimigos e explode na expiração.
Estratégia
1The role
In Role Queue each team fields one tank: you take space for your team, soak the damage the enemy would otherwise aim at your backline and decide when the fight starts.
- Pushing into five enemies without your team behind you.
- Taking duels far from your supports.
2The Stalwart subrole
Blizzard groups Domina with these heroes. Their competitive numbers this season:
- D.Mon: tier S, 55.1% won, 8.0% pick rate
- Junker Queen: tier S, 52.6% won, 3.8% pick rate
- Reinhardt: tier S, 52.6% won, 11.8% pick rate
- Domina (this hero): tier B, 50.5% won, 4.0% pick rate
- Sigma: tier B, 50.0% won, 10.8% pick rate
- Ramattra: tier C, 48.3% won, 8.3% pick rate



3Other tank options
The best-ranked heroes of the same role in other subroles:
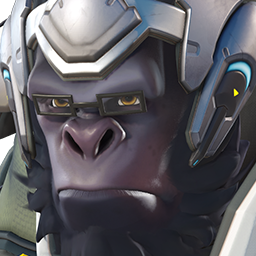
- Winston: tier S, 52.0% won, 7.7% pick rate
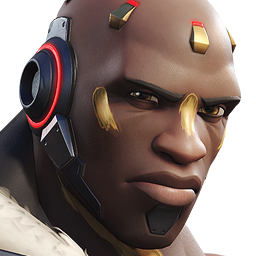
- Doomfist: tier A, 51.7% won, 6.9% pick rate
- Hazard: tier A, 51.1% won, 3.1% pick rate
- Wrecking Ball: tier B, 50.1% won, 3.1% pick rate
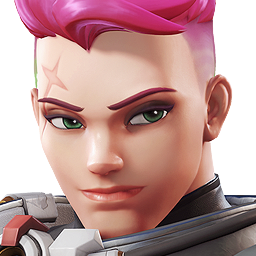
- Zarya: tier C, 47.1% won, 4.6% pick rate


4Pairings
Heroes of other roles whose map-by-map results rise and fall with this hero's (correlation of their competitive win rates across maps):
- Hanzo: Both do better than their average on the same maps, such as Circuit Royal, Havana and Rialto: a good pairing when the map suits them.
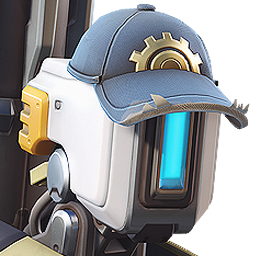
- Bastion: Both do better than their average on the same maps, such as Circuit Royal, Antarctic Peninsula and Havana: a good pairing when the map suits them.
- Sierra: Both do better than their average on the same maps, such as Circuit Royal, Havana and Rialto: a good pairing when the map suits them.
- Zenyatta: Both do better than their average on the same maps, such as Circuit Royal, Havana and Rialto: a good pairing when the map suits them.


Dicas
- Walk ahead of your team but not so far that your supports lose line of sight.
- Spend your defensive cooldowns on the damage that would kill you, not on chip damage.
- You are the only tank: dying first usually loses the fight, so back off before you have to.
Confrontos
Combina bem com
Both do better than their average on the same maps, such as Circuit Royal, Havana and Rialto: a good pairing when the map suits them.
Both do better than their average on the same maps, such as Circuit Royal, Antarctic Peninsula and Havana: a good pairing when the map suits them.
Both do better than their average on the same maps, such as Circuit Royal, Havana and Rialto: a good pairing when the map suits them.
Both do better than their average on the same maps, such as Circuit Royal, Havana and Rialto: a good pairing when the map suits them.
Mudanças
- Guide created for patch Season 4.
Ele te ajudou?
Seu voto ajuda outros jogadores a encontrar os melhores guias.