










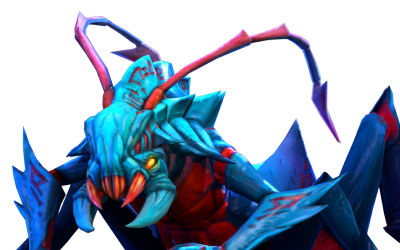
Weaver · Hard Support (pos. 5)
Weaver as Hard Support (pos. 5)
More Weaver guides
This guide is assembled by the site from match data and the game's own information — nobody wrote it by hand. Official and community guides appear alongside it when they exist.
Overview
Weaver is a ranged Agility hero that Valve tags as Escape and Carry. It is played mainly as Carry (pos. 1): 34% of the public matches we measured, by starting lane and starting items. Its main role is Carry (pos. 1), but it is also played as Hard Support (pos. 5) in 26% of the public matches we measured. In this guide you play it as Hard Support (pos. 5): your job is to keep your carry safe in the safe lane, buy the wards and give up farm so the cores can have it.
Strengths
- Scales into a late-game threat as the items come in.
- Clear job in the team: keep your carry safe in the safe lane, buy the wards and give up farm so the cores can have it.
- Keeps the carry safe and the map lit from the first minute.
Weaknesses
- Off-role pick: expect less support from guides and teammates than on Carry (pos. 1).
- Low base armor (1): vulnerable to physical harass early on.
- Item-dependent: weak until Aghanim's Shard is done.

Build cheat sheet
Pick the build that fits what you want to do this game.
- Team utility buildUtilityRecommendedBuilt around the popular items that help your allies — Spirit Vessel and Eul's Scepter of Divinity. Choose it when your team needs saves and auras more than your damage. Built from what Weaver players buy in the public matches we measured.
- Most-played buildBalancedSituationalThe items most bought with this hero, phase by phase. Pick it when you don't have a clear reason to deviate. Built from what Weaver players buy in the public matches we measured.
Builds
Team utility build
When to use it
Built around the popular items that help your allies — Spirit Vessel and Eul's Scepter of Divinity. Choose it when your team needs saves and auras more than your damage. Built from what Weaver players buy in the public matches we measured.


Where it's played
Picked before the game: the main lane first, then the alternatives.
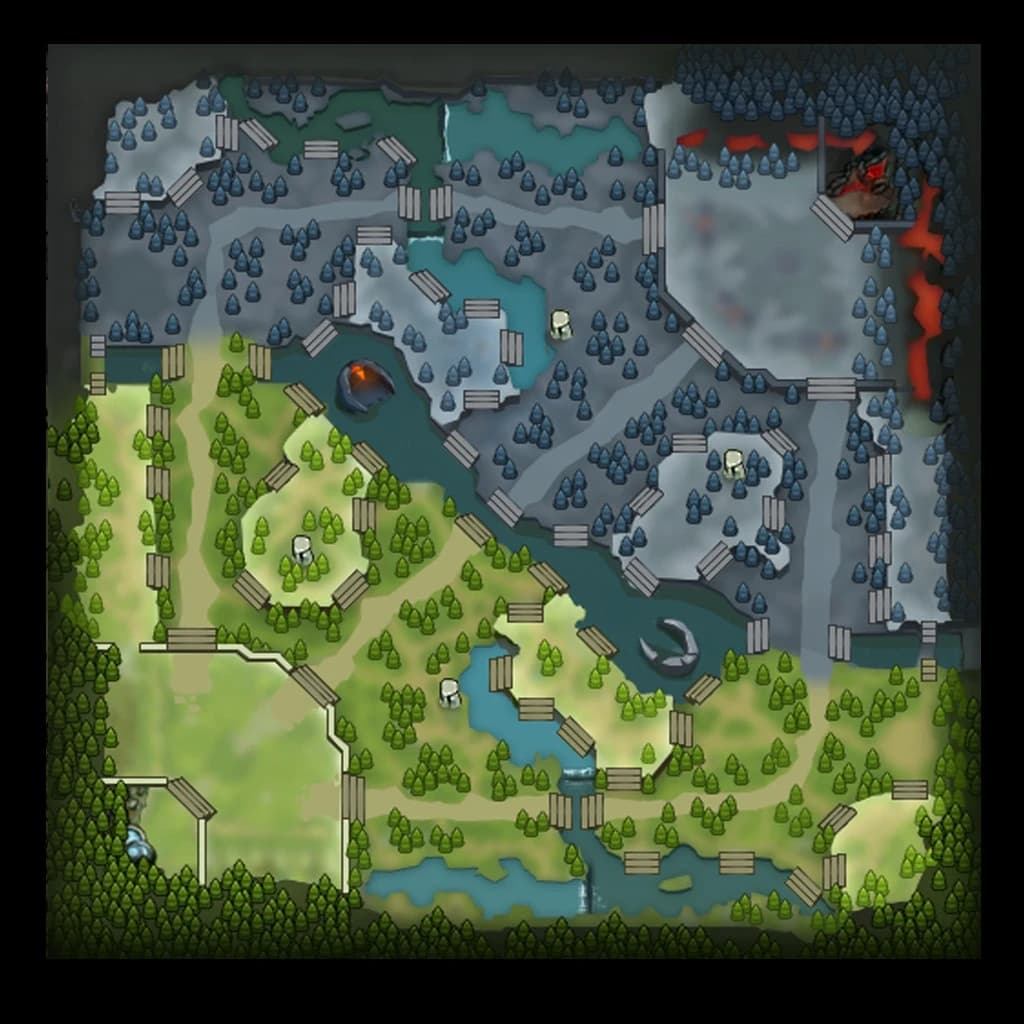
 160%
160%- Safe laneMain60% of matchesSafe lane next to your carry, as Hard Support (pos. 5).
Starting items


Core items
- 1Spirit Vessel+1.75 Mana Regeneration, +10 All Attributes, +2 Armor. Active: Soul Release.
- 2Eul's Scepter of Divinity+10 Intelligence, +2.5 Mana Regeneration, +20 Movement Speed. Active: Cyclone.
- 3Orchid Malevolence+35 Attack Speed, +20 Damage, +2.5 Mana Regeneration. Active: Soul Burn.
- 4Mage Slayer+18% Magic Resistance, +5.5 Health Regeneration, +2.5 Mana Regeneration.


Boots

Late game


Skill order
Max order:Shukuchi›Geminate Atta…›The Swarm
| Ability | 1 | 2 | 3 | 4 | 5 | 6 | 7 | 8 | 9 | 10 | 11 | 12 | 13 | 14 | 15 | 16 | 17 |
|---|---|---|---|---|---|---|---|---|---|---|---|---|---|---|---|---|---|
 | ● | · | · | ● | ● | · | ● | · | · | · | · | · | · | · | · | · | · |
 | · | ● | · | · | · | · | · | ● | ● | ● | · | · | · | · | · | · | · |
 | · | · | ● | · | · | · | · | · | · | · | · | ● | · | ● | ● | · | · |
 | · | · | · | · | · | ● | · | · | · | · | · | · | ● | · | · | · | ● |
Talents by level
- +1 Geminate Attack-3s Shukuchi Cooldown25
- +60 Bonus Damage On Geminate+0.5 Swarm Armor Reduction Per Attack20
- +2 Swarm Attacks to Kill+90 Shukuchi Damage15
- +50 Shukuchi Movement Speed+7 Strength10
Most-played build
When to use it
The items most bought with this hero, phase by phase. Pick it when you don't have a clear reason to deviate. Built from what Weaver players buy in the public matches we measured.
Where it's played
Picked before the game: the main lane first, then the alternatives.
232%160%- Safe laneMain60% of matchesSafe lane as the farming core (pos. 1).
- OfflanePriority 232% of matchesOff lane as the space-making core (pos. 3).
Starting items
Early game


Core items
- 1Aghanim's Shard
- 2Desolator
- 3Spirit Vessel
- 4Maelstrom


Boots
Late game


Skill order
Max order:Shukuchi›Geminate Atta…›The Swarm
| Ability | 1 | 2 | 3 | 4 | 5 | 6 | 7 | 8 | 9 | 10 | 11 | 12 | 13 | 14 | 15 | 16 | 17 |
|---|---|---|---|---|---|---|---|---|---|---|---|---|---|---|---|---|---|
| ● | · | · | ● | ● | · | ● | · | · | · | · | · | · | · | · | · | · |
| · | ● | · | · | · | · | · | ● | ● | ● | · | · | · | · | · | · | · |
| · | · | ● | · | · | · | · | · | · | · | · | ● | · | ● | ● | · | · |
| · | · | · | · | · | ● | · | · | · | · | · | · | ● | · | · | · | ● |
Talents by level
- +1 Geminate Attack-3s Shukuchi Cooldown25
- +60 Bonus Damage On Geminate+0.5 Swarm Armor Reduction Per Attack20
- +2 Swarm Attacks to Kill+90 Shukuchi Damage15
- +50 Shukuchi Movement Speed+7 Strength10
Abilities
- The Swarm44 / 36 / 28 / 20s110 / 105 / 100 / 95 mpWeaver launches a swarm of 12 young Weavers that latch on any enemy unit in their path, attacking and reducing armor until it is killed.
- Attack damage
- 18·23·28·33
- Attack interval
- 1.2·1.05·0.9·0.75
- Count
- 12
- Armor reduction per attack
- 1
- Duration
- 16
- Attacks to destroy
- 6·7·8·9
- Shukuchi15 / 12 / 9 / 6s65 mpWeaver shifts out of visibility, gaining max movement speed and doing harm to any enemies it passes through.
- Damage
- 100·130·160·190
- Radius
- 175
- Fade time
- 0.25
- Duration
- 4
- Movespeed
- 550
- Geminate Attack9 / 7 / 5 / 3sAllows Weaver to dispatch two attacks at once.
- Bonus damage on geminate
- 20·35·50·65
- Time Lapse70 / 55 / 40s150 / 75 mpWeaver warps backward to whatever position it was in five seconds earlier--regaining the HP and mana from that time. No effect on cooldown, gold or experience.
DISPEL TYPE: Strong Dispel
 Threads of FatePassiveWhenever Weaver deals damage to an enemy hero with an attack or ability, if he remains within 700 range of them for 1.5s, he establishes a Thread of Fate that briefly slows the enemy and ties Weaver and the enemy together. Each established thread of fate grants bonus damage to Weaver.
- Thread duration
- 6
- Thread break distance
- 890
- Damage per thread
- 10%
- Slow duration
- 0.4
- Movement slow
- 100%
Most played skill order
The most played order in the last 36 professional matches with this hero. Highlighted levels are the points spent on talents.
Max order:Shukuchi›Geminate Atta…›The Swarm
| Ability | 1 | 2 | 3 | 4 | 5 | 6 | 7 | 8 | 9 | 10 | 11 | 12 | 13 | 14 | 15 | 16 | 17 |
|---|---|---|---|---|---|---|---|---|---|---|---|---|---|---|---|---|---|
| ● | · | · | ● | ● | · | ● | · | · | · | · | · | · | · | · | · | · |
| · | ● | · | · | · | · | · | ● | ● | ● | · | · | · | · | · | · | · |
| · | · | ● | · | · | · | · | · | · | · | · | ● | · | ● | ● | · | · |
| · | · | · | · | · | ● | · | · | · | · | · | · | ● | · | · | · | ● |
Strategy
1Early game
Position 5 starts in the safe lane with your carry: their last hits come first, so harass the enemy offlaner, pull the small camp when the wave needs resetting and buy the wards nobody else will. Harass when the enemy core walks up to last hit: every hit you land is gold your carry keeps.
2Mid game
Rotate to the lanes where you can get kills, keep vision around the next objective and leave the farm to your cores.
3Late game
Late, your death costs little gold but your spells are worth a lot: stay behind the team, keep your save items ready and ward before the fight, not during it.
4Team fights
Stay behind your cores, keep your mana for the key moment and protect whoever the enemy dives.
Tips
- Buy and place wards every time they are available: vision is your first job.
- Your key purchases are Aghanim's Shard and Desolator: they give your team the saves it needs.
- Vision: a ward in the right place saves more lives than any spell.
- Positioning: you are the easiest kill on the map, so stand where the enemy can't reach you first.
Changelog
- Guide created for patch 7.41.
Was this helpful?
Your vote helps other players find the best guides.