











Rek'Sai · Jungle
Rek'Sai Items: What to Buy and When
Mais guias de Rek'Sai
Este guia é montado pelo site com dados de partidas e do próprio jogo: ninguém o escreveu à mão. Se houver guias oficiais ou da comunidade, eles aparecem ao lado.
Introdução
This guide explains every item in Rek'Sai's builds and when to buy it. Your spikes are level 6, when Void Rush comes online, and each completed item: Black Cleaver first, then Trinity Force.


Pontos fortes
- High physical damage: Riot rates it 8/10 in attack.
- Crowd control: Burrow / Un-burrow applies a knock-up to set up kills.
- Mobility: Fury of the Xer'Sai lets you reposition, engage or escape.
Pontos fracos
- Falls behind if the early ganks fail: every wasted trip is lost farm.
- Predictable if you always play it the same way: adapt your build to the enemy team.
Cola de builds
Escolha a build de acordo com o que você quer fazer na partida.
- Standard buildEquilibradoRecomendadaThe default path: Black Cleaver, Trinity Force and Spear of Shojin give the health, attack damage and on-hit effects this class relies on. Pick it when you have no reason to adapt. Built from Riot's item tags and the champion's class; Riot publishes no build statistics.
- Lethality buildOfensivoAvançadaAll-in on damage: Terminus, Lord Dominik's Regards and Blade of The Ruined King stack attack damage, attack speed and on-hit effects. Choose it when you're ahead or the enemy team is fragile — it gives up safety for kill pressure.
- Defensive buildDefensivoSituacionalKeeps enough damage while adding health, magic resist and armor through Jak'Sho, The Protean, Bandlepipes and Zeke's Convergence. Choose it against dive, assassins or a lane you can't win.
Builds
Standard build
Quando usar
The default path: Black Cleaver, Trinity Force and Spear of Shojin give the health, attack damage and on-hit effects this class relies on. Pick it when you have no reason to adapt. Built from Riot's item tags and the champion's class; Riot publishes no build statistics.

Por onde se joga
É escolhida antes da partida: primeiro a rota principal e depois as alternativas.
 1100 %
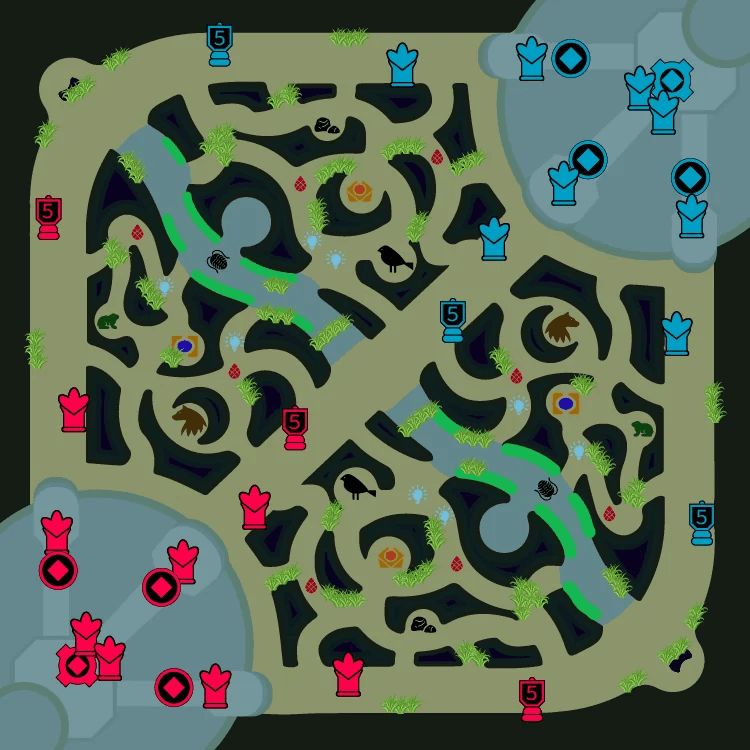
- SelvaPrincipal100 % das partidas
Prioridades na selva
Começa emBuff vermelho
Objetivos por prioridade
- 1Larvas do Vazio
- 2Gank no topo
- 3Arauto do Vale
- 4Caranguejo do rio
- 5Dragões
- 6Barão Nashor
- 7Atakhan
Guideline, not a measurement: an early skirmisher starting red side. Take the void grubs and look for ganks while your early damage is ahead, then Herald and dragons.
Itens iniciais


Itens principais
- 1Cutelo NegroHealth, attack damage and on-hit effects.
- 2Força da TrindadeHealth, attack damage and attack speed.
- 3Lança de ShojinHealth, attack damage and ability haste.
Botas

Situacionais


Runas
Primária· Precisão








Secundária· Determinação





Fragmentos


Feitiços de invocador
 Flash
Flash Golpear
Lethality build
Quando usar
All-in on damage: Terminus, Lord Dominik's Regards and Blade of The Ruined King stack attack damage, attack speed and on-hit effects. Choose it when you're ahead or the enemy team is fragile — it gives up safety for kill pressure.


Por onde se joga
É escolhida antes da partida: primeiro a rota principal e depois as alternativas.
1100 %- SelvaPrincipal100 % das partidas
Prioridades na selva
Começa emBuff vermelho
Objetivos por prioridade
- 1Larvas do Vazio
- 2Gank no topo
- 3Arauto do Vale
- 4Caranguejo do rio
- 5Dragões
- 6Barão Nashor
- 7Atakhan
Guideline, not a measurement: an early skirmisher starting red side. Take the void grubs and look for ganks while your early damage is ahead, then Herald and dragons.
Itens iniciais
Itens principais
- 1TerminusAttack damage, attack speed and on-hit effects.
- 2Lembranças do Lorde DominikAttack damage, critical strike and armor penetration.
- 3Espada do Rei DestruídoAttack damage, attack speed and life steal.
Botas
Situacionais
Runas
Primária· Precisão
Secundária· Dominação



Fragmentos
Feitiços de invocador
- Flash
- Golpear
Defensive build
Quando usar
Keeps enough damage while adding health, magic resist and armor through Jak'Sho, The Protean, Bandlepipes and Zeke's Convergence. Choose it against dive, assassins or a lane you can't win.


Por onde se joga
É escolhida antes da partida: primeiro a rota principal e depois as alternativas.
1100 %- SelvaPrincipal100 % das partidas
Prioridades na selva
Começa emBuff vermelho
Objetivos por prioridade
- 1Larvas do Vazio
- 2Gank no topo
- 3Arauto do Vale
- 4Caranguejo do rio
- 5Dragões
- 6Barão Nashor
- 7Atakhan
Guideline, not a measurement: an early skirmisher starting red side. Take the void grubs and look for ganks while your early damage is ahead, then Herald and dragons.
Itens iniciais
Itens principais
- 1Jak'Sho, o InconstanteHealth, magic resist and armor.
- 2BandocanosHealth, magic resist and armor.
- 3Convergência de ZekeHealth, magic resist and armor.
Botas

Situacionais
Runas
Primária· Determinação



Secundária· Precisão
Fragmentos
Feitiços de invocador
- Flash
- Golpear
Habilidades
 Fúria dos Xer'SaiPassivaRek'Sai gera Fúria ao Atacar e atingir inimigos com Habilidades básicas. Enquanto estiver Escavada, ela consome a Fúria para restaurar Vida.
 QIra da Rainha / Sondar Presas4/3.5/3/2.5/2sOs próximos 3 ataques básicos de Rek'Sai causam Dano Físico adicional a inimigos próximos. Enquanto está enterrada, Rek'Sai lança uma rajada de terra carregada com o poder do Vazio que causa dano e revela os inimigos atingidos.
- Tempo de recarga
- 4·3.5·3·2.5·2
- Alcance
- 325
 WEscavar / Emergir4sRek'Sai se enterra no chão, recebendo novas Habilidades e Velocidade de Movimento aumentada. O alcance da visão é reduzido e ela não pode usar ataques básicos. Enquanto enterrada, Rek'Sai pode conjurar Emergir para causar dano e arremessar ao ar os inimigos próximos.
- Tempo de recarga
- 4
- Alcance
- 1650
 EMordida Feroz / Túnel6sRek'Sai morde o alvo, causando Dano Físico ou Dano Verdadeiro adicional se tiver o máximo de Fúria. Enquanto escavada, Rek'Sai cria um Túnel longo, duradouro e reutilizável. Inimigos podem destruí-lo ficando sobre uma das entradas.
- Tempo de recarga
- 6
- Alcance
- 250
 RInvestida do VazioSuprema120/100/80sRek'Sai marca seus alvos passivamente ao causar dano. Ela pode ativar essa habilidade para se tornar inalvejável brevemente e saltar até um alvo marcado, causando dano pesado com base na Vida máxima dele.
- Tempo de recarga
- 120·100·80
- Alcance
- 1500
Estratégia
1Starting items
What to buy before leaving the base, and what each item gives:
- Gustwalker Hatchling
- Health Potion — Health regeneration.
2Core items
Your spikes are level 6, when Void Rush comes online, and each completed item: Black Cleaver first, then Trinity Force. Buy them in this order; each one is a power spike:
- Ionian Boots of Lucidity
- Black Cleaver — Health, attack damage and on-hit effects.
- Trinity Force — Health, attack damage and attack speed.
- Spear of Shojin — Health, attack damage and ability haste.
3Situational items
Swap these in depending on the enemy team:
- Death's Dance — Against heavy physical damage.
- Mercurial Scimitar — Against heavy magic damage.
- Guardian Angel — Against burst and assassins.
- Chempunk Chainsword — Cuts the enemy's healing.
- Lord Dominik's Regards — Against tanky teams.
4Adapting to the game
The damage build moves the offensive items forward when you're ahead; the defensive one adds survival when the enemy focuses you. The situational builds in the matchups guide answer specific threats.
Dicas
- Buy Black Cleaver as early as you can: it's your first real spike.
- Complete one item before starting the next: half-built items give less than one finished one.
- Look at the enemy team at every back and adjust the situational items.
- Don't sit on gold: spend it when you go back.
Mudanças
- Guide created for patch 16.19.1.
Ele te ajudou?
Seu voto ajuda outros jogadores a encontrar os melhores guias.