











Ambessa · Top
Ambessa Laning Guide
Mais guias de Ambessa
Este guia é montado pelo site com dados de partidas e do próprio jogo: ninguém o escreveu à mão. Se houver guias oficiais ou da comunidade, eles aparecem ao lado.
Introdução
Top is an island: few ganks, long trades and a lot of wave management. Freeze the wave near your tower when you're weaker and push it when you want to roam or recall. Early, fight for tower plates and help your jungler with Herald or grubs when your wave is pushed.
Pontos fortes
- Sustain from Repudiation.
- High physical damage: Riot rates it 9/10 in attack.
- Crowd control: Public Execution applies a stun to set up kills.
Pontos fracos
- Melee range: ranged opponents can poke it in lane.
- Fragile: Riot rates it 2/10 in defense.
- Hard to master: Riot rates its difficulty 10/10.
Cola de builds
Escolha a build de acordo com o que você quer fazer na partida.
- Lane buildEquilibradoRecomendadaHow to open: starting items, then the components of Bastionbreaker on your first backs, and boots when the lane allows.
- Standard buildEquilibradoAvançadaThe default path: Bastionbreaker, Black Cleaver and Serylda's Grudge give the attack damage, armor penetration and ability haste this class relies on. Pick it when you have no reason to adapt. Built from Riot's item tags and the champion's class; Riot publishes no build statistics.
Builds
Lane build
Quando usar
How to open: starting items, then the components of Bastionbreaker on your first backs, and boots when the lane allows.

Por onde se joga
É escolhida antes da partida: primeiro a rota principal e depois as alternativas.
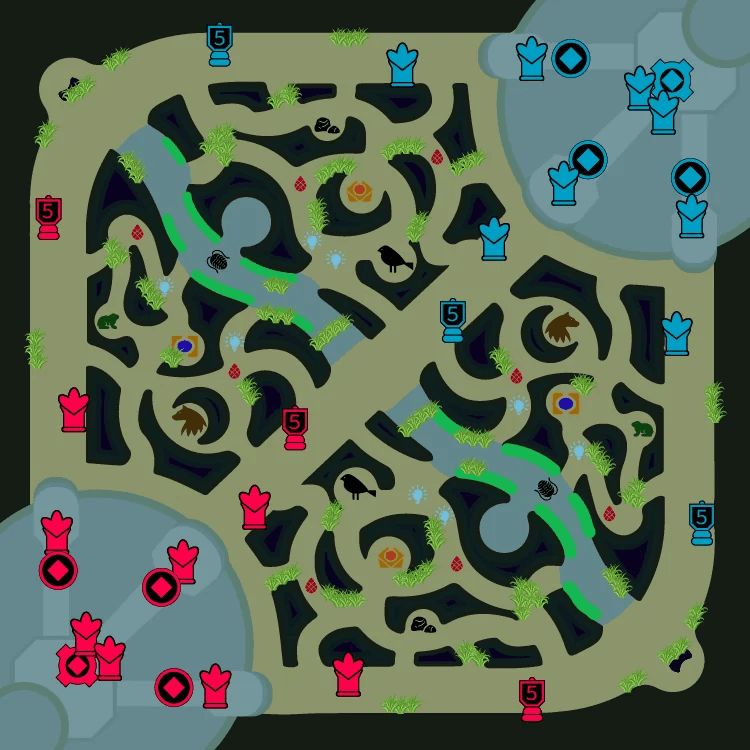
 235 %165 %
- Rota SuperiorPrincipal65 % das partidas
- SelvaPrioridade 235 % das partidas
Itens iniciais


Primeiros itens


Itens principais
- 1Quebra-Bastião
Botas

Runas
Primária· Dominação




Secundária· Precisão


Fragmentos


Feitiços de invocador
 Flash
Flash Teleporte
Standard build
Quando usar
The default path: Bastionbreaker, Black Cleaver and Serylda's Grudge give the attack damage, armor penetration and ability haste this class relies on. Pick it when you have no reason to adapt. Built from Riot's item tags and the champion's class; Riot publishes no build statistics.


Por onde se joga
É escolhida antes da partida: primeiro a rota principal e depois as alternativas.
235 %165 %- Rota SuperiorPrincipal65 % das partidas
- SelvaPrioridade 235 % das partidas
Itens iniciais
Itens principais
- 1Quebra-Bastião
- 2Cutelo Negro
- 3Rancor de Serylda
Botas
Situacionais


Runas
Primária· Dominação
Secundária· Precisão
Fragmentos
Feitiços de invocador
- Flash
- Teleporte
Habilidades
 Passo do Cão-dragãoPassivaUtilizar um comando de ataque ou de movimento enquanto conjura uma habilidade fará com que Ambessa avance a uma curta distância assim que a habilidade for conjurada, recebendo alcance, dano e Velocidade de Ataque adicionais em seu próximo ataque e recuperando energia.Passive — moves you. It works on its own: play around it.
 QGolpe Ardiloso / Pancada Cortante14/13/12/11/10s70 mpAmbessa golpeia com seus cães-dragão em um semicírculo à frente, causando dano adicional aos inimigos atingidos pelas lâminas. Atingir um inimigo transformará a próxima conjuração desta Habilidade por um curto período, fazendo com que ela golpeie em linha reta com seus cães-dragão, causando dano adicional ao primeiro inimigo atingido.
- Tempo de recarga
- 14·13·12·11·10
- Custo
- 70
- Alcance
- 650
 WRepúdio18/17/16/15/14s70 mpAmbessa recebe Escudo, canaliza por um curto período e golpeia o chão, causando dano aos inimigos próximos. Caso bloqueie qualquer dano de unidades que não sejam tropas enquanto canaliza, a Habilidade causará dano aumentado.
- Tempo de recarga
- 18·17·16·15·14
- Custo
- 70
- Alcance
- 325
 ELacerar13/12/11/10/9s70 mpAmbessa chicoteia seus cães-dragão ao redor de si, causando dano e Lentidão a inimigos próximos. Iniciar Passo do Cão-dragão com esta Habilidade faz com que ela golpeie uma segunda vez no fim do avanço.
- Tempo de recarga
- 13·12·11·10·9
- Custo
- 70
- Alcance
- 325
 RExecução PúblicaSuprema130/115/100sAmbessa avança até o Campeão inimigo mais distante em uma linha reta e o suprime ao chegar. Então, ela arremessa o inimigo no chão, causando dano e deixando-o Atordoado.
- Tempo de recarga
- 130·115·100
- Alcance
- 1250
Estratégia
1Starting and early items
The first items decide how comfortable the lane is. The lane build below lists them with what each one gives you.
- Key early items: The Brutalizer and Serrated Dirk.
2Trading
Short trades win lanes: hit, use one ability and step back before the enemy's full combo comes back. The kit brings crowd control (stun) with Public Execution and mobility with Drakehound's Step.
3Wave management
Freeze the wave near your tower when you're weaker, slow push before a back and crash the wave when you want to roam or take a plate.
4Early objectives
Early, fight for tower plates and help your jungler with Herald or grubs when your wave is pushed. Your spikes are level 6, when Public Execution comes online, and each completed item: Bastionbreaker first, then Black Cleaver.
Dicas
- Short trades win lanes: hit, use one ability and step back before the enemy's full combo comes back.
- The Brutalizer is your first purchase that changes the lane: get it early.
- Use Public Execution in lane only when your partner or jungler can follow.
- Keep Drakehound's Step ready when the enemy's gankers are missing.
- Early, fight for tower plates and help your jungler with Herald or grubs when your wave is pushed.
Confrontos
Forte contra
Public Execution (stun) lets Ambessa pin Quinn down before Vault gets them out.
Public Execution (stun) lets Ambessa pin Fiora down before Lunge gets them out.
Public Execution (stun) lets Ambessa pin Camille down before The Hextech Ultimatum gets them out.

Mudanças
- Guide created for patch 16.19.1.
Ele te ajudou?
Seu voto ajuda outros jogadores a encontrar os melhores guias.