










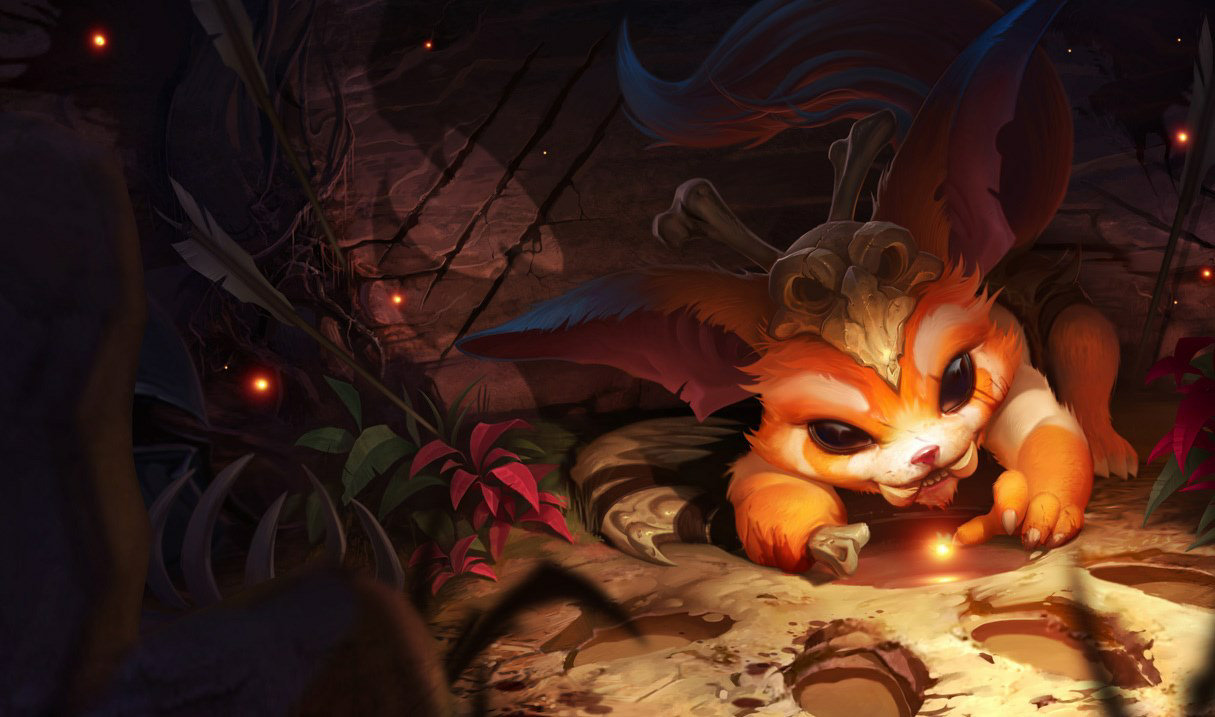
Gnar · Top
Gnar Laning Guide
Mais guias de Gnar
Este guia é montado pelo site com dados de partidas e do próprio jogo: ninguém o escreveu à mão. Se houver guias oficiais ou da comunidade, eles aparecem ao lado.
Introdução
Top is an island: few ganks, long trades and a lot of wave management. Freeze the wave near your tower when you're weaker and push it when you want to roam or recall. Early, fight for tower plates and help your jungler with Herald or grubs when your wave is pushed.
Pontos fortes
- Crowd control: Hyper / Wallop applies a stun to set up kills.
- Mobility: Hop / Crunch lets you reposition, engage or escape.
- Clear job in the team: win a long one-on-one lane, pressure the side and matter in team fights.
Pontos fracos
- Hard to master: Riot rates its difficulty 8/10.
- Isolated lane: vulnerable to ganks when you push.
Cola de builds
Escolha a build de acordo com o que você quer fazer na partida.
- Lane buildEquilibradoRecomendadaHow to open: starting items, then the components of Black Cleaver on your first backs, and boots when the lane allows.
- Standard buildEquilibradoAvançadaThe default path: Black Cleaver, Trinity Force and Spear of Shojin give the health, attack damage and on-hit effects this class relies on. Pick it when you have no reason to adapt. Built from Riot's item tags and the champion's class; Riot publishes no build statistics.
Builds
Lane build
Quando usar
How to open: starting items, then the components of Black Cleaver on your first backs, and boots when the lane allows.

Por onde se joga
É escolhida antes da partida: primeiro a rota principal e depois as alternativas.
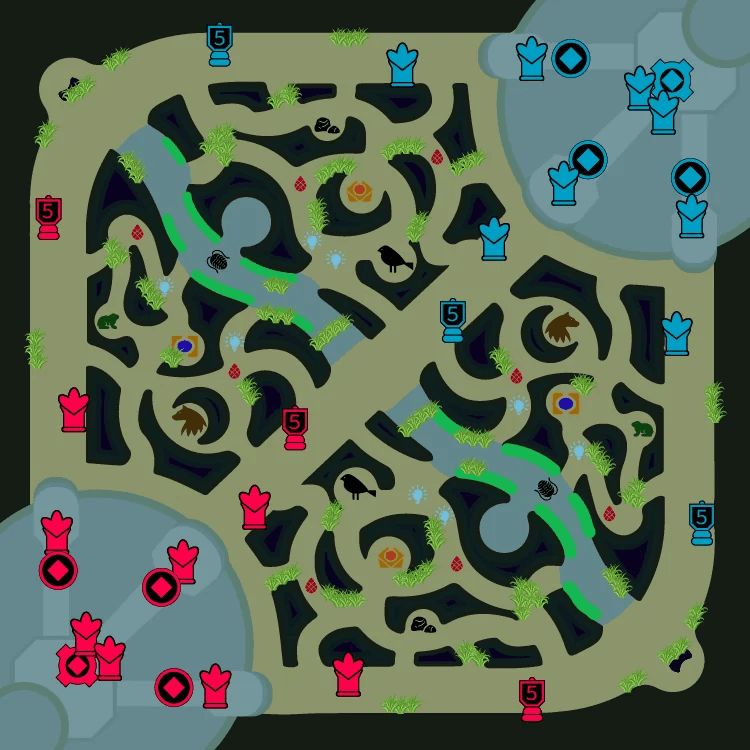
 1100 %
- Rota SuperiorPrincipal100 % das partidas
Itens iniciais


Primeiros itens


Itens principais
- 1Cutelo Negro
Botas

Runas
Primária· Precisão







Secundária· Determinação





Fragmentos


Feitiços de invocador
 Flash
Flash Teleporte
Standard build
Quando usar
The default path: Black Cleaver, Trinity Force and Spear of Shojin give the health, attack damage and on-hit effects this class relies on. Pick it when you have no reason to adapt. Built from Riot's item tags and the champion's class; Riot publishes no build statistics.


Por onde se joga
É escolhida antes da partida: primeiro a rota principal e depois as alternativas.
1100 %- Rota SuperiorPrincipal100 % das partidas
Itens iniciais
Itens principais
- 1Cutelo Negro
- 2Força da Trindade
- 3Lança de Shojin
Botas
Situacionais


Runas
Primária· Precisão
Secundária· Determinação
Fragmentos
Feitiços de invocador
- Flash
- Teleporte
Habilidades
 Fúria GenéticaPassivaEnquanto está em combate, Gnar gera Fúria. Quando atinge o máximo de Fúria, sua próxima habilidade o transformará em Mega-Gnar, concedendo mais condições de sobrevivência e acesso a novas habilidades.
 QBumerangue / Pedregulho16/14.5/13/11.5/10sGnar lança um bumerangue que causa dano e Lentidão a inimigos que atinge antes de retornar a ele. Caso apanhe o bumerangue, seu Tempo de Recarga é reduzido. Mega Gnar arremessa um pedregulho que para na primeira unidade atingida, causando dano e Lentidão a tudo o que estiver próximo. Em seguida, ele pode ser apanhado para reduzir o Tempo de Recarga.
- Tempo de recarga
- 16·14.5·13·11.5·10
- Alcance
- 1100
 WHiperativo / Safanão7sOs ataques e habilidades de Gnar o animam, causando dano adicional e concedendo Velocidade de Movimento. Mega Gnar fica enfurecido demais para ficar hiperativo. Em vez disso, ele pode subir em duas patas e atingir a área à sua frente, atordoando inimigos em área.
- Tempo de recarga
- 7
 EPirueta / Encontrão22/19.5/17/14.5/12sGnar salta em um local e atinge a cabeça de qualquer unidade em que aterrissar, deslocando-se ainda mais. Mega Gnar é grande demais para saltar e, em vez disso, aterrissa com força para quebrar o chão, causando dano em área ao seu redor.
- Tempo de recarga
- 22·19.5·17·14.5·12
- Alcance
- 475
 RGNAR!Suprema90/60/30sMega Gnar joga tudo o que estiver próximo de si em uma direção escolhida, causando dano e Lentidão. Qualquer inimigo que atingir uma parede fica atordoado e recebe dano adicional.
- Tempo de recarga
- 90·60·30
- Alcance
- 590
Estratégia
1Starting and early items
The first items decide how comfortable the lane is. The lane build below lists them with what each one gives you.
- Key early items: Phage and Kindlegem.
2Trading
Short trades win lanes: hit, use one ability and step back before the enemy's full combo comes back. The kit brings crowd control (stun) with Hyper / Wallop and mobility with Hop / Crunch.
3Wave management
Freeze the wave near your tower when you're weaker, slow push before a back and crash the wave when you want to roam or take a plate.
4Early objectives
Early, fight for tower plates and help your jungler with Herald or grubs when your wave is pushed. Your spikes are level 6, when GNAR! comes online, and each completed item: Black Cleaver first, then Trinity Force.
Dicas
- Short trades win lanes: hit, use one ability and step back before the enemy's full combo comes back.
- Phage is your first purchase that changes the lane: get it early.
- Use Hyper / Wallop in lane only when your partner or jungler can follow.
- Keep Hop / Crunch ready when the enemy's gankers are missing.
- Managing your Rage is very important. Try to time out your transformations so you can get maximum benefit from both forms.
Confrontos
Forte contra
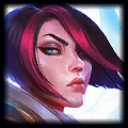
Hyper / Wallop (stun) lets Gnar pin Fiora down before Lunge gets them out.
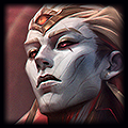
Hyper / Wallop (stun) lets Gnar pin Zaahen down before Aureate Rush gets them out.
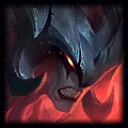
Hyper / Wallop (stun) lets Gnar pin Aatrox down before Umbral Dash gets them out.
Fraco contra
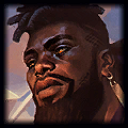
Gnar has to walk up to start a fight, and Path Maker (stun) stops that engage before it lands.
Gnar has to walk up to start a fight, and Ki Burst (stun) stops that engage before it lands.
Gnar has to walk up to start a fight, and Counter Strike (stun) stops that engage before it lands.
Mudanças
- Guide created for patch 16.19.1.
Ele te ajudou?
Seu voto ajuda outros jogadores a encontrar os melhores guias.