










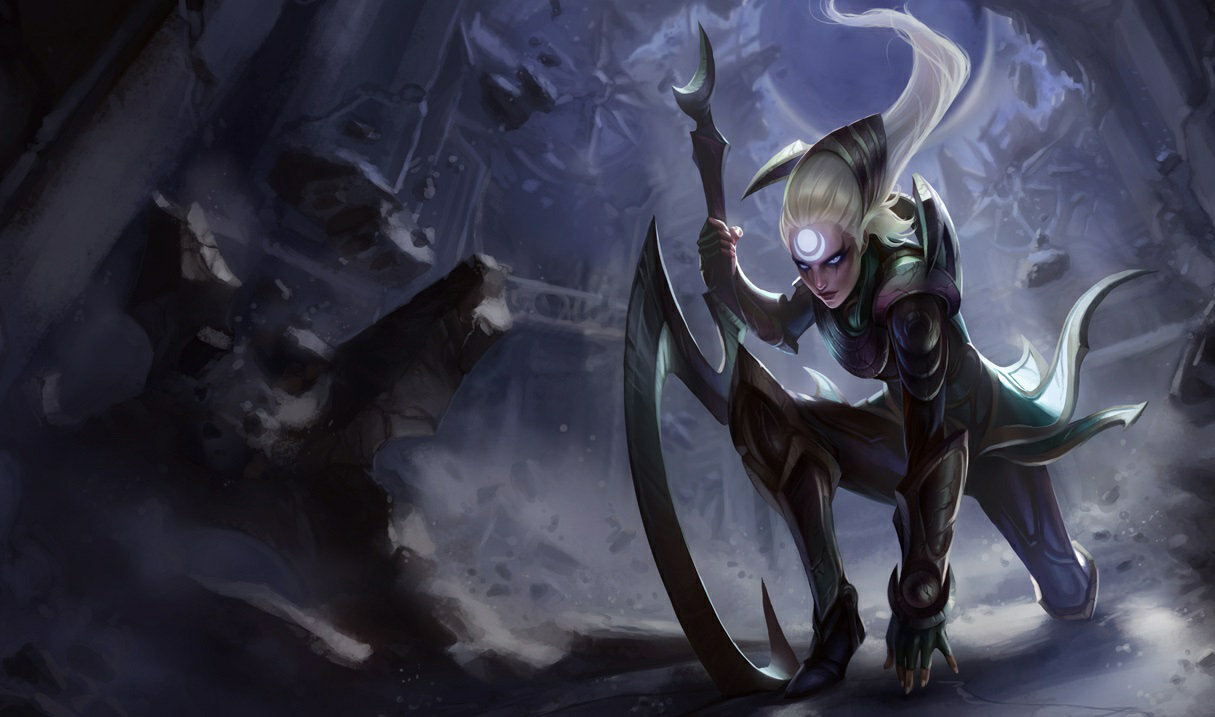
Diana · Jungle
Diana Early Jungle Guide
Mais guias de Diana
Este guia é montado pelo site com dados de partidas e do próprio jogo: ninguém o escreveu à mão. Se houver guias oficiais ou da comunidade, eles aparecem ao lado.
Introdução
Start with your jungle pet and Smite, plan a full clear towards the lane you want to gank and show up when that lane has the enemy pushed and without Flash. Early, your objectives are the first dragons and the void grubs: track where the enemy jungler started and contest on the opposite side.
Pontos fortes
- Sustain from Pale Cascade.
- High magic damage: Riot rates it 8/10 in magic.
- Mobility: Lunar Rush lets you reposition, engage or escape.
Pontos fracos
- Mana-hungry early: spamming abilities leaves you empty before the fight.
- Falls behind if the early ganks fail: every wasted trip is lost farm.
Cola de builds
Escolha a build de acordo com o que você quer fazer na partida.
- Early jungle buildEquilibradoRecomendadaHow to open: your jungle pet and Smite for the first clear, then the components of Cryptbloom on your first backs, and boots once the pet has evolved.
- Standard buildEquilibradoAvançadaThe default path: Cryptbloom, Archangel's Staff and Blackfire Torch give the ability power, magic penetration and ability haste this class relies on. Pick it when you have no reason to adapt. Built from Riot's item tags and the champion's class; Riot publishes no build statistics.
Builds
Early jungle build
Quando usar
How to open: your jungle pet and Smite for the first clear, then the components of Cryptbloom on your first backs, and boots once the pet has evolved.

Por onde se joga
É escolhida antes da partida: primeiro a rota principal e depois as alternativas.
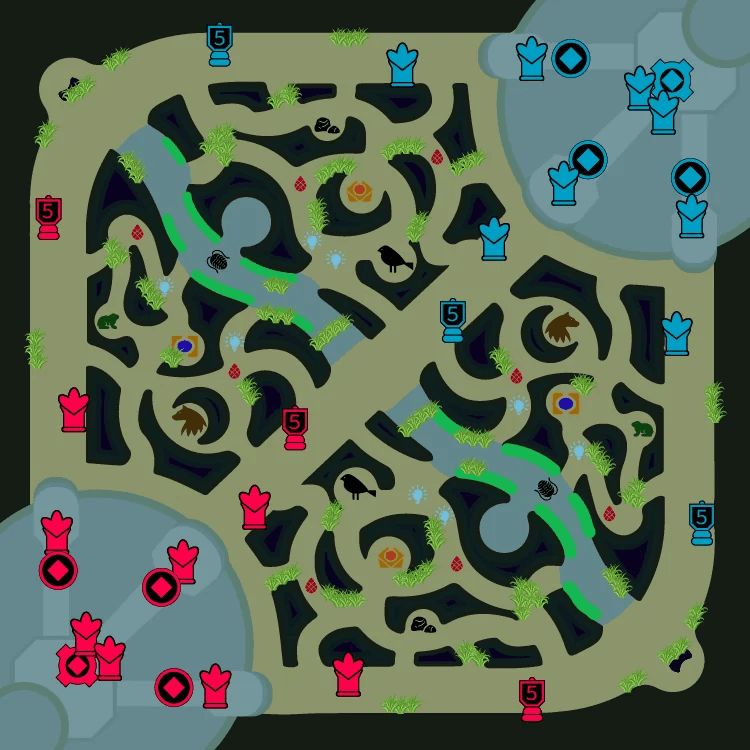
 224 %176 %
- SelvaPrincipal76 % das partidas
- MeioPrioridade 224 % das partidas
Prioridades na selva
Começa emBuff azul
Objetivos por prioridade
- 1Larvas do Vazio
- 2Gank no topo
- 3Arauto do Vale
- 4Caranguejo do rio
- 5Dragões
- 6Barão Nashor
- 7Atakhan
Guideline, not a measurement: an early skirmisher starting blue side. Take the void grubs and look for ganks while your early damage is ahead, then Herald and dragons.
Itens iniciais


Primeiros itens


Itens principais
- 1Criptoflora
Botas

Runas
Primária· Dominação






Secundária· Feitiçaria





Fragmentos


Feitiços de invocador
 Flash
Flash Golpear
Standard build
Quando usar
The default path: Cryptbloom, Archangel's Staff and Blackfire Torch give the ability power, magic penetration and ability haste this class relies on. Pick it when you have no reason to adapt. Built from Riot's item tags and the champion's class; Riot publishes no build statistics.


Por onde se joga
É escolhida antes da partida: primeiro a rota principal e depois as alternativas.
224 %176 %- SelvaPrincipal76 % das partidas
- MeioPrioridade 224 % das partidas
Prioridades na selva
Começa emBuff azul
Objetivos por prioridade
- 1Larvas do Vazio
- 2Gank no topo
- 3Arauto do Vale
- 4Caranguejo do rio
- 5Dragões
- 6Barão Nashor
- 7Atakhan
Guideline, not a measurement: an early skirmisher starting blue side. Take the void grubs and look for ganks while your early damage is ahead, then Herald and dragons.
Itens iniciais
Itens principais
- 1Criptoflora
- 2Cajado do Arcanjo
- 3Tocha de Chamas Negras
Botas
Situacionais


Runas
Primária· Dominação
Secundária· Feitiçaria
Fragmentos
Feitiços de invocador
- Flash
- Golpear
Habilidades
 Espada de Prata LunarPassivaCada terceiro Ataque atinge os inimigos próximos, causando Dano Mágico adicional. Depois de conjurar uma Habilidade, Diana recebe Velocidade de Ataque por 5s.
 QGolpe Crescente8/7.5/7/6.5/6s50 mpFaz um disparo de energia lunar em forma de arco, causando Dano Mágico. Afeta os inimigos atingidos com Plenilúnio, revelando-os por 3s se não estiverem furtivos.
- Tempo de recarga
- 8·7.5·7·6.5·6
- Custo
- 50
- Alcance
- 900
 WCascata Lívida15/13.5/12/10.5/9s40/45/50/55/60 mpDiana cria três esferas orbitantes que detonam ao contato com inimigos, causando dano em área. Ela também ganha um escudo temporário que absorve dano. Se a terceira esfera detonar, o escudo recebe resistência adicional.
- Tempo de recarga
- 15·13.5·12·10.5·9
- Custo
- 40·45·50·55·60
- Alcance
- 800
 EZênite Lunar22/20/18/16/14s40/45/50/55/60 mpTorna-se a encarnação viva da lua vingativa, avançando contra um inimigo e causando Dano Mágico. Zênite Lunar não tem Tempo de Recarga ao avançar em um inimigo afetado por Plenilúnio. Todos os outros inimigos terão o efeito de Plenilúnio removido independentemente de terem sido o alvo de Zênite Lunar.
- Tempo de recarga
- 22·20·18·16·14
- Custo
- 40·45·50·55·60
- Alcance
- 825
 RColapso MinguanteSuprema100/90/80s100 mpDiana revela e atrai todos os inimigos próximos e reduz a velocidade deles. Se Diana atrair um ou mais Campeões inimigos, o Plenilúnio cai sobre ela depois de um breve intervalo, causando Dano Mágico em uma área ao seu redor, aumentado a cada alvo atraído além do primeiro.
- Tempo de recarga
- 100·90·80
- Custo
- 100
- Alcance
- 475
Estratégia
1Starting and early items
Your jungle pet and Smite decide how fast and how safely you clear. The early jungle build below lists the first items with what each one gives you.
- Key early items: Blighting Jewel and Fiendish Codex.
2Ganks
A gank works when the lane is pushed towards the enemy tower and the enemy has used Flash or their escape: pick those moments instead of forcing a bad one. The kit brings mobility with Lunar Rush.
3Clearing and pathing
Clear camps in an order that ends next to the lane you want to gank or the objective you want to take, and reset before the next spawn instead of walking around at low health.
4Early objectives
Early, your objectives are the first dragons and the void grubs: track where the enemy jungler started and contest on the opposite side. Your spikes are level 6, when Moonfall comes online, and each completed item: Cryptbloom first, then Archangel's Staff.
Dicas
- A gank works when the lane is pushed towards the enemy tower and the enemy has used Flash or their escape: pick those moments instead of forcing a bad one.
- Blighting Jewel is your first purchase that changes the lane: get it early.
- Keep Lunar Rush ready when the enemy's gankers are missing.
- Landing Crescent Strike is critically important, but don't be afraid to miss. The cooldown is short and the mana cost is low.
- Early, your objectives are the first dragons and the void grubs: track where the enemy jungler started and contest on the opposite side.
Confrontos
Forte contra
Lunar Rush lets Diana reach Lillia, who has no escape in the kit.
Lunar Rush lets Diana reach Evelynn, who has no escape in the kit.
Lunar Rush lets Diana reach Karthus, who has no escape in the kit.



Fraco contra
Taste Their Fear (fear) lets Kha'Zix pin Diana down before Lunar Rush gets them out.
Biggest Snowball Ever! (knock-up) lets Nunu & Willump pin Diana down before Lunar Rush gets them out.
Thundering Smash (stun) lets Volibear pin Diana down before Lunar Rush gets them out.


Mudanças
- Guide created for patch 16.19.1.
Ele te ajudou?
Seu voto ajuda outros jogadores a encontrar os melhores guias.