











Briar · Jungle
Briar Guide
More Briar guides
This guide is assembled by the site from match data and the game's own information — nobody wrote it by hand. Official and community guides appear alongside it when they exist.
Overview
Briar belongs to Riot's Fighter and Assassin classes and is played mainly as Jungle (100% of the public matches we measured). It fights in melee range and uses fury. In this guide you play it as Jungle: your job is to clear camps efficiently, gank the lanes that can win and control dragons, grubs and Baron. The kit brings crowd control (stun) with Head Rush, mobility with Head Rush and sustain with Crimson Curse. Its ultimate is Certain Death. Riot rates it 9/10 in attack, 3/10 in magic, 5/10 in defense and 3/10 in difficulty.
Strengths
- High physical damage: Riot rates it 9/10 in attack.
- Crowd control: Head Rush applies a stun to set up kills.
- Mobility: Head Rush lets you reposition, engage or escape.
- Sustain from Crimson Curse.
Weaknesses
- Falls behind if the early ganks fail: every wasted trip is lost farm.
- Predictable if you always play it the same way: adapt your build to the enemy team.
Build cheat sheet
Pick the build that fits what you want to do this game.
- Standard buildBalancedRecommendedThe default path: Black Cleaver, Bastionbreaker and Serylda's Grudge give the health, attack damage and on-hit effects this class relies on. Pick it when you have no reason to adapt. Built from Riot's item tags and the champion's class; Riot publishes no build statistics.
- Defensive buildDefensiveSituationalKeeps enough damage while adding magic resist, attack damage and life steal through Mercurial Scimitar, Maw of Malmortius and Death's Dance. Choose it against dive, assassins or a lane you can't win.
Builds
Standard build
When to use it
The default path: Black Cleaver, Bastionbreaker and Serylda's Grudge give the health, attack damage and on-hit effects this class relies on. Pick it when you have no reason to adapt. Built from Riot's item tags and the champion's class; Riot publishes no build statistics.


Where it's played
Picked before the game: the main lane first, then the alternatives.
 1100%
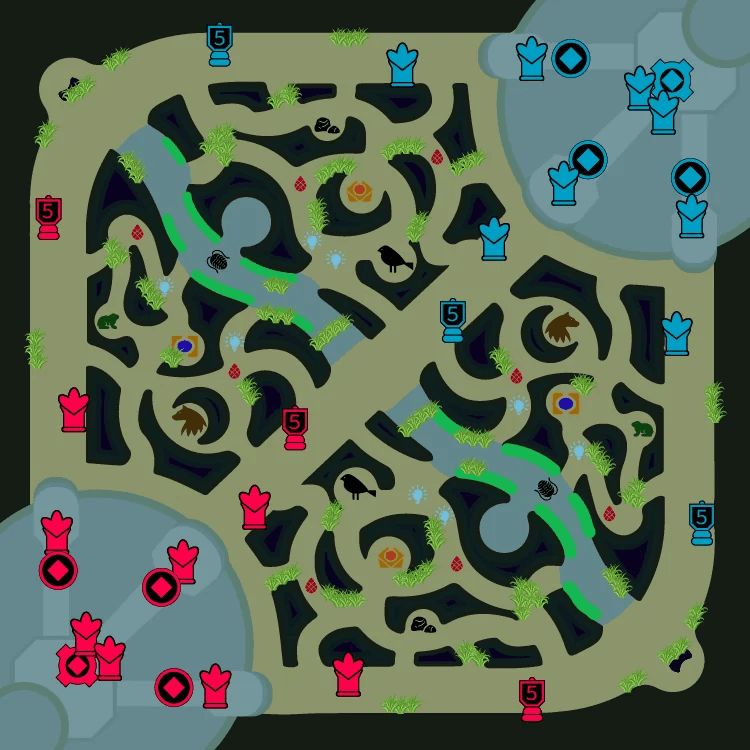
1100%- JungleMain100% of matches
Jungle priorities
StartRed buff
Objectives by priority
- 1Voidgrubs
- 2Gank top
- 3Rift Herald
- 4Scuttle Crab
- 5Dragons
- 6Baron Nashor
- 7Atakhan
Guideline, not a measurement: an early skirmisher starting red side. Take the void grubs and look for ganks while your early damage is ahead, then Herald and dragons.
Starting items


Core items
- 1Black Cleaver
- 2Bastionbreaker
- 3Serylda's Grudge
Boots

Situational


Runes
Primary· Domination






Secondary· Precision


Shards


Summoner spells
 Flash
Flash Smite
Smite
Defensive build
When to use it
Keeps enough damage while adding magic resist, attack damage and life steal through Mercurial Scimitar, Maw of Malmortius and Death's Dance. Choose it against dive, assassins or a lane you can't win.

Where it's played
Picked before the game: the main lane first, then the alternatives.
1100%- JungleMain100% of matches
Jungle priorities
StartRed buff
Objectives by priority
- 1Voidgrubs
- 2Gank top
- 3Rift Herald
- 4Scuttle Crab
- 5Dragons
- 6Baron Nashor
- 7Atakhan
Guideline, not a measurement: an early skirmisher starting red side. Take the void grubs and look for ganks while your early damage is ahead, then Herald and dragons.
Starting items
Core items
- 1Mercurial Scimitar
- 2Maw of Malmortius
- 3Death's Dance
Boots

Situational


Runes
Primary· Precision



Secondary· Resolve





Shards
Summoner spells
- Flash
- Smite
Abilities
 Crimson CursePassiveBriar's attacks and abilities apply a stacking bleed that heals her for a portion of the damage it deals. Perpetually hungry, she gains increased healing based on her missing Health, but lacks innate Health Regeneration.Passive — heals. It works on its own: play around it.
 QHead Rush13/12/11/10/9sBriar leaps to a unit and hits enemies with The Heel Wheel (of Pain), stunning them and breaking their Armor.
- Cooldown
- 13·12·11·10·9
- Range
- 475
 WBlood Frenzy / Snack Attack14/13/12/11/10sBriar leaps forward and shatters her pillory, entering a Blood Frenzy that causes her to relentlessly pursue the nearest enemy (prioritizing champions). While frenzied, she gains increased Attack Speed and Move Speed, and her attacks deal damage in an area around her target. Briar can reactivate this ability while frenzied to take a CHOMP out of her target on her next attack, dealing additional da
- Cooldown
- 14·13·12·11·10
- Range
- 350
 EChilling Scream16sBriar refocuses her mind, removing Blood Frenzy and channeling energy into a powerful scream that damages and slows enemies. While charging, she takes reduced damage and heals for a portion of her max Health. A fully charged scream knocks foes back, dealing additional damage and stunning those who collide with a wall.
- Cooldown
- 16
- Range
- 400
 RCertain DeathUltimate120/100/80sBriar kicks her pillory's hemolith gemstone, marking the first champion it hits as her prey. She then beelines straight to them, fearing other surrounding enemies upon arriving at her target, and enters a state of complete hemomania. She will pursue her prey until death, gaining the benefits of Blood Frenzy as well as additional Armor, Magic Resistance, Life Steal, and Move Speed.
- Cooldown
- 120·100·80
- Range
- 12000
Strategy
1Early game
Start with your jungle pet and Smite, plan a full clear towards the lane you want to gank and show up when that lane has the enemy pushed and without Flash. A gank works when the lane is pushed towards the enemy tower and the enemy has used Flash or their escape: pick those moments instead of forcing a bad one.
- Early items: Phage and Kindlegem.


2Mid game
With Black Cleaver and Bastionbreaker, play around the next dragon or Baron: take vision with your laners first, then force the fight or trade the objective across the map. Your spikes are level 6, when Certain Death comes online, and each completed item: Black Cleaver first, then Bastionbreaker.
- Core items: Black Cleaver, Bastionbreaker and Serylda's Grudge.
3Late game
Late, Smite decides Baron and Elder: stay close to the pit when it's up and never get caught farming on the far side of the map before an objective spawns.
- Late items: Death's Dance and Mercurial Scimitar.
4Team fights
In fights, enter after the enemy uses their key crowd control and land Head Rush on the carry; keep Smite for the objective, not for damage. Use Certain Death where it hits the most enemies or catches the key target.
Tips
- Rush Black Cleaver: it's the item that speeds up your clears and your ganks the most.
- Before an objective, reset and buy wards: fight it with full health and Smite ready.
- Gank the lane with crowd control: two stuns in a row are worth more than any damage.
- Plan fights around Certain Death: without it, Briar is far less threatening.
- Keep Head Rush for getting out, not for chasing.
Matchups
Strong against
Head Rush (stun) lets Briar pin Talon down before Noxian Diplomacy gets them out.
Head Rush (stun) lets Briar pin Gwen down before Skip 'n Slash gets them out.
Head Rush (stun) lets Briar pin Vi down before Vault Breaker gets them out.



Weak against
Allure (charm) lets Evelynn pin Briar down before Head Rush gets them out.
Royal Maelstrom (root) lets Bel'Veth pin Briar down before Head Rush gets them out.
Thundering Smash (stun) lets Volibear pin Briar down before Head Rush gets them out.




Changelog
- Guide created for patch 16.19.1.
Was this helpful?
Your vote helps other players find the best guides.