











Warwick · Jungle
Warwick Matchups and Counters
More Warwick guides
This guide is assembled by the site from match data and the game's own information — nobody wrote it by hand. Official and community guides appear alongside it when they exist.
Overview
This guide covers Warwick's matchups and how to adapt to them. Riot publishes no matchup statistics, so the matchups below come from the champions' own stats and kits: attack range, starting durability, crowd control and mobility. They describe an advantage on paper, not a measured result.
Strengths
- Crowd control: Infinite Duress applies a suppression to set up kills.
- Sustain from Eternal Hunger.
- High physical damage: Riot rates it 9/10 in attack.
Weaknesses
- Falls behind if the early ganks fail: every wasted trip is lost farm.
- Predictable if you always play it the same way: adapt your build to the enemy team.
Build cheat sheet
Pick the build that fits what you want to do this game.
- Against physical damageDefensiveRecommendedFor a lane or a team that hits with attacks: armor boots and an armor item in the core.
- Against magic damageDefensiveSituationalFor a team that kills with abilities: magic resist boots and a magic resist item in the core.
- Against healingDefensiveSituationalFor games against healers, life steal or regeneration: the anti-heal item goes into the core instead of waiting.
Builds
Against physical damage
When to use it
For a lane or a team that hits with attacks: armor boots and an armor item in the core.
Where it's played
Picked before the game: the main lane first, then the alternatives.
 21100%
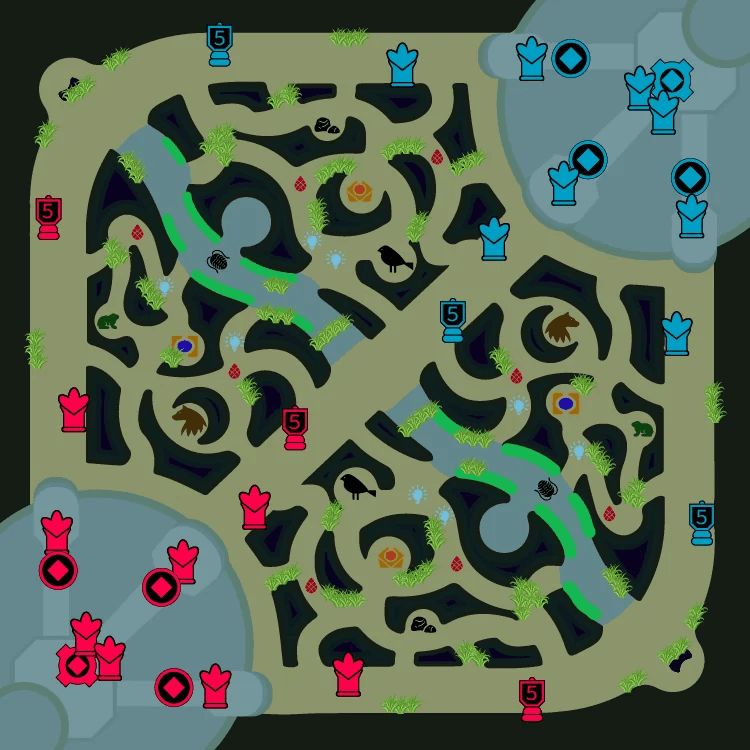
- JungleMain100% of matches
- TopPriority 2
Jungle priorities
StartRed buff
Objectives by priority
- 1Voidgrubs
- 2Gank top
- 3Rift Herald
- 4Scuttle Crab
- 5Dragons
- 6Baron Nashor
- 7Atakhan
Guideline, not a measurement: an early skirmisher starting red side. Take the void grubs and look for ganks while your early damage is ahead, then Herald and dragons.
Starting items


Core items
- 1Black Cleaver
- 2Trinity Force
- 3Death's Dance


Boots

Situational


Runes
Primary· Resolve







Secondary· Precision


Shards


Summoner spells
 Flash
Flash Smite
Smite
Against magic damage
When to use it
For a team that kills with abilities: magic resist boots and a magic resist item in the core.
Where it's played
Picked before the game: the main lane first, then the alternatives.
21100%- JungleMain100% of matches
- TopPriority 2
Jungle priorities
StartRed buff
Objectives by priority
- 1Voidgrubs
- 2Gank top
- 3Rift Herald
- 4Scuttle Crab
- 5Dragons
- 6Baron Nashor
- 7Atakhan
Guideline, not a measurement: an early skirmisher starting red side. Take the void grubs and look for ganks while your early damage is ahead, then Herald and dragons.
Starting items
Core items
- 1Black Cleaver
- 2Trinity Force
- 3Mercurial Scimitar
Boots

Situational

Runes
Primary· Resolve
Secondary· Precision
Shards
Summoner spells
- Flash
- Smite
Against healing
When to use it
For games against healers, life steal or regeneration: the anti-heal item goes into the core instead of waiting.
Where it's played
Picked before the game: the main lane first, then the alternatives.
21100%- JungleMain100% of matches
- TopPriority 2
Jungle priorities
StartRed buff
Objectives by priority
- 1Voidgrubs
- 2Gank top
- 3Rift Herald
- 4Scuttle Crab
- 5Dragons
- 6Baron Nashor
- 7Atakhan
Guideline, not a measurement: an early skirmisher starting red side. Take the void grubs and look for ganks while your early damage is ahead, then Herald and dragons.
Starting items
Core items
- 1Black Cleaver
- 2Trinity Force
- 3Chempunk Chainsword
Boots

Situational
Runes
Primary· Resolve
Secondary· Precision
Shards
Summoner spells
- Flash
- Smite
Abilities
 Eternal HungerPassiveWarwick's basic attacks deal bonus magic damage. If Warwick is below 50% health, he heals the same amount. If Warwick is below 25% health, this healing triples.
 QJaws of the Beast8/7.5/7/6.5/6s80/85/90/95/100 mpWarwick lunges forward and bites his target, dealing damage based on their maximum health and healing for damage dealt.
- Cooldown
- 8·7.5·7·6.5·6
- Cost
- 80·85·90·95·100
- Range
- 365
 WBlood Hunt80/70/60/50/40s55 mpWarwick senses enemies below 50% health, gaining Move Speed toward and attack speed against them. When they fall below 25% health, he frenzies and these bonuses triple.
- Cooldown
- 80·70·60·50·40
- Cost
- 55
- Range
- 4000
 EPrimal Howl15/14/13/12/11s40 mpWarwick gains damage reduction for 2.5 seconds. At the end, or if re-activated, he howls, causing nearby enemies to flee for 1 second.
- Cooldown
- 15·14·13·12·11
- Cost
- 40
- Range
- 375
 RInfinite DuressUltimate110/90/70s100 mpWarwick leaps in a direction (scaling with his bonus Move Speed), suppressing the first champion he collides with for 1.5 seconds.
- Cooldown
- 110·90·70
- Cost
- 100
- Range
- 25000
Strategy
1Good matchups
Warwick does well against these:
- Briar: Briar looks for fragile targets to jump on; Warwick is built to take hits and makes that dive costly.
- Talon: Talon looks for fragile targets to jump on; Warwick is built to take hits and makes that dive costly.
- Kha'Zix: Kha'Zix looks for fragile targets to jump on; Warwick is built to take hits and makes that dive costly.


2Tough matchups
Warwick struggles against these:
- Fiddlesticks: Warwick has to walk up to start a fight, and Terrify (fear) stops that engage before it lands.
- Shaco: Warwick has to walk up to start a fight, and Jack In The Box (fear) stops that engage before it lands.
- Bel'Veth: Warwick has to walk up to start a fight, and Royal Maelstrom (root) stops that engage before it lands.

3Synergies
Warwick works well alongside these, because their kits fit together:
- Varus: Warwick holds the front line while Varus deals damage from behind.
- Twisted Fate: Warwick holds the front line while Twisted Fate deals damage from behind.
- Ashe: Warwick holds the front line while Ashe deals damage from behind.

4Adapting the build
The situational builds in this guide answer specific threats: Against physical damage, Against magic damage and Against healing.
5Playing against Warwick
If you're on the other side, this is what to exploit:
- Warwick's attacks heal him at low health. Save your disables to finish him off.
- Warwick is empowered versus low health enemies. Manage your health to keep him at bay.
- Warwick's ultimate cast range scales with his Move Speed.
Tips
- Look at the enemy team before choosing your build: the situational builds below answer the most common threats.
- Good matchup: Briar. Play forward when you face them.
- Tough matchup: Fiddlesticks. Play safer and wait for your team.
- Against teams with a lot of dive, save Jaws of the Beast for the first jump.
- Against slippery heroes, hold Infinite Duress until their escape is used.
Matchups
Strong against
Briar looks for fragile targets to jump on; Warwick is built to take hits and makes that dive costly.
Talon looks for fragile targets to jump on; Warwick is built to take hits and makes that dive costly.
Kha'Zix looks for fragile targets to jump on; Warwick is built to take hits and makes that dive costly.
Weak against
Warwick has to walk up to start a fight, and Terrify (fear) stops that engage before it lands.
Warwick has to walk up to start a fight, and Jack In The Box (fear) stops that engage before it lands.
Warwick has to walk up to start a fight, and Royal Maelstrom (root) stops that engage before it lands.
Works well with
Warwick holds the front line while Varus deals damage from behind.
Warwick holds the front line while Twisted Fate deals damage from behind.
Warwick holds the front line while Ashe deals damage from behind.

Changelog
- Guide created for patch 16.19.1.
Was this helpful?
Your vote helps other players find the best guides.