











Amumu · Jungle
Amumu Guide
Mais guias de Amumu
Este guia é montado pelo site com dados de partidas e do próprio jogo: ninguém o escreveu à mão. Se houver guias oficiais ou da comunidade, eles aparecem ao lado.
Introdução
Amumu belongs to Riot's Tank and Support classes and is played mainly as Jungle (100% of the public matches we measured). It fights in melee range and uses mana. In this guide you play it as Jungle: your job is to clear camps efficiently, gank the lanes that can win and control dragons, grubs and Baron. The kit brings crowd control (stun) with Bandage Toss. Its ultimate is Curse of the Sad Mummy. Riot rates it 2/10 in attack, 8/10 in magic, 6/10 in defense and 3/10 in difficulty.
Pontos fortes
- High magic damage: Riot rates it 8/10 in magic.
- Crowd control: Bandage Toss applies a stun to set up kills.
- Curse of the Sad Mummy hits several enemies: a strong team fight tool.
- Easy to pick up: Riot rates its difficulty 3/10.
Pontos fracos
- No dash or blink in the kit: vulnerable to ganks without vision.
- Falls behind if the early ganks fail: every wasted trip is lost farm.
Cola de builds
Escolha a build de acordo com o que você quer fazer na partida.
- Standard buildEquilibradoRecomendadaThe default path: Bandlepipes, Zeke's Convergence and Locket of the Iron Solari give the health, magic resist and armor this class relies on. Pick it when you have no reason to adapt. Built from Riot's item tags and the champion's class; Riot publishes no build statistics.
- Offensive buildOfensivoAvançadaAll-in on damage: Hollow Radiance, Knight's Vow and Locket of the Iron Solari stack health, magic resist and health regeneration. Choose it when you're ahead or the enemy team is fragile — it gives up safety for kill pressure.
Builds
Standard build
Quando usar
The default path: Bandlepipes, Zeke's Convergence and Locket of the Iron Solari give the health, magic resist and armor this class relies on. Pick it when you have no reason to adapt. Built from Riot's item tags and the champion's class; Riot publishes no build statistics.


Por onde se joga
É escolhida antes da partida: primeiro a rota principal e depois as alternativas.
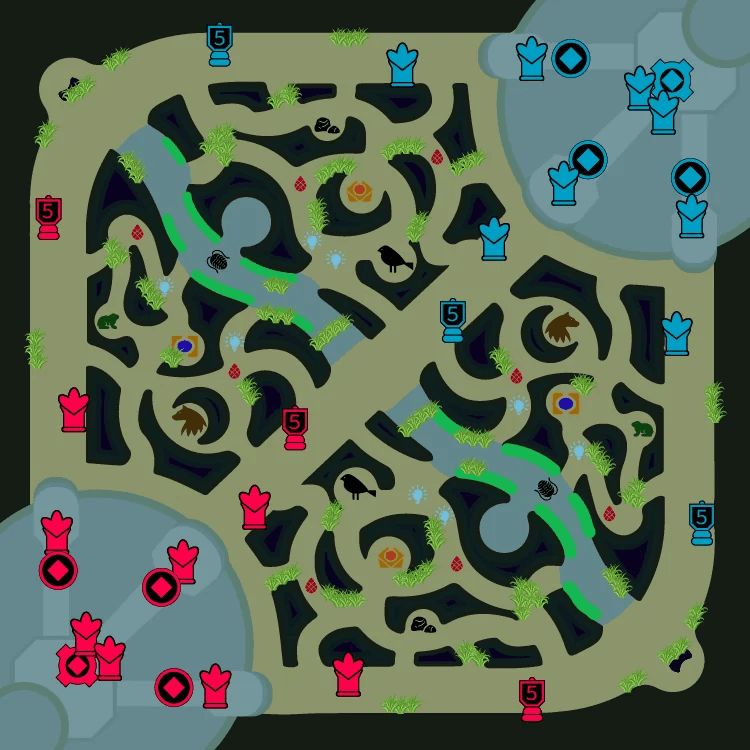
 21100 %
- SelvaPrincipal100 % das partidas
- SuportePrioridade 2
Prioridades na selva
Começa emBuff azul
Objetivos por prioridade
- 1Caranguejo do rio
- 2Gank na rota inferior
- 3Dragões
- 4Larvas do Vazio
- 5Arauto do Vale
- 6Barão Nashor
- 7Atakhan
Guideline, not a measurement: a crowd-control jungler starting blue side. Secure the scuttle, gank the lanes that can follow your control and set up dragons.
Itens iniciais


Itens principais
- 1Bandocanos
- 2Convergência de Zeke
- 3Medalhão dos Solari de Ferro
Botas

Situacionais


Runas
Primária· Determinação







Secundária· Precisão


Fragmentos


Feitiços de invocador
 Flash
Flash Golpear
Offensive build
Quando usar
All-in on damage: Hollow Radiance, Knight's Vow and Locket of the Iron Solari stack health, magic resist and health regeneration. Choose it when you're ahead or the enemy team is fragile — it gives up safety for kill pressure.


Por onde se joga
É escolhida antes da partida: primeiro a rota principal e depois as alternativas.
21100 %- SelvaPrincipal100 % das partidas
- SuportePrioridade 2
Prioridades na selva
Começa emBuff azul
Objetivos por prioridade
- 1Caranguejo do rio
- 2Gank na rota inferior
- 3Dragões
- 4Larvas do Vazio
- 5Arauto do Vale
- 6Barão Nashor
- 7Atakhan
Guideline, not a measurement: a crowd-control jungler starting blue side. Secure the scuttle, gank the lanes that can follow your control and set up dragons.
Itens iniciais
Itens principais
- 1Resplendor Vazio
- 2Juramento do Cavaleiro
- 3Medalhão dos Solari de Ferro
Botas

Situacionais
Runas
Primária· Determinação
Secundária· Precisão
Fragmentos
Feitiços de invocador
- Flash
- Golpear
Habilidades
 Toque AmaldiçoadoPassivaOs ataques básicos de Amumu Amaldiçoam seus inimigos, fazendo com que recebam Dano Verdadeiro adicional de qualquer Dano Mágico causado a eles.
 QLançar Bandagens3s50 mpAmumu lança uma bandagem pegajosa em seu alvo e se lança em sua direção, causando dano e atordoamento.
- Tempo de recarga
- 3
- Custo
- 50
- Alcance
- 1100
 WDesespero1s8 mpTomados pela angústia, inimigos próximos perdem um percentual de sua Vida máxima a cada segundo e suas Maldições são restauradas.
- Tempo de recarga
- 1
- Custo
- 8
- Alcance
- 300
 EChilique9/8/7/6/5s35 mpReduz permanentemente o Dano Físico que Amumu sofreria. Amumu pode liberar sua fúria, causando dano a inimigos próximos. Sempre que Amumu é atingido, o Tempo de Recarga de Chilique é reduzido.
- Tempo de recarga
- 9·8·7·6·5
- Custo
- 35
- Alcance
- 350
 RA Maldição da Múmia TristeSuprema150/125/100s100/150/200 mpAmumu amarra unidades inimigas ao seu redor com ataduras, aplicando Maldição , causando dano e atordoando-as.
- Tempo de recarga
- 150·125·100
- Custo
- 100·150·200
- Alcance
- 550
Estratégia
1Early game
Start with your jungle pet and Smite, plan a full clear towards the lane you want to gank and show up when that lane has the enemy pushed and without Flash. A gank works when the lane is pushed towards the enemy tower and the enemy has used Flash or their escape: pick those moments instead of forcing a bad one.
- Early items: Kindlegem and Cloth Armor.


2Mid game
With Bandlepipes and Zeke's Convergence, play around the next dragon or Baron: take vision with your laners first, then force the fight or trade the objective across the map. Your spikes are level 6, when Curse of the Sad Mummy comes online, and each completed item: Bandlepipes first, then Zeke's Convergence.
- Core items: Bandlepipes, Zeke's Convergence and Locket of the Iron Solari.
3Late game
Late, Smite decides Baron and Elder: stay close to the pit when it's up and never get caught farming on the far side of the map before an objective spawns.
- Late items: Dead Man's Plate and Kaenic Rookern.
4Team fights
In fights, enter after the enemy uses their key crowd control and land Bandage Toss on the carry; keep Smite for the objective, not for damage. Use Curse of the Sad Mummy where it hits the most enemies or catches the key target.
5Playing against Amumu
Riot's own advice for facing this champion:
- Avoid bunching up with other allies when Amumu has his ultimate available.
- Erratic movement, or hiding behind creep waves can make it difficult for Amumu to instigate a fight with Bandage Toss.
- Amumu's Despair makes purchasing primarily Health items a risky proposition.
Dicas
- Amumu is highly dependent on teammates, so try laning with your friends for maximum effectiveness.
- Cooldown Reduction on Amumu is very strong, but it's often difficult to itemize for it. Grab the Golem buff whenever possible to gain Cooldown Reduction without sacrificing stats.
- Despair is very effective against other tanks, so make sure you're in range of opponents with the highest Health.
- Rush Bandlepipes: it's the item that speeds up your clears and your ganks the most.
- Before an objective, reset and buy wards: fight it with full health and Smite ready.
- Gank the lane with crowd control: two stuns in a row are worth more than any damage.
Confrontos
Forte contra
Amumu starts with 685 health and 33 armour against Bel'Veth's 580 and 28: the early trades are already won on paper.
Amumu starts with 685 health and 33 armour against Jayce's 590 and 22: the early trades are already won on paper.
Bandage Toss (stun) lets Amumu pin Lee Sin down before Sonic Wave / Resonating Strike gets them out.

Fraco contra
Elise attacks from 550 units and Amumu from 125, with no dash in the kit to close the gap.
Kindred attacks from 500 units and Amumu from 125, with no dash in the kit to close the gap.
Graves attacks from 425 units and Amumu from 125, with no dash in the kit to close the gap.





Mudanças
- Guide created for patch 16.19.1.
Ele te ajudou?
Seu voto ajuda outros jogadores a encontrar os melhores guias.