










 Heroes of the Storm
Battleground guides
How to play each battleground: the objective and its timings, a plan for each phase and the heroes that perform best there.
 Guide
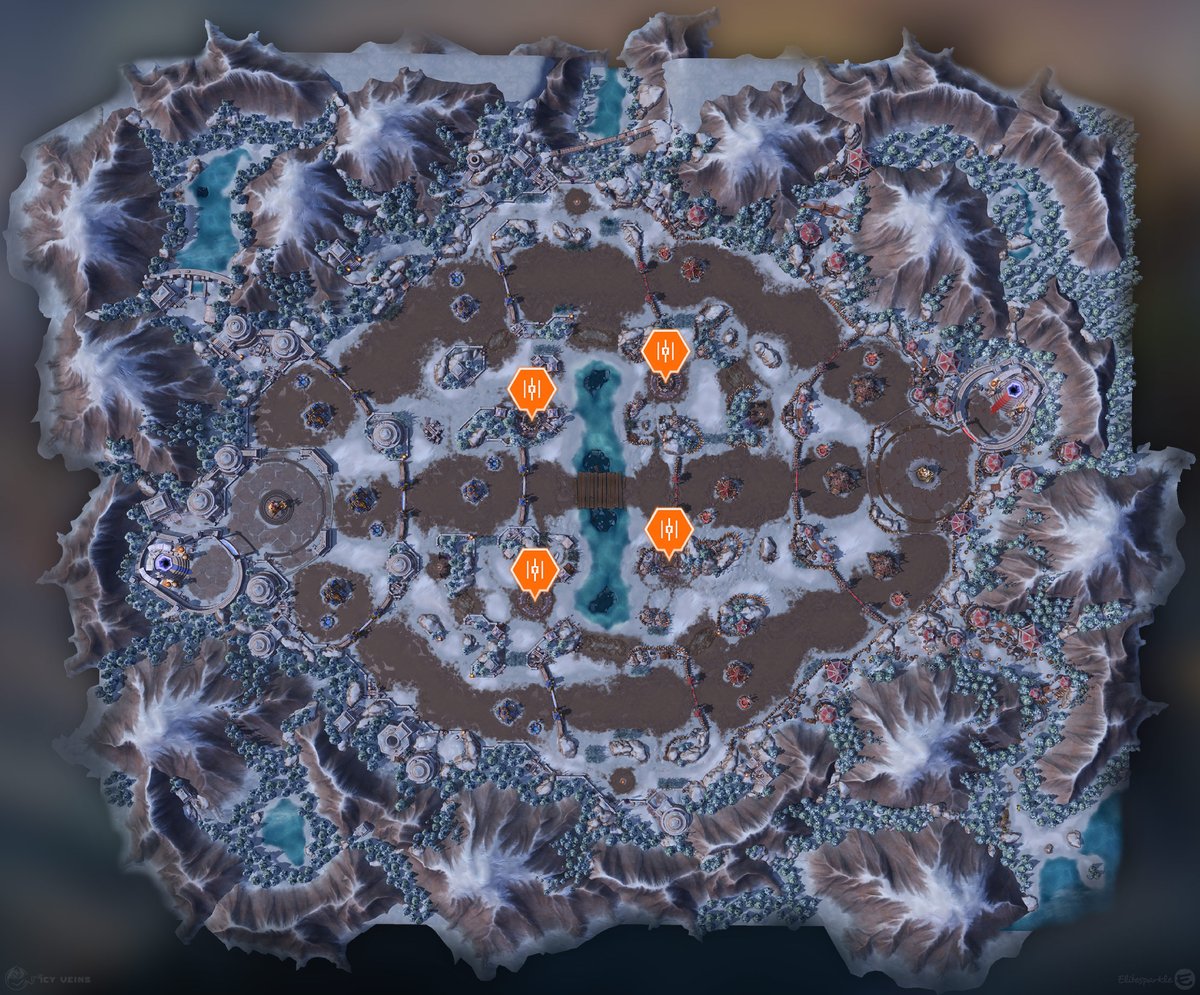
GuideAlterac Pass
Free your Cavalry by capturing the enemy Prison Camp and holding it until the timer completes: one Cavalry then charges down each lane, giving nearby allies 30% movement speed and 10% extra damage.
Never die at the Prison Camp: every hero missing after the objective is one fewer body to push with your Cavalry or to defend against theirs.
 Guide
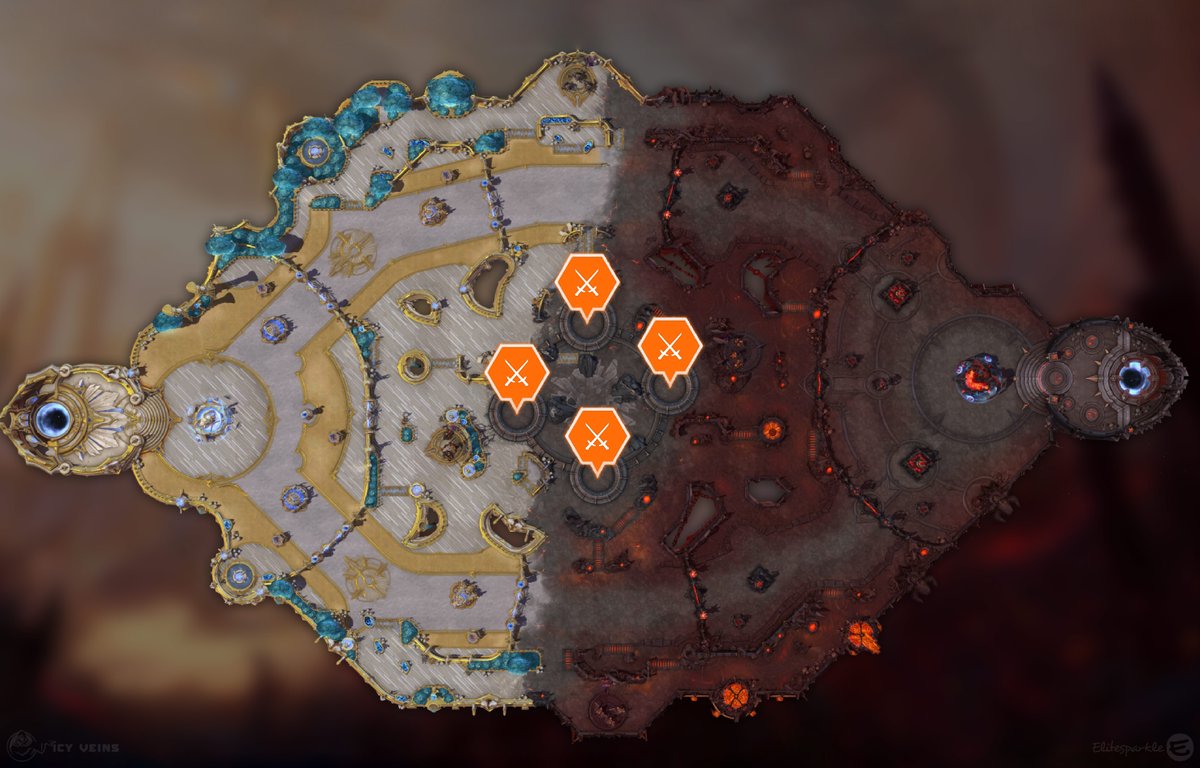
GuideBattlefield of Eternity
Two Immortals fight in the center and each team can only damage the enemy one. Kill it first and your Immortal marches down a lane with a shield equal to its remaining health, smashing structures.
Be standing at the Immortals when they spawn at 3:00: arriving 5 seconds late already costs about a quarter of the race.
 Guide
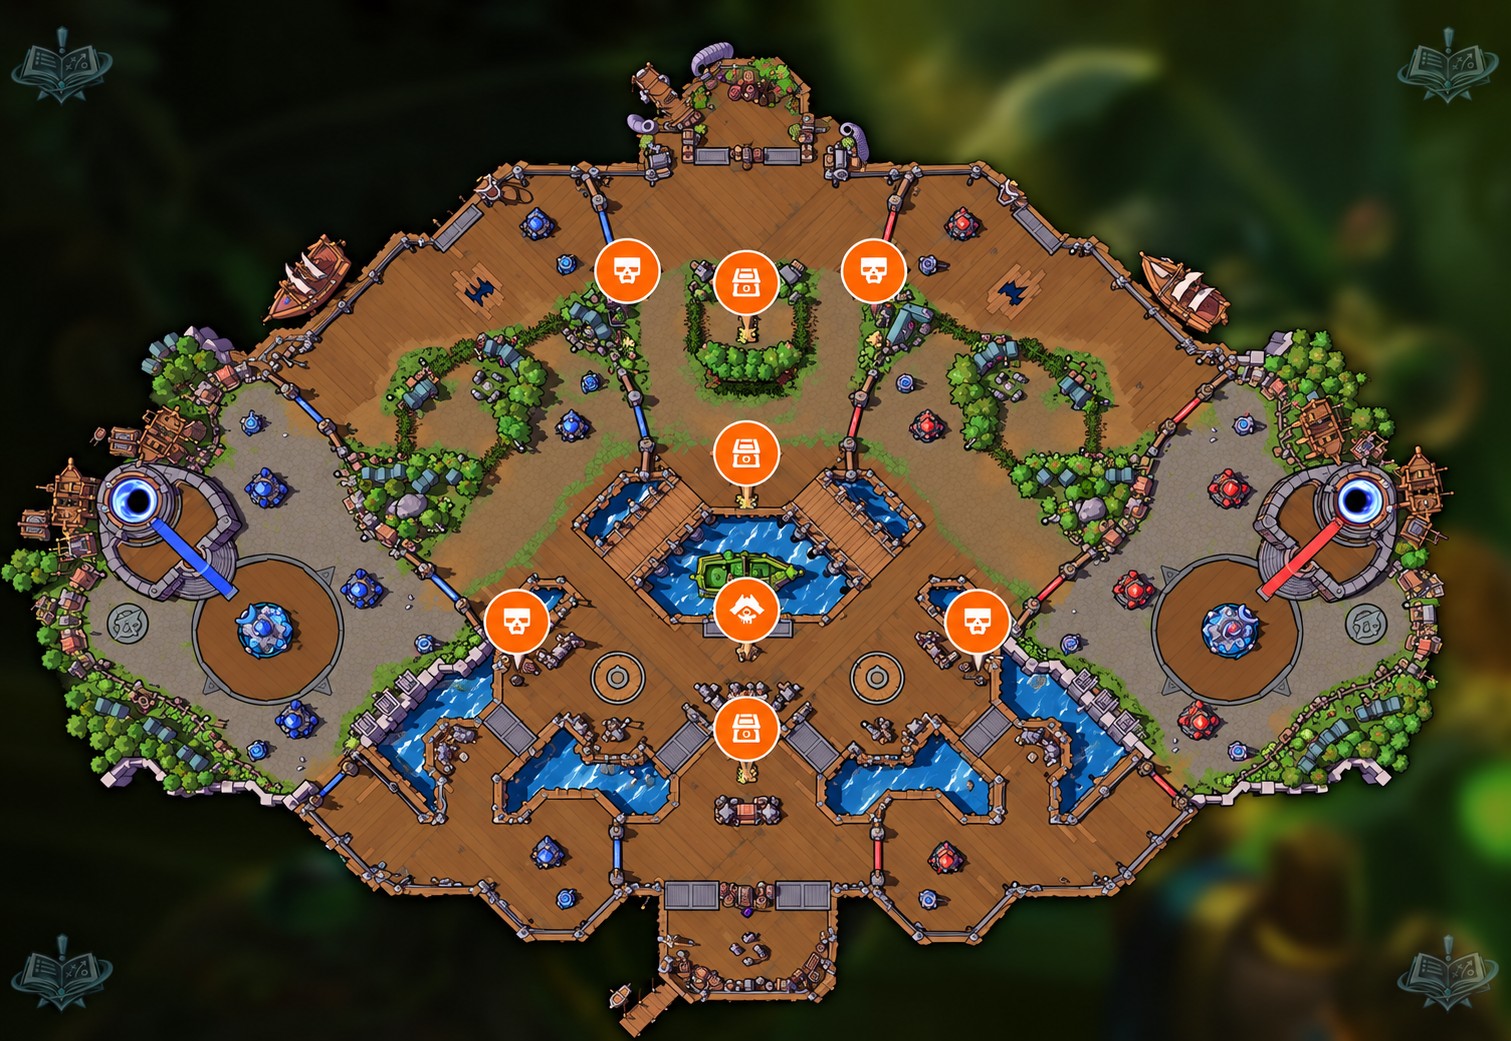
GuideBlackheart's Bay
Collect doubloons from chests, camps and dead enemies and pay Captain Blackheart: 8 coins the first time, 2 more each time your team pays. Each payment fires 12 cannonballs at enemy structures.
Pay whenever you carry 5 or more doubloons: dying drops half of them on the ground for the enemy to pick up.
 Guide
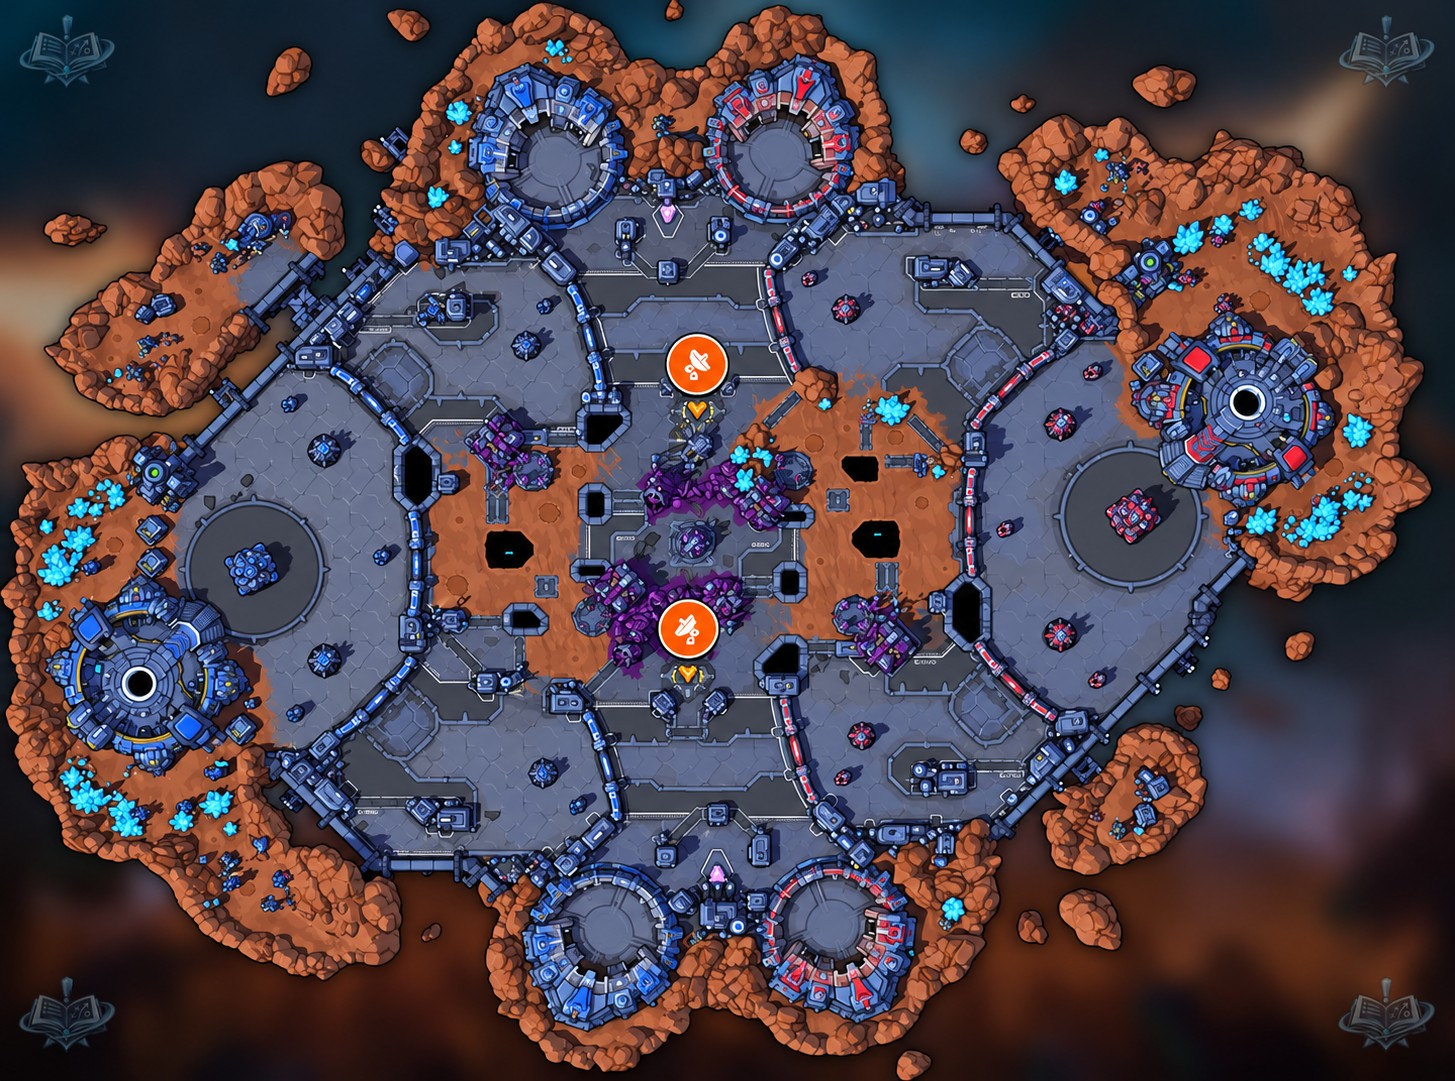
GuideBraxis Holdout
Capture both Beacons to fill your Holding Cell with Zerg. The moment either cell hits 100%, both open and each team's wave, sized by its own progress, charges the opposite base.
Never stand on an enemy-held Beacon next to its defender: you cannot stop their progress until you push them off.
 Guide
GuideCursed Hollow
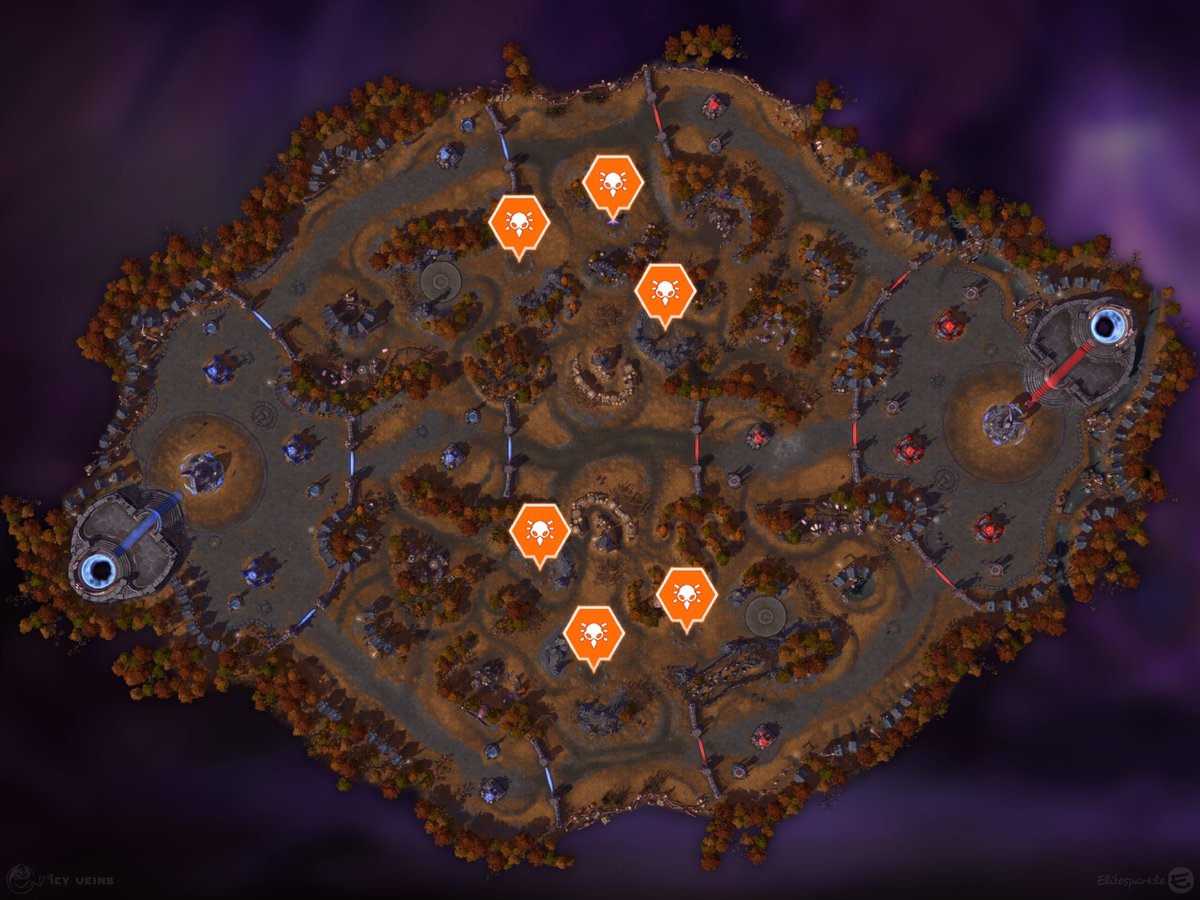
Tributes spawn one at a time; channel 6 seconds to collect one. The first team to gather three curses the enemy for 70 seconds: their minions drop to 1 health and their structures stop attacking.
Decide before each Tribute whether to contest or give it: one on your side is worth a fight, one deep on theirs is worth a Fort elsewhere.
 Guide
GuideDragon Shire
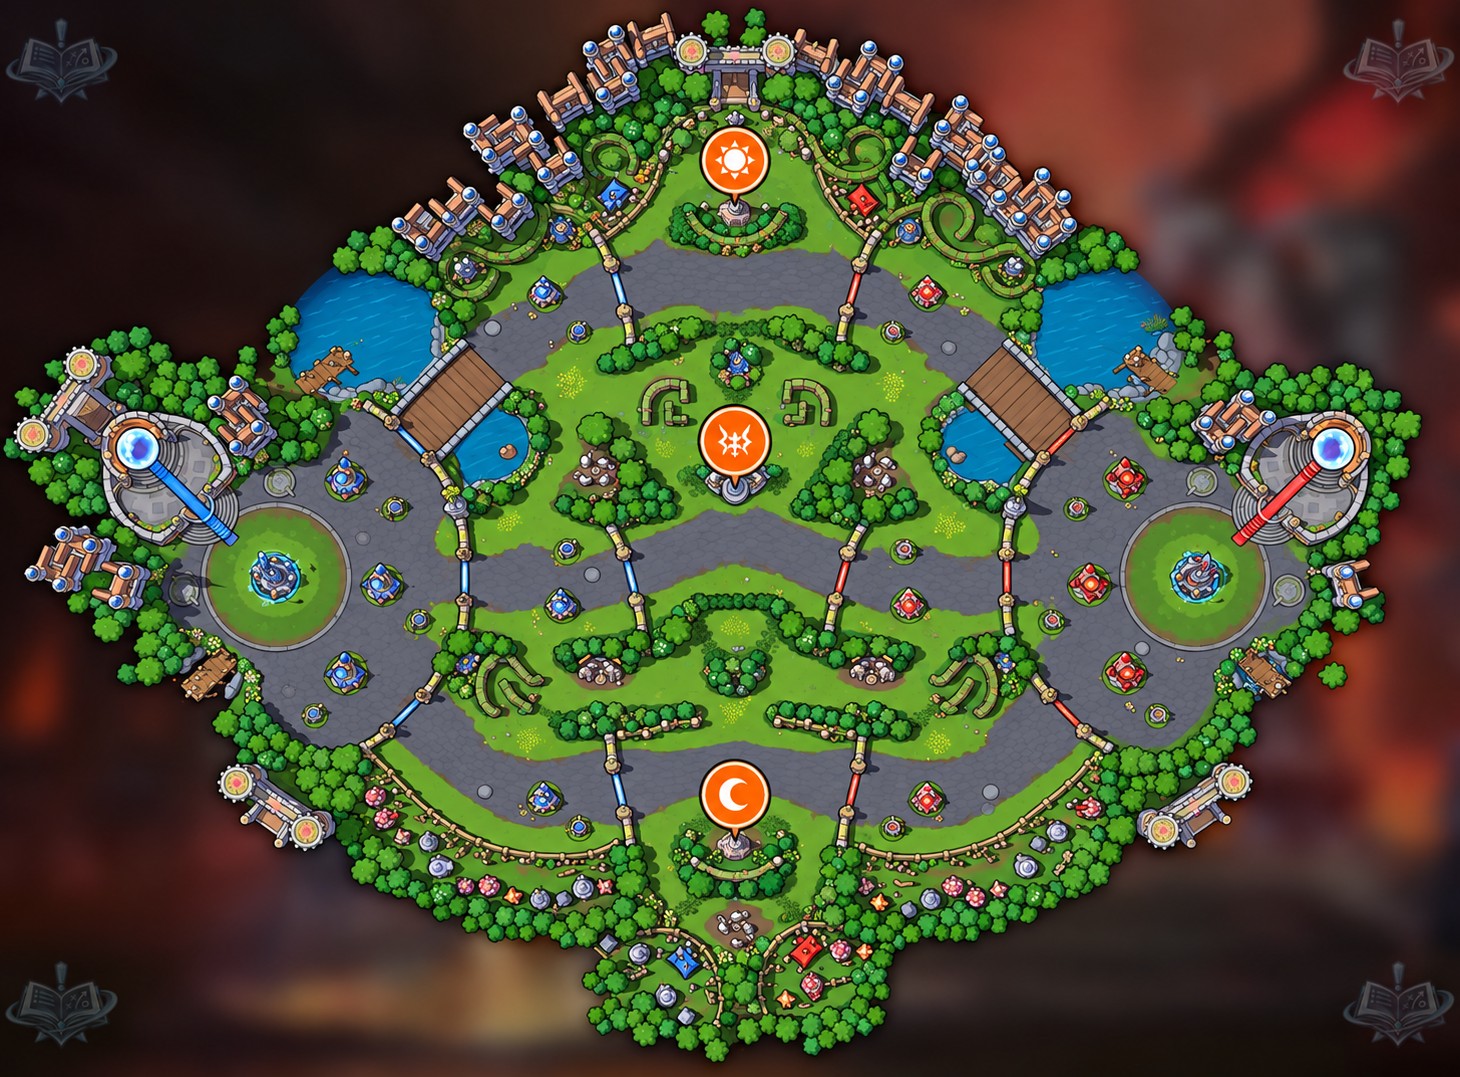
Capture the Sun and Moon shrines; while your team holds both, the Dragon Altar in the middle lane unlocks and one hero can become the Dragon Knight, an Unstoppable vehicle that wrecks structures.
Keep a durable hero on each shrine at 1:30 and never trade a shrine for a kill: one shrine held is the altar locked.
 Guide
GuideGarden of Terror
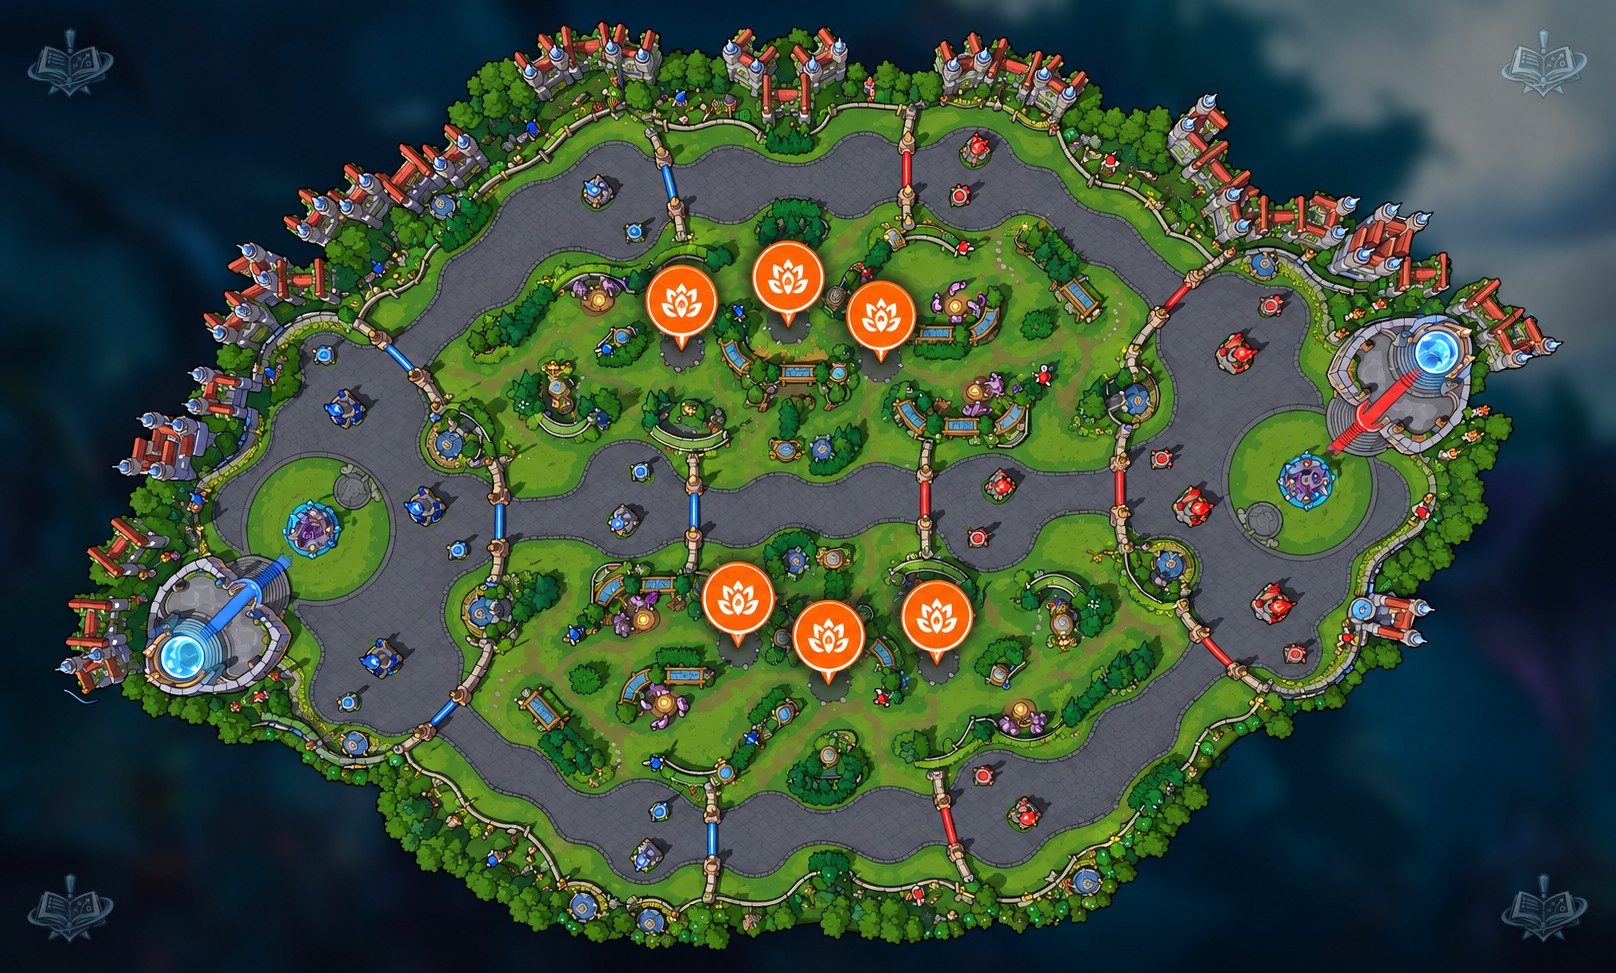
Kill the Shamblers guarding the active Seed and channel it for 6 seconds; the first team to collect three Seeds spawns a Garden Terror in every lane, and each one plants an Overgrowth that shuts down enemy structures while it lives.
Decide before every Seed whether you contest it with four or give it and push the opposite lane; half-committing loses both.
 Guide
GuideHanamura Temple
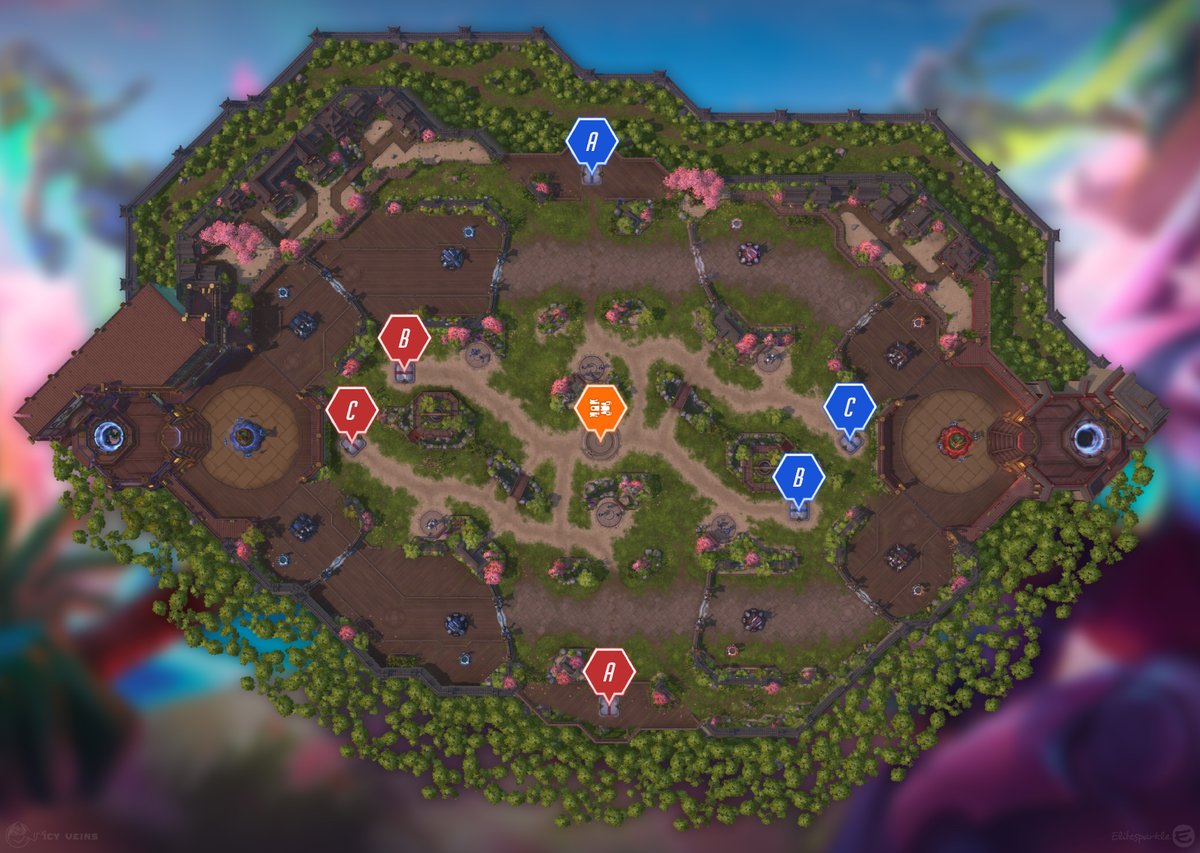
One Payload spawns in the center at 3:00; stand next to it to push it toward your delivery point, and a delivered Payload fires 12 shots at enemy structures for 2280 damage each.
Keep your Sentinel camp on cooldown from 0:30 onward: it is a win condition on its own and it is always active, even while the Payload is up.
 Guide
GuideHaunted Mines
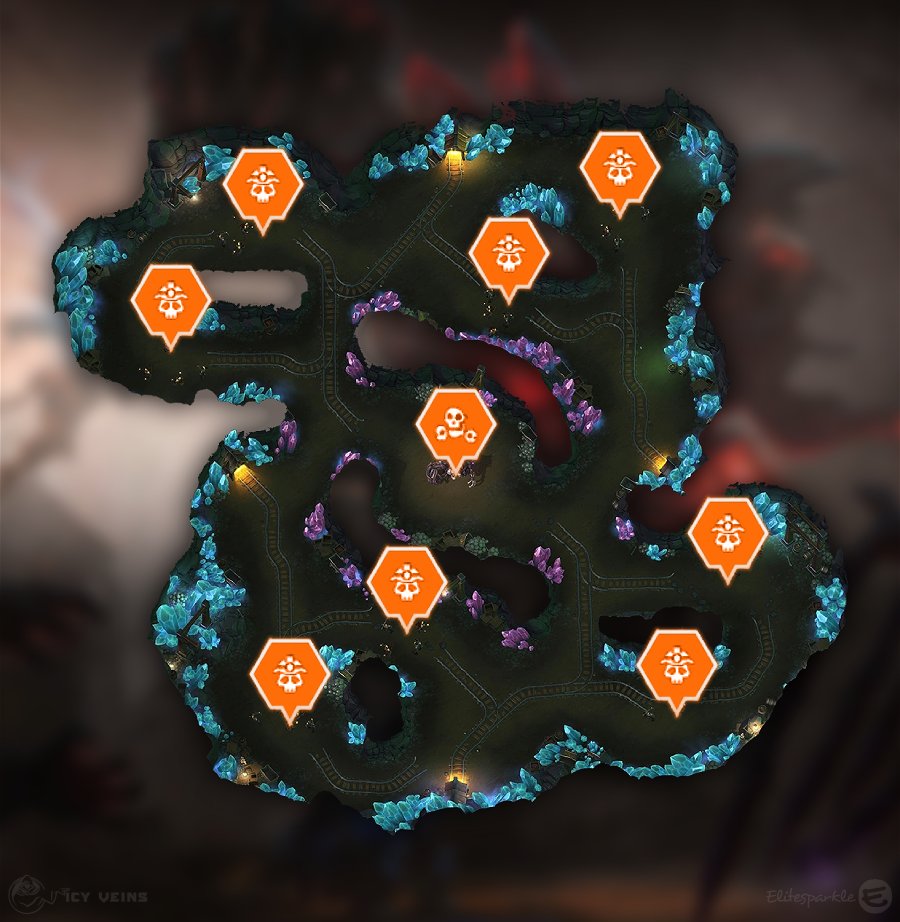
At 3:00 the Mines open with 8 groups of Risen Miners and a Grave Golem that drop Cursed Skulls; when a team reaches 55 Skulls, both teams get a laning Grave Golem whose power scales with the Skulls its owners collected.
Fight for the Skull difference, not the Skull total: both teams get a Golem no matter what, and every Skull you collect adds 7% to yours.
 Guide
GuideInfernal Shrines
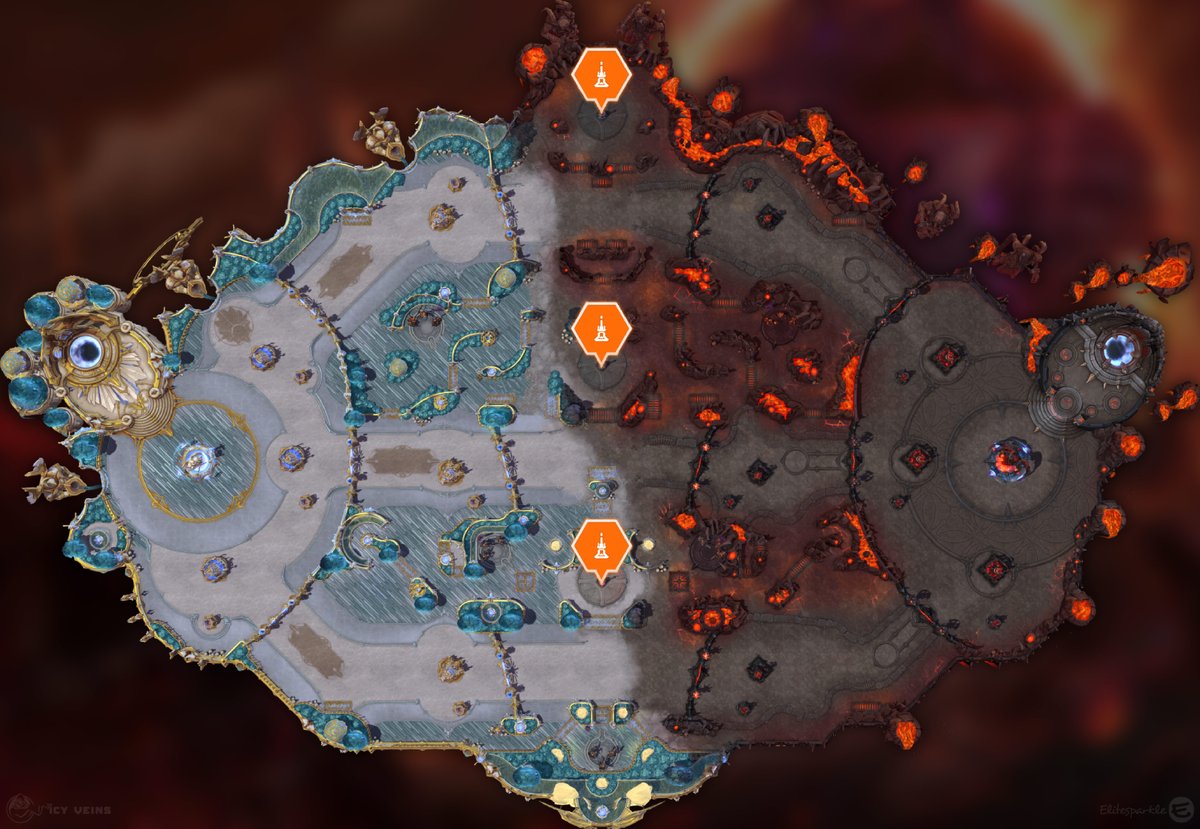
One of three Shrines activates at 3:00; each team races to kill 40 Guardians, and the first to get there summons a Punisher that hunts enemy heroes above everything else and spearheads a lane push.
Be standing at the Shrine before it activates: arriving 5 seconds late gifts about 10 Guardians, and 10 seconds late is a free Punisher for the enemy.
 Guide
GuideSky Temple
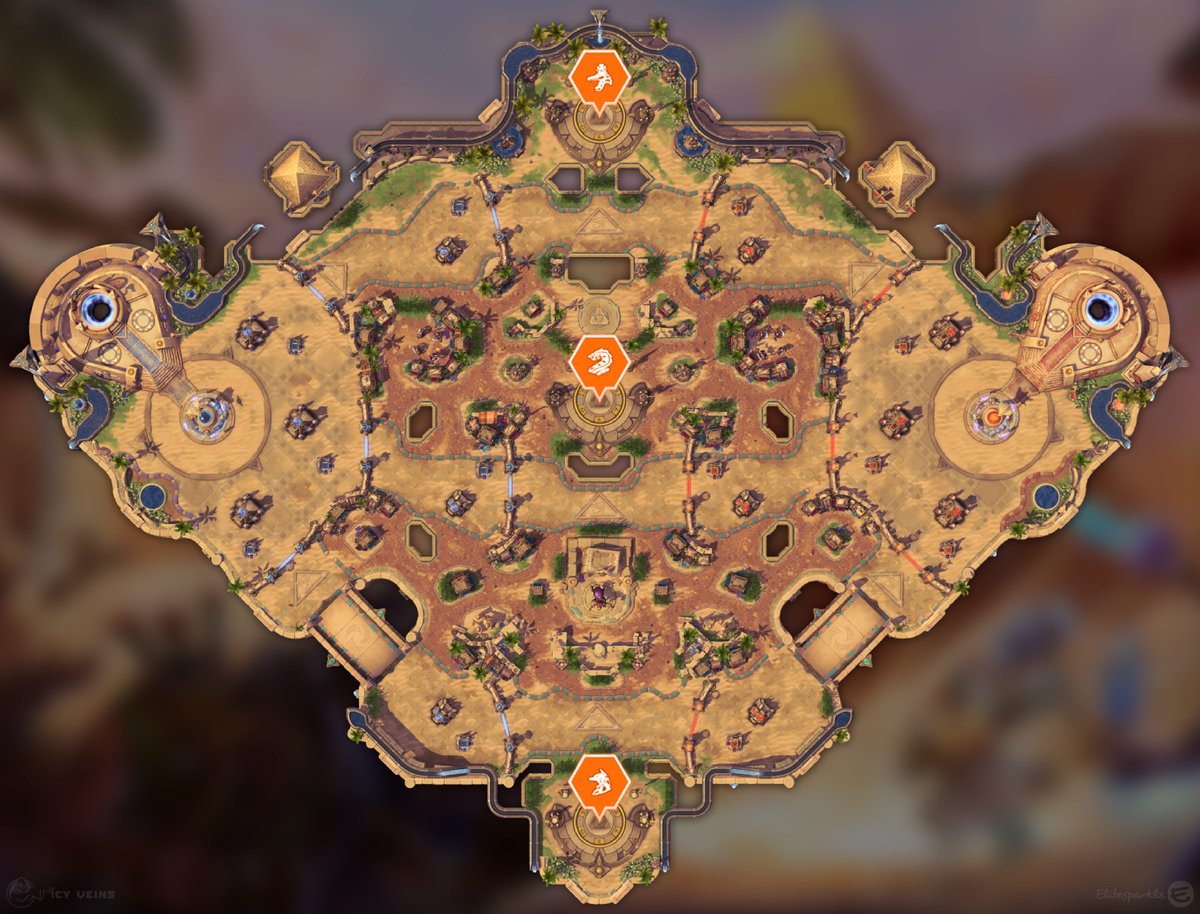
Temples wake up periodically; stand on an uncontested one and it fires laser shots at the nearest enemy structures. Holding more temple time than the enemy is how you take forts and keeps down without ever pushing a lane.
Never trade a temple for a death: one hero on the circle keeps it firing, and the other four should fight where they can't be collapsed on.
 Guide
GuideTomb of the Spider Queen
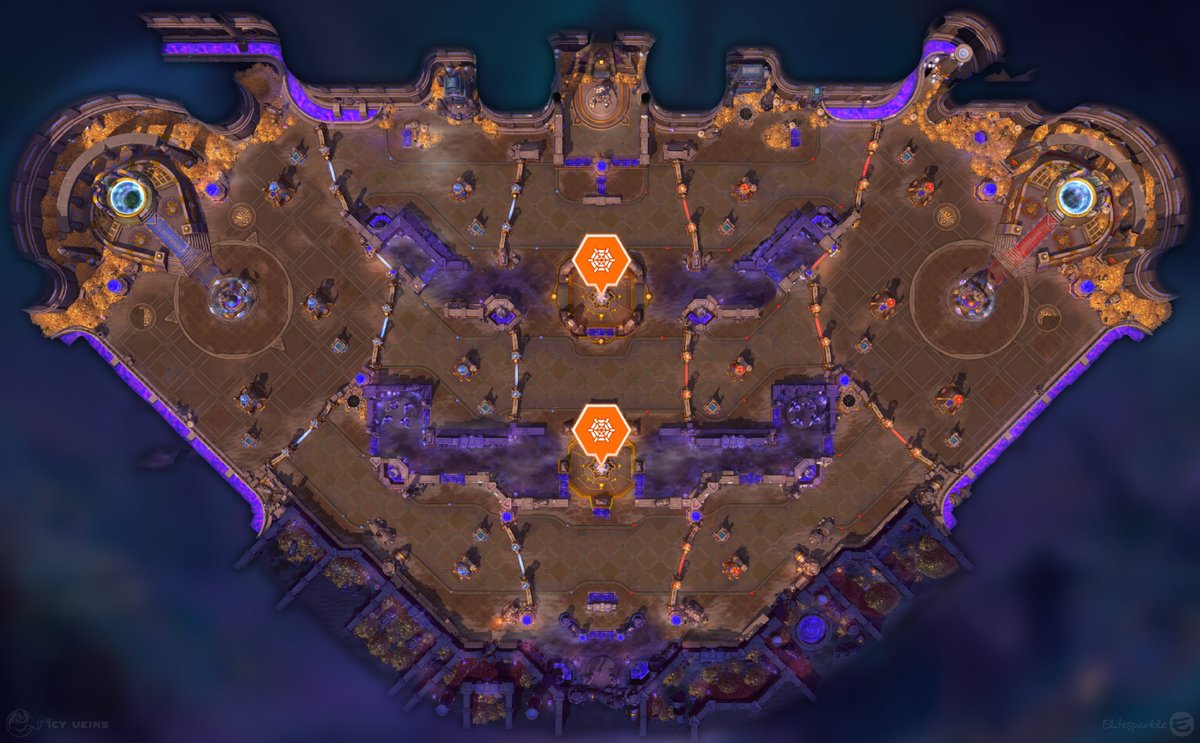
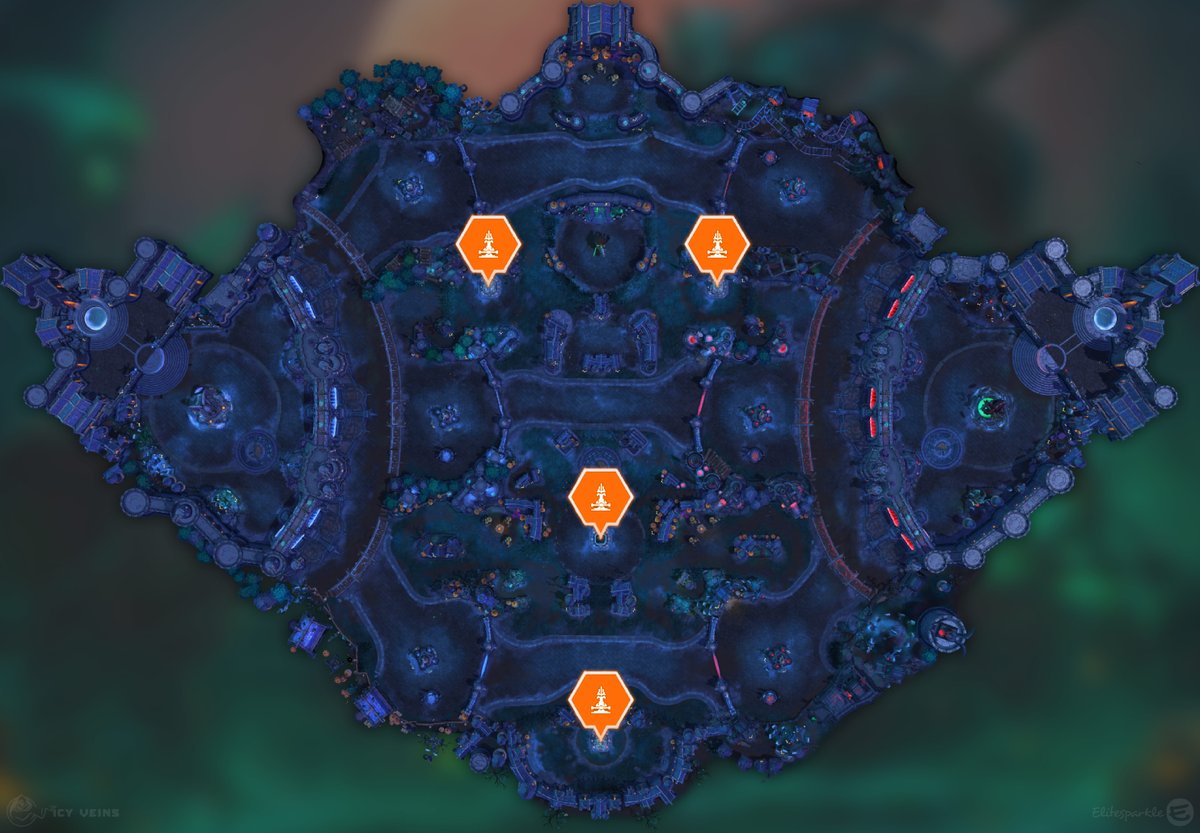
Enemy minions and heroes drop gems when they die; turn in enough at one of the two altars and three Webweavers spawn, one per lane, to tear through enemy structures.
Pay every time you reach 10 gems or more: turned-in gems are safe forever, and gems that hit the ground and vanish are Webweavers your team will never get.
 Guide
GuideTowers of Doom
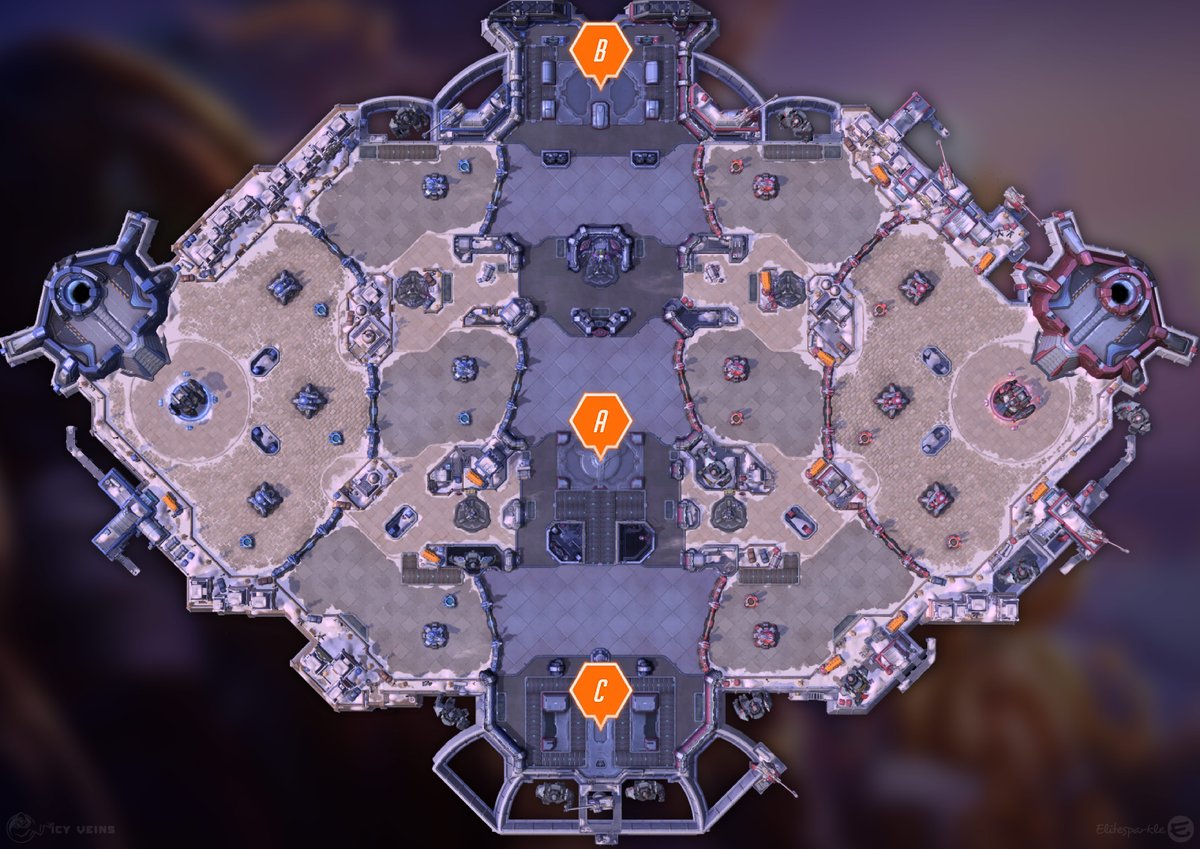
Both cores are shielded from heroes and have only 40 health. Capturing an altar makes your bell towers fire at the enemy core for 1 damage plus 1 per fort or keep you control; bring it to 0 to win.
Count bell towers before you count altars: finishing a nearly dead fort right before a capture adds a point of core damage to every altar you take afterwards.
 Guide
GuideVolskaya Foundry
A capture point activates near one of the lanes; the first team to reach 100% progress gets the Triglav Protector, a two-seat mech that shreds structures and shields allies.
The Protector is a timer with a health bar: if it expires nearly full you played too safe, and if it dies with a minute left you overcommitted, so aim it at structures and keep both numbers falling together.
 Guide
GuideWarhead Junction
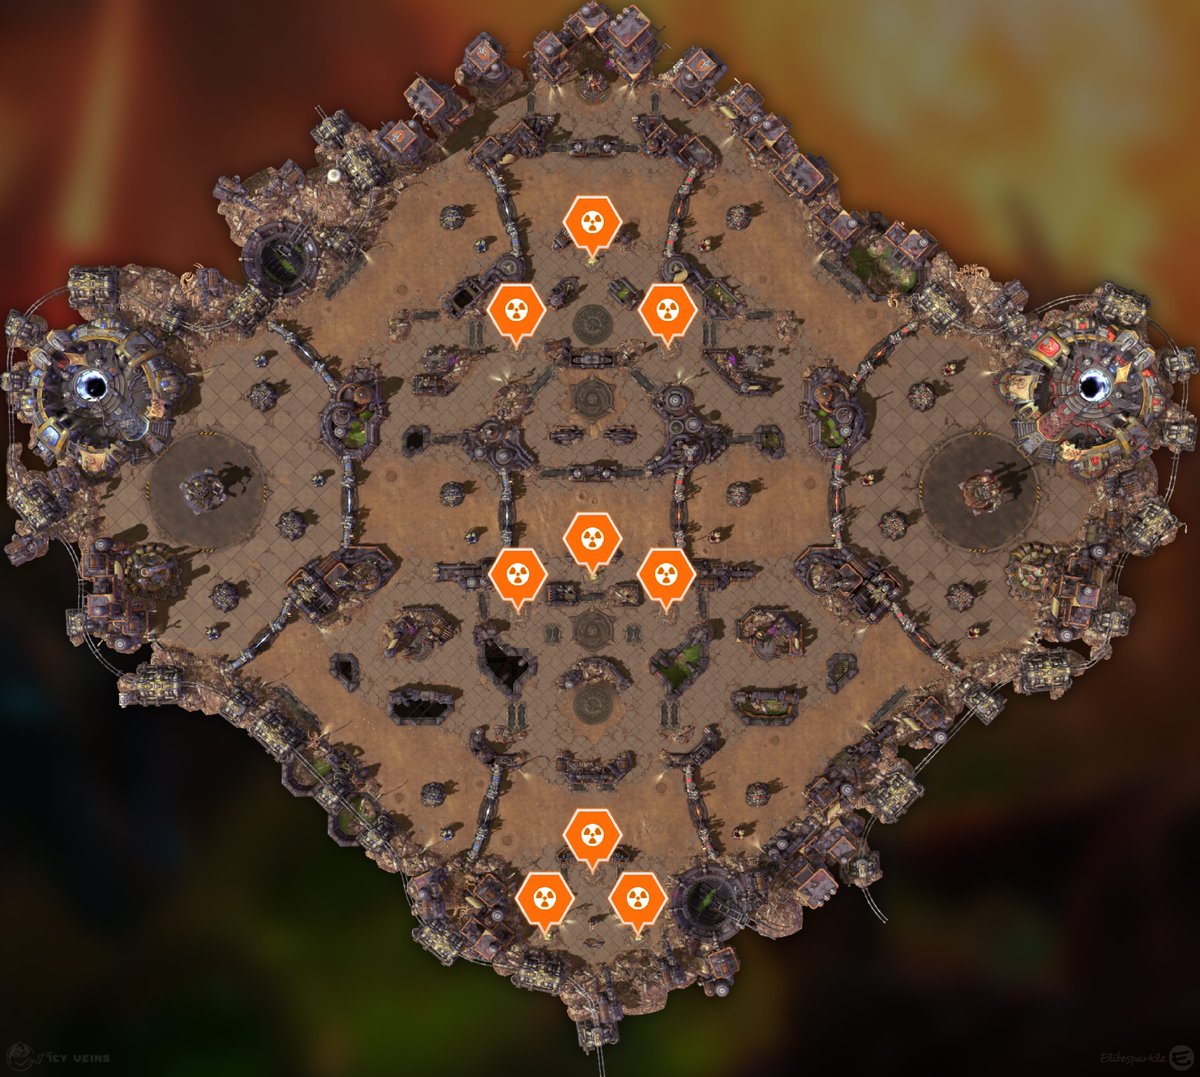
Warheads spawn in the lanes; channel one to arm a Nuke you can launch anywhere on the map for massive structure damage and a lingering burn. Nobody wins the objective outright: whoever collects and spends nukes better takes the structures.
A nuke exists to hit structures: aim it where a fort or keep and its towers overlap, and never throw it at a hero who has 4 seconds to walk away.