










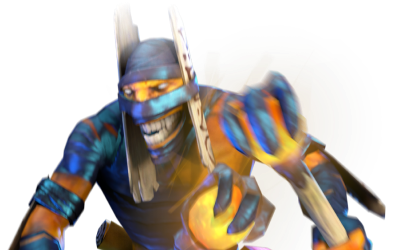
Shadow Shaman · Hard Support (pos. 5)
Shadow Shaman Guide
More Shadow Shaman guides
This guide is assembled by the site from match data and the game's own information — nobody wrote it by hand. Official and community guides appear alongside it when they exist.
Overview
Shadow Shaman is a ranged Intelligence hero that Valve tags as Disabler, Pusher and Support. It is played mainly as Hard Support (pos. 5): 59% of the public matches we measured, by starting lane and starting items. In this guide you play it as Hard Support (pos. 5): your job is to keep your carry safe in the safe lane, buy the wards and give up farm so the cores can have it. Its ultimate is Mass Serpent Ward. This patch, Shadow Shaman wins 51.8% of the 526,493 public matches we measured (A tier on our ladder).
Strengths
- Takes towers quickly: Valve lists it as a Pusher.
- Heavy magical burst: Valve lists it as a Nuker.
- Clear job in the team: keep your carry safe in the safe lane, buy the wards and give up farm so the cores can have it.
Weaknesses
- No escape in the kit: without good positioning and vision, Shadow Shaman is easy to catch.
- Plays on little gold: expensive items arrive late.
Build cheat sheet
Pick the build that fits what you want to do this game.
- Most-played buildBalancedRecommendedThe items most bought with this hero, phase by phase. Pick it when you don't have a clear reason to deviate. Built from what Shadow Shaman players buy in the public matches we measured.
- Survival buildDefensiveSituationalPrioritises the popular items that keep you alive — Glimmer Cape and Force Staff. Choose it against heavy disables or burst, or when you are the enemy's focus. Built from what Shadow Shaman players buy in the public matches we measured.
- Team utility buildUtilitySituationalBuilt around the popular items that help your allies — Aether Lens and Glimmer Cape. Choose it when your team needs saves and auras more than your damage. Built from what Shadow Shaman players buy in the public matches we measured.
Builds
Most-played build
When to use it
The items most bought with this hero, phase by phase. Pick it when you don't have a clear reason to deviate. Built from what Shadow Shaman players buy in the public matches we measured.
Where it's played
Picked before the game: the main lane first, then the alternatives.
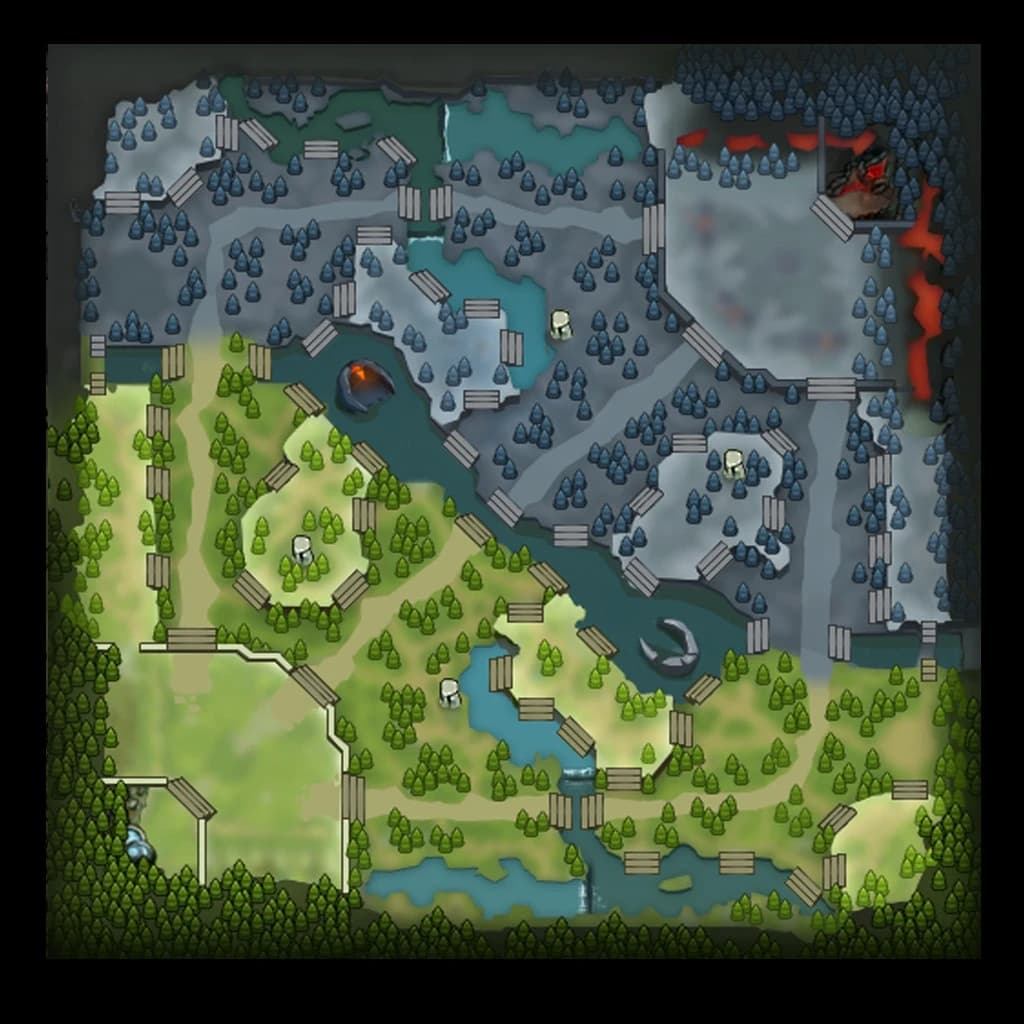
 232%164%
- Safe laneMain64% of matchesSafe lane next to your carry, as Hard Support (pos. 5).
- OfflanePriority 232% of matchesOff lane next to your offlaner, as Soft Support (pos. 4).
Starting items


Core items
- 1Blink Dagger
- 2Aether Lens
- 3Aghanim's Shard
- 4Glimmer Cape


Boots

Late game


Skill order
Max order:Shackles›Hex›Ether Shock
| Ability | 1 | 2 | 3 | 4 | 5 | 6 | 7 | 8 | 9 | 10 | 11 | 12 | 13 | 14 | 15 | 16 | 17 |
|---|---|---|---|---|---|---|---|---|---|---|---|---|---|---|---|---|---|
 | ● | · | ● | · | ● | · | ● | · | · | · | · | · | · | · | · | · | · |
 | · | ● | · | · | · | · | · | · | · | · | · | ● | · | ● | ● | · | · |
 | · | · | · | ● | · | · | · | ● | ● | ● | · | · | · | · | · | · | · |
 | · | · | · | · | · | ● | · | · | · | · | · | · | ● | · | · | · | ● |
Talents by level
- +1 Ward Attack Targets+250 Ether Shock Damage25
- +1.5s Shackles Duration+50% Serpent Wards Max HP20
- +160 Serpent Wards Attack RangeHex Breaks15
- +1.75 Mana Regen+170 Shackles Total Damage10
Survival build
When to use it
Prioritises the popular items that keep you alive — Glimmer Cape and Force Staff. Choose it against heavy disables or burst, or when you are the enemy's focus. Built from what Shadow Shaman players buy in the public matches we measured.
Where it's played
Picked before the game: the main lane first, then the alternatives.
232%164%- Safe laneMain64% of matchesSafe lane next to your carry, as Hard Support (pos. 5).
- OfflanePriority 232% of matchesOff lane next to your offlaner, as Soft Support (pos. 4).
Starting items
Core items
- 1Glimmer Cape+20% Magic Resistance. Active: Glimmer.
- 2Force Staff+10 Intelligence, +175 Health. Active: Force.
- 3Black King Bar+10 Strength, +24 Damage. Active: Avatar.
- 4Eul's Scepter of Divinity+10 Intelligence, +2.5 Mana Regeneration, +20 Movement Speed. Active: Cyclone.
Boots
Late game


Skill order
Max order:Shackles›Hex›Ether Shock
| Ability | 1 | 2 | 3 | 4 | 5 | 6 | 7 | 8 | 9 | 10 | 11 | 12 | 13 | 14 | 15 | 16 | 17 |
|---|---|---|---|---|---|---|---|---|---|---|---|---|---|---|---|---|---|
| ● | · | ● | · | ● | · | ● | · | · | · | · | · | · | · | · | · | · |
| · | ● | · | · | · | · | · | · | · | · | · | ● | · | ● | ● | · | · |
| · | · | · | ● | · | · | · | ● | ● | ● | · | · | · | · | · | · | · |
| · | · | · | · | · | ● | · | · | · | · | · | · | ● | · | · | · | ● |
Talents by level
- +1 Ward Attack Targets+250 Ether Shock Damage25
- +1.5s Shackles Duration+50% Serpent Wards Max HP20
- +160 Serpent Wards Attack RangeHex Breaks15
- +1.75 Mana Regen+170 Shackles Total Damage10
Team utility build
When to use it
Built around the popular items that help your allies — Aether Lens and Glimmer Cape. Choose it when your team needs saves and auras more than your damage. Built from what Shadow Shaman players buy in the public matches we measured.
Where it's played
Picked before the game: the main lane first, then the alternatives.
232%164%- Safe laneMain64% of matchesSafe lane next to your carry, as Hard Support (pos. 5).
- OfflanePriority 232% of matchesOff lane next to your offlaner, as Soft Support (pos. 4).
Starting items
Core items
- 1Aether Lens+300 Mana, +2.5 Mana Regeneration, +225 Cast Range.
- 2Glimmer Cape+20% Magic Resistance. Active: Glimmer.
- 3Eul's Scepter of Divinity+10 Intelligence, +2.5 Mana Regeneration, +20 Movement Speed. Active: Cyclone.
- 4Refresher Orb+14 Health Regeneration, +7.0 Mana Regeneration. Active: Reset Cooldowns.
Boots
Late game


Skill order
Max order:Shackles›Hex›Ether Shock
| Ability | 1 | 2 | 3 | 4 | 5 | 6 | 7 | 8 | 9 | 10 | 11 | 12 | 13 | 14 | 15 | 16 | 17 |
|---|---|---|---|---|---|---|---|---|---|---|---|---|---|---|---|---|---|
| ● | · | ● | · | ● | · | ● | · | · | · | · | · | · | · | · | · | · |
| · | ● | · | · | · | · | · | · | · | · | · | ● | · | ● | ● | · | · |
| · | · | · | ● | · | · | · | ● | ● | ● | · | · | · | · | · | · | · |
| · | · | · | · | · | ● | · | · | · | · | · | · | ● | · | · | · | ● |
Talents by level
- +1 Ward Attack Targets+250 Ether Shock Damage25
- +1.5s Shackles Duration+50% Serpent Wards Max HP20
- +160 Serpent Wards Attack RangeHex Breaks15
- +1.75 Mana Regen+170 Shackles Total Damage10
Abilities
- Ether Shock14 / 12 / 10 / 8s90 / 105 / 120 / 135 mpCreates a cone of ethereal energy that strikes multiple enemy units.
- Targets
- 3·5·7·9
- Damage
- 125·190·255·320
- Hex24 / 20 / 16 / 12s130 / 150 / 170 / 190 mpTransforms an enemy unit into a harmless creature, disabling their attacks and abilities.
- Duration
- 2·2.3·2.6·2.9
- Shackles14 / 13 / 12 / 11s125 / 140 / 155 / 170 mpCHANNELED - Magically binds an enemy unit so that it cannot move or attack, absorbing their life energy over time.
- Total damage/heal
- 100·160·220·280
- Max duration
- 2.4·3·3.6·4.2
 Fowl PlayPassive120sWhen taking lethal damage, Shadow Shaman receives a strong dispel and survives as a 1 HP chicken with increased movement speed. Incoming damage is reduced to zero for a short duration and additional chickens are created to confuse the enemy. Cooldown resets when Shadow Shaman respawns.
DISPEL TYPE: Strong Dispel
Fowl PlayPassive120sWhen taking lethal damage, Shadow Shaman receives a strong dispel and survives as a 1 HP chicken with increased movement speed. Incoming damage is reduced to zero for a short duration and additional chickens are created to confuse the enemy. Cooldown resets when Shadow Shaman respawns.
DISPEL TYPE: Strong Dispel- Duration
- 3
- Movespeed bonus
- 5%
- Total chickens
- 1
 Urnaconda50s140 mpThrow a snake jar at the target location, damaging all enemies in the AoE and creating a Massive Serpent Ward that has 4x the base Serpent Ward damage and health there that lasts 15s.
- Impact radius
- 225
- Impact damage
- 275
- Mass Serpent Ward110 / 105 / 100s200 / 350 / 550 mpSummons 10 Serpent Wards to attack enemy units and structures. The Wards are immune to magic. Creeps deal half damage to the Serpent Ward.
- Duration
- 45
- Hits to destroy
- 2
- Ward damage
- 50·85·120
- Mega ward health
- 8
- Mega ward damage
- 200·340·480
Most played skill order
The most played order in the last 100 professional matches with this hero. Highlighted levels are the points spent on talents.
Max order:Shackles›Hex›Ether Shock
| Ability | 1 | 2 | 3 | 4 | 5 | 6 | 7 | 8 | 9 | 10 | 11 | 12 | 13 | 14 | 15 | 16 | 17 |
|---|---|---|---|---|---|---|---|---|---|---|---|---|---|---|---|---|---|
| ● | · | ● | · | ● | · | ● | · | · | · | · | · | · | · | · | · | · |
| · | ● | · | · | · | · | · | · | · | · | · | ● | · | ● | ● | · | · |
| · | · | · | ● | · | · | · | ● | ● | ● | · | · | · | · | · | · | · |
| · | · | · | · | · | ● | · | · | · | · | · | · | ● | · | · | · | ● |
Strategy
1Early game
Position 5 starts in the safe lane with your carry: their last hits come first, so harass the enemy offlaner, pull the small camp when the wave needs resetting and buy the wards nobody else will. Harass when the enemy core walks up to last hit: every hit you land is gold your carry keeps.
2Mid game
Rotate to the lanes where you can get kills, keep vision around the next objective and leave the farm to your cores. Your spikes are level 6, when Mass Serpent Ward comes online, and your core items: Blink Dagger and then Aether Lens.
- Core items: Blink Dagger, Aether Lens and Aghanim's Shard.
3Late game
Late, your death costs little gold but your spells are worth a lot: stay behind the team, keep your save items ready and ward before the fight, not during it.
- Late items: Force Staff and Black King Bar.
4Team fights
Stay behind your cores, keep your mana for the key moment and protect whoever the enemy dives. Use Mass Serpent Ward where it hits the most enemies or catches the key target.
Tips
- Buy and place wards every time they are available: vision is your first job.
- Your key purchases are Blink Dagger and Aether Lens: they give your team the saves it needs.
- Plan fights around Mass Serpent Ward: without it, Shadow Shaman is far less threatening.
- Before each fight, check which key abilities the enemy has available.
Matchups
Strong against
- Razor58.7%win rate in the matchup
Shadow Shaman wins 58.7% of the 104 games measured against Razor this patch.
104 matches
- Ring Master57.2%win rate in the matchup
Shadow Shaman wins 57.2% of the 138 games measured against Ring Master this patch.
138 matches
- Crystal Maiden55.4%win rate in the matchup
Shadow Shaman wins 55.4% of the 121 games measured against Crystal Maiden this patch.
121 matches
- Ursa53.5%win rate in the matchup
Shadow Shaman wins 53.5% of the 142 games measured against Ursa this patch.
142 matches
- Mars53.1%win rate in the matchup
Shadow Shaman wins 53.1% of the 196 games measured against Mars this patch.
196 matches




Weak against
- Hoodwink38.4%win rate in the matchup
Shadow Shaman only wins 38.4% of the 164 games measured against Hoodwink this patch.
164 matches
- Beastmaster40.7%win rate in the matchup
Shadow Shaman only wins 40.7% of the 108 games measured against Beastmaster this patch.
108 matches
- Sniper41.5%win rate in the matchup
Shadow Shaman only wins 41.5% of the 130 games measured against Sniper this patch.
130 matches
- Spirit Breaker43.0%win rate in the matchup
Shadow Shaman only wins 43.0% of the 142 games measured against Spirit Breaker this patch.
142 matches
- Lifestealer43.4%win rate in the matchup
Shadow Shaman only wins 43.4% of the 113 games measured against Lifestealer this patch.
113 matches




Works well with
Magic Missile from Vengeful Spirit gives Shadow Shaman, who has no crowd control, a target that can't dodge.
Horn Toss from Magnus gives Shadow Shaman, who has no crowd control, a target that can't dodge.
Firesnap Cookie from Snapfire gives Shadow Shaman, who has no crowd control, a target that can't dodge.



Changelog
- Guide created for patch 7.41.
Was this helpful?
Your vote helps other players find the best guides.